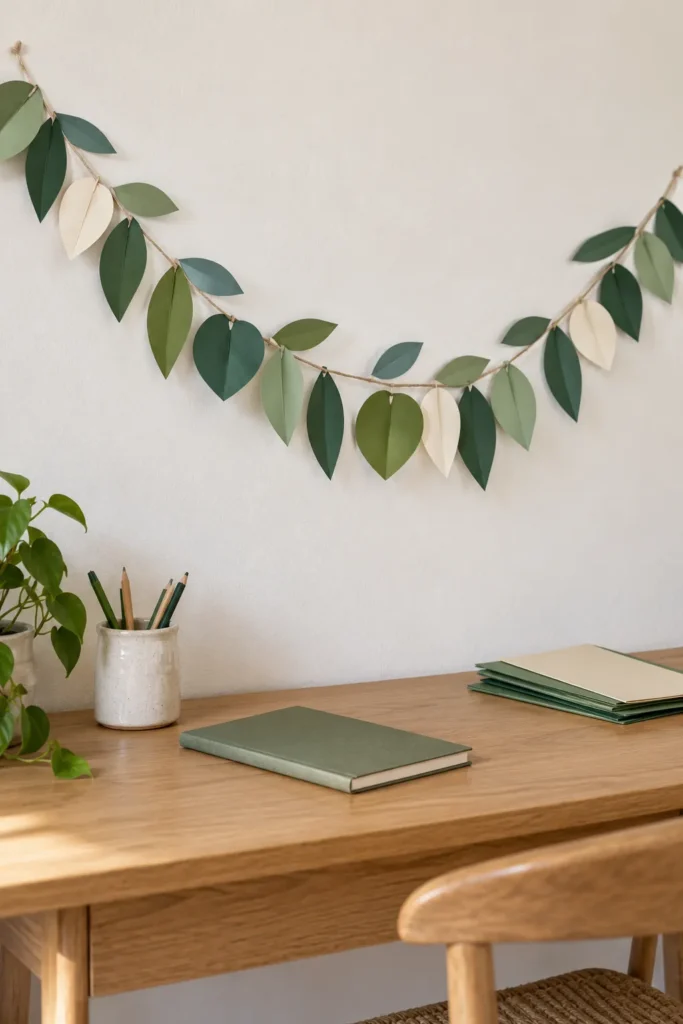
A strand of identical leaves can look stiff even when every cut is neat. Mixing three clear silhouettes gives a paper garland the varied rhythm of real foliage while keeping the project simple enough for hand cutting. The printable below provides broad, narrow, and rounded shapes with center guides for gentle folds.
Use the shapes together for a botanical paper decor piece, or repeat only one when you prefer a more formal leaf banner. A planned palette and measured cord make either approach feel deliberate.
Download the paper leaf templates
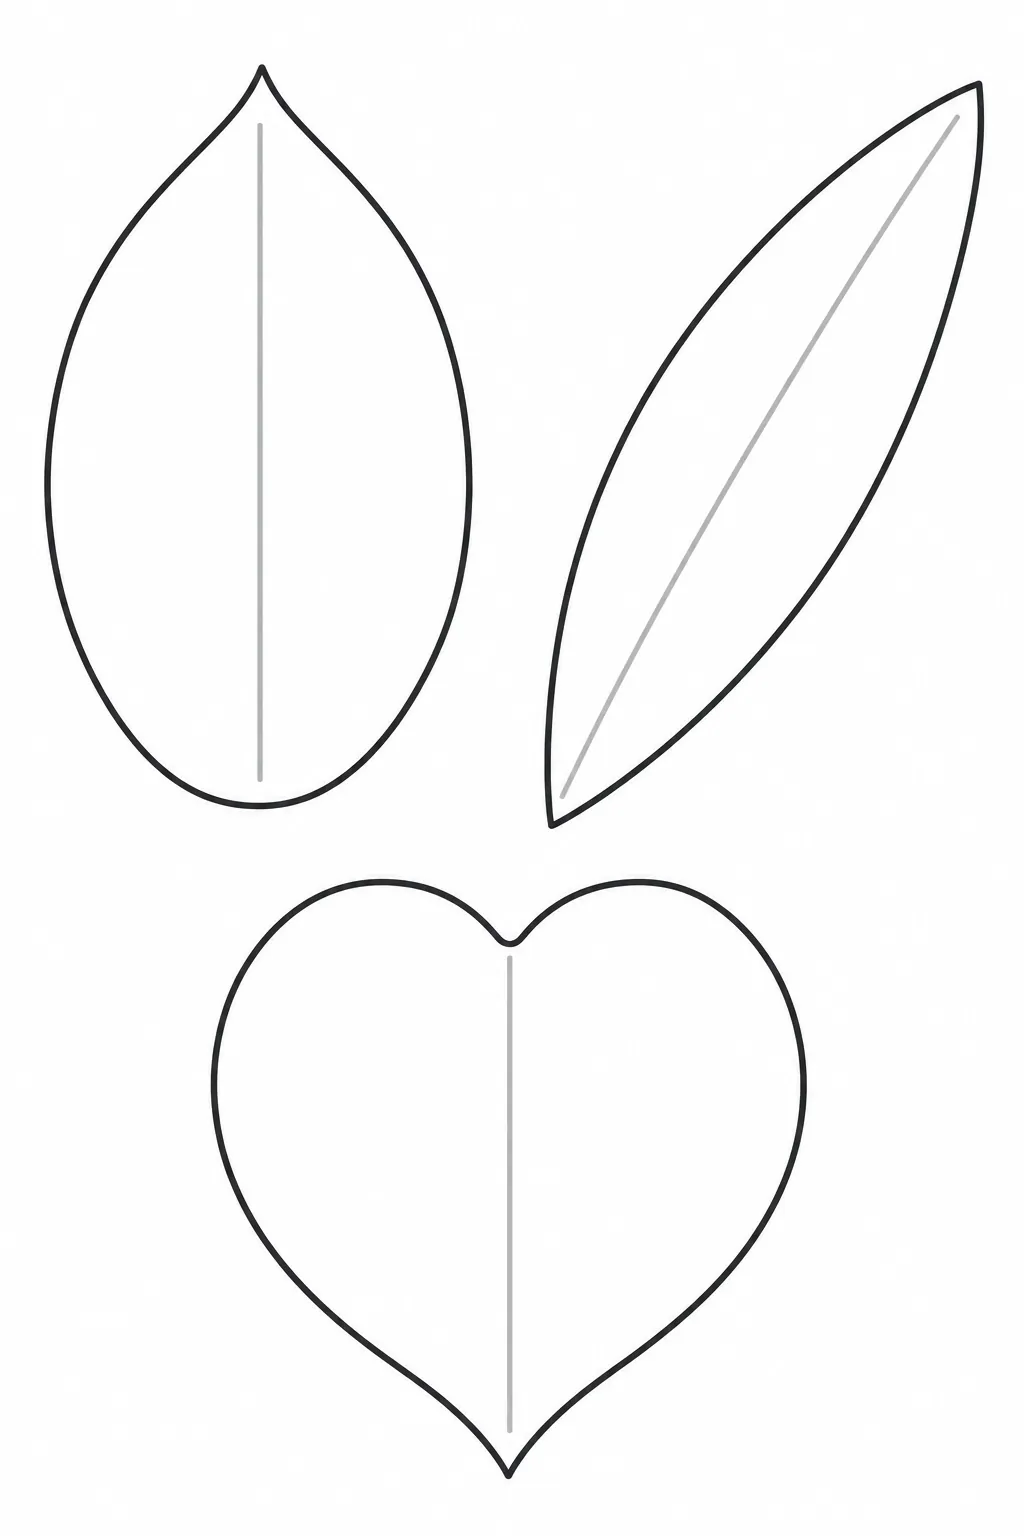
The page includes an oval leaf, a tapered laurel leaf, and a heart shaped leaf. Every shape has one pale center guide that can be scored for depth or ignored for a flat finish. The simple bases leave enough paper for glue or tape behind the twine.
Download high-resolution printable
Click the preview to open the full size image, or use the download button to open it in a new tab. Save the image from there. Print at actual size first, then choose one consistent percentage if your display needs smaller leaf cutouts.
Build a botanical color palette
Three to five related greens produce depth without making the garland busy. Sage and olive feel soft, forest green adds weight, and muted teal introduces contrast. A few cream or pale blush leaves can separate dark clusters and connect the banner to nearby decor.
Matte cardstock gives the cleanest fold and hides minor adhesive marks. Patterned scrapbook paper can work for a few accent leaves, but tiny botanical prints may disappear from a distance. Avoid very brittle card because pointed tips and folded centers can crack.
Trace, cut, and fold each leaf
Cut out the master templates, then trace them on the reverse of your colored paper. Turn the sheet around the scissors to follow each curve smoothly. Keep the narrow leaf tips intact by finishing those cuts with short controlled movements.
Score the pale guide lightly with a blunt bone folder before folding. A shallow crease creates a natural ridge, while a hard crease can make the leaf look pinched. Flip some templates before tracing so the final pieces face in both directions.
Arrange the leaf banner before gluing
Measure your display area and cut twine with extra length for tying. Lay the cord flat, then alternate leaf shapes and angles along it. Repeat colors loosely instead of following a rigid pattern when you want the strand to feel more organic.
Keep the largest oval leaves slightly farther apart and use narrow leaves to fill the space between them. The heart shaped leaves make useful focal accents near the center or ends. Step back from the layout before gluing, because a balanced tabletop row can look different once it curves on a wall.
Attach, hang, and reuse the garland
Glue or tape each leaf base behind the twine so the attachment stays hidden. Let liquid adhesive dry fully before lifting the strand. Add support points along a long banner to reduce tension at the ends and keep the center from hanging lower than planned.
Use wall attachments that suit the surface, and test removable products in a hidden area. Keep paper foliage away from candles, heaters, damp windows, and cooking steam. Moisture can relax the center folds and curl the pointed tips.
Store the botanical strand flat or in one wide loose coil inside a shallow box. Tissue between layers protects scored ridges from crushing. Save the three master shapes with the garland so a damaged leaf can be replaced without rebuilding the full strand.