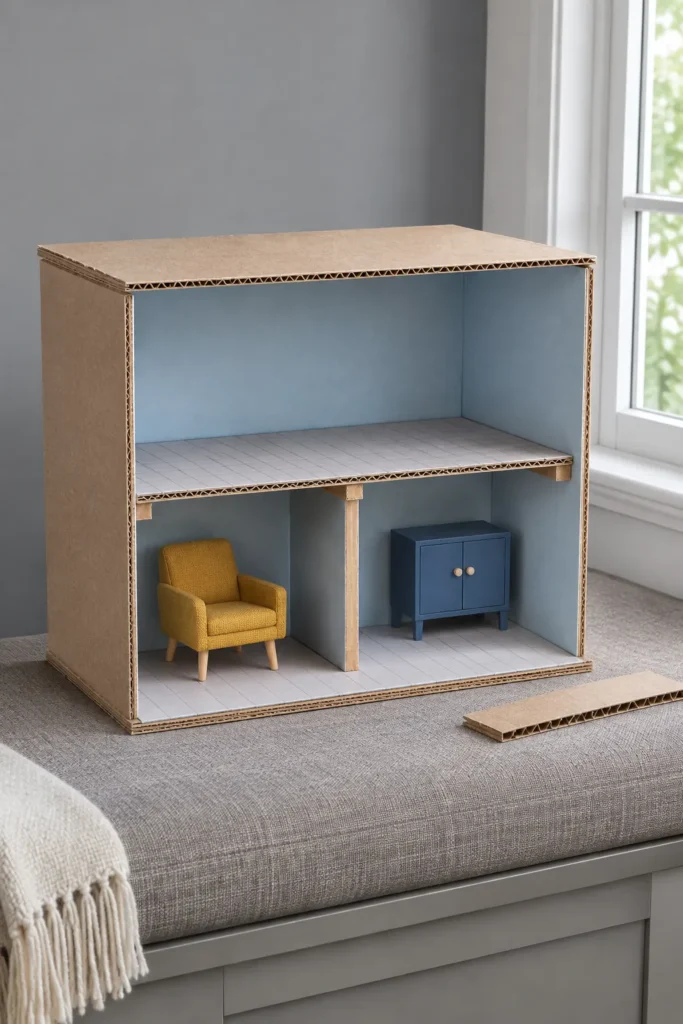
A cardboard wall can stand up on its own and still buckle once a furnished floor leans on it. Start with sound board, then give the walls, corners and floor a way to support one another. This build uses a shipping box and a single open room, with a way to add a supported upper floor if you want one.
Salvage the flat panels first
Open a clean, dry shipping box along its seams and keep the broad uncreased faces. Look at a cut edge to see the flutes, the little channels under the smooth liner. For a single layer wall, orient the channels from floor to ceiling. Save creased or slightly crushed pieces for making small test joints.
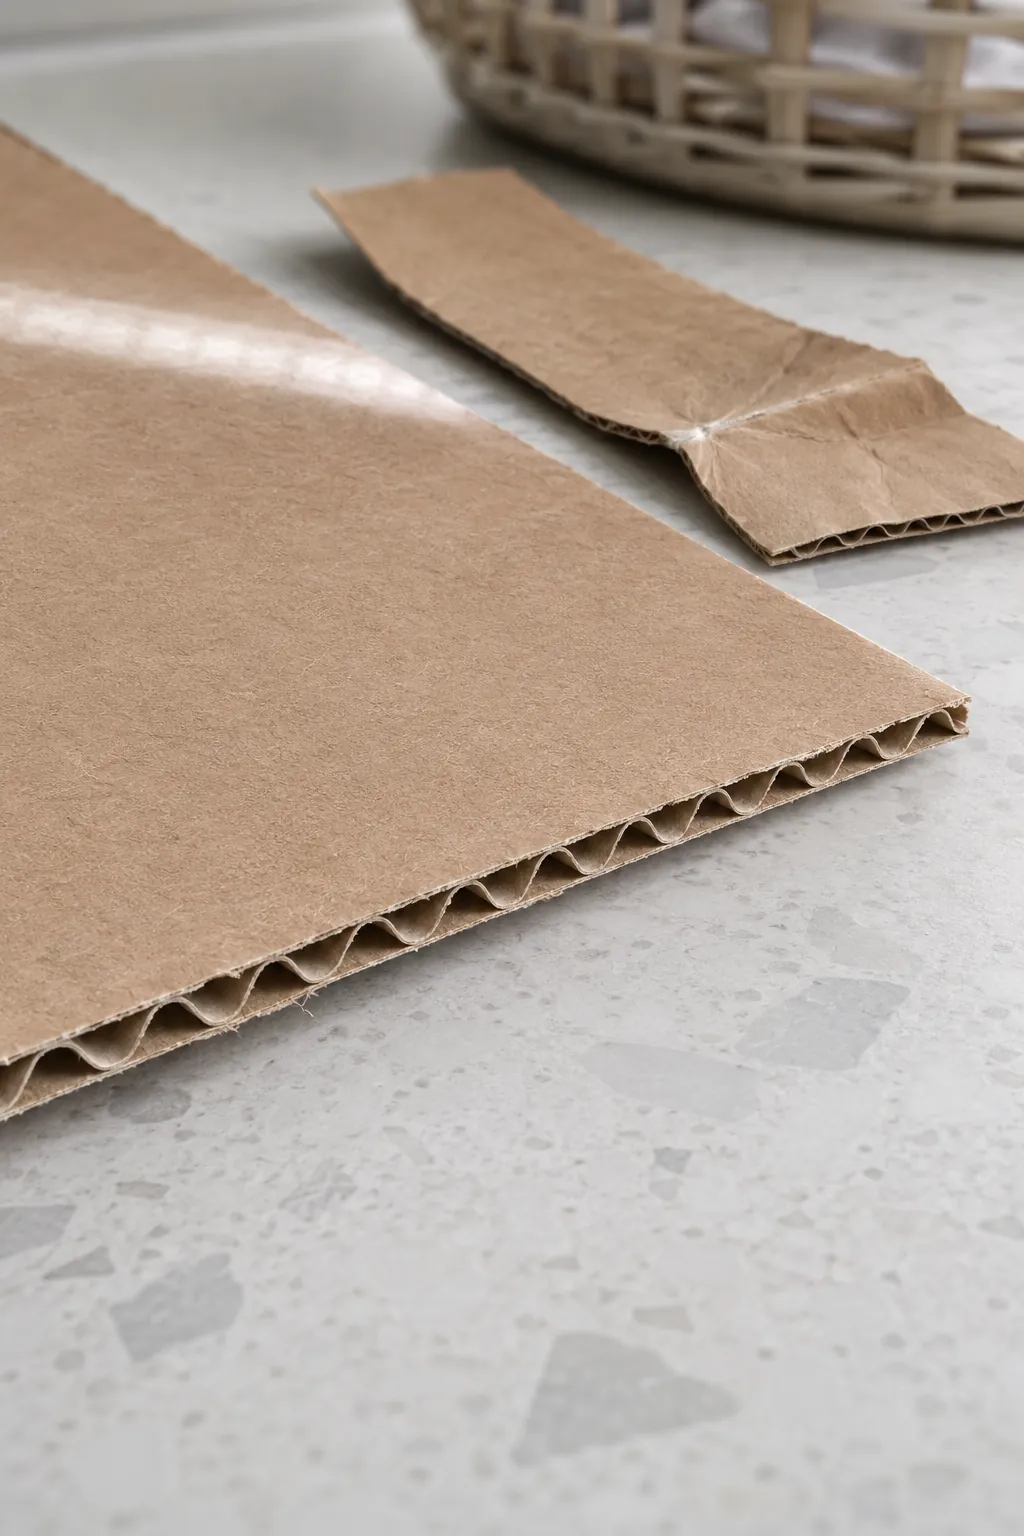
Reject damp cardboard and corners that stay soft when pressed. Test two scraps first to see how cleanly the blade cuts and how much glue the liner takes without curling.
Build a small room with supported edges
For a compact room, start with a base about 30 cm wide by 23 cm deep. Set a back wall along the rear edge and choose a wall height around 24 cm. Place the sides inside the left and right edges of the base and in front of the back. If the back is 6 mm thick, for example, the sides should be about 22.4 cm deep to sit flush with the front edge. Measure again after laminating any panels, because a second layer changes the depth.
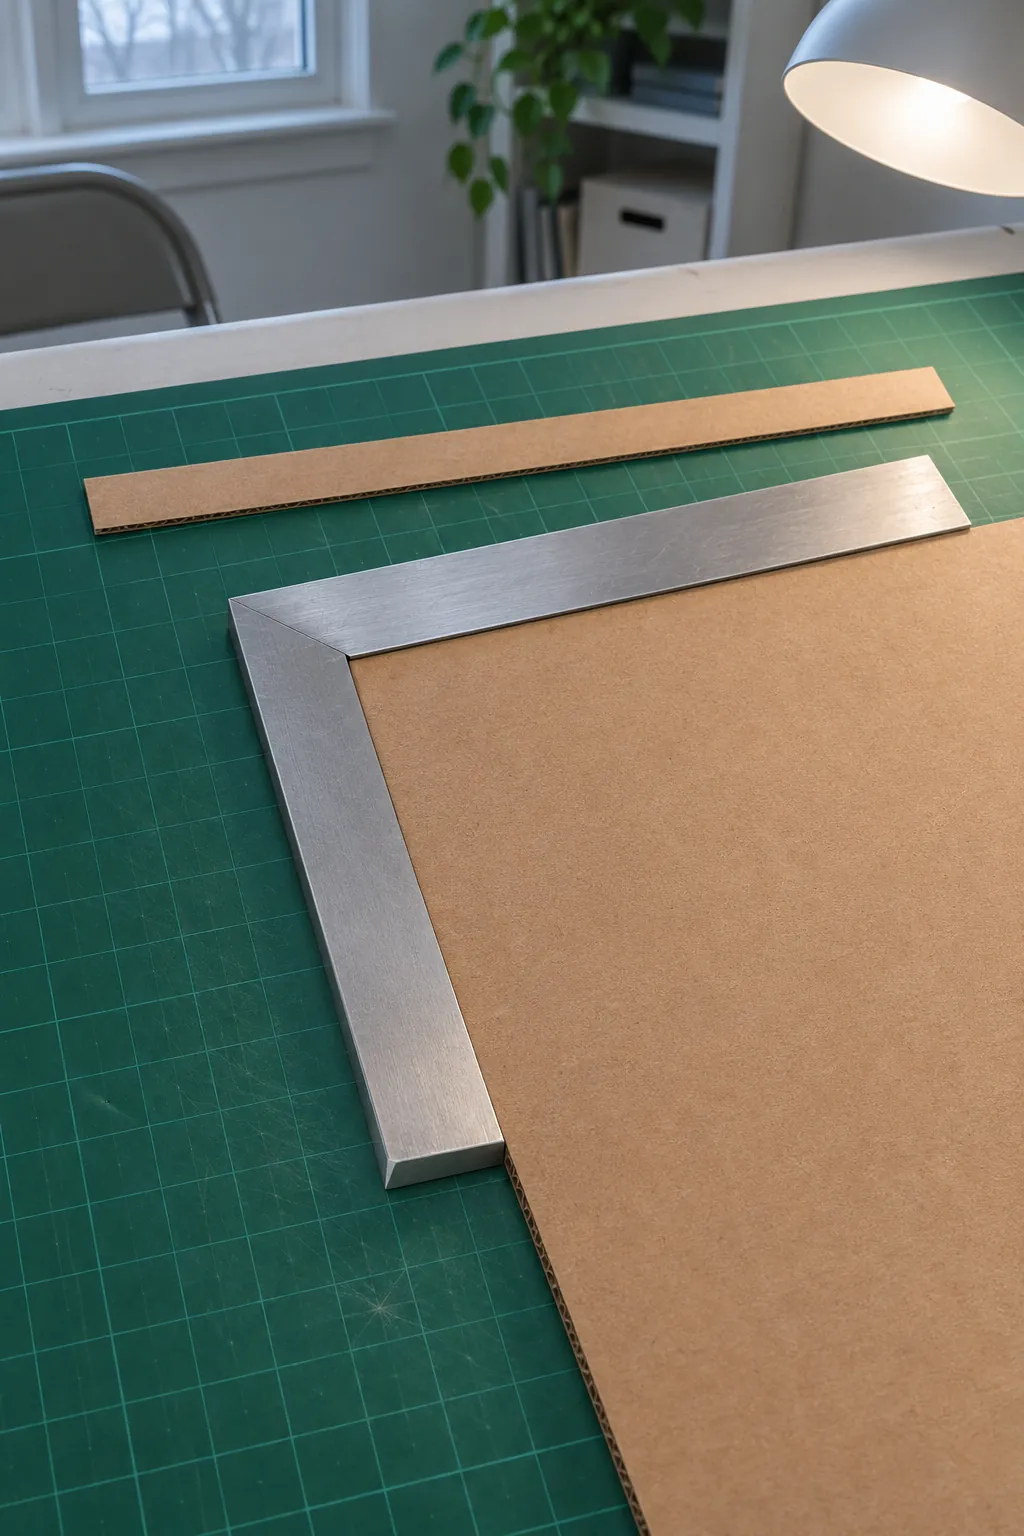
Use a straightedge and a fresh blade on a cutting mat. Take several light passes to cut the liner and core without crushing the edge. Keep the back solid for this first build. If you decide to cut a small window in a side, do it before assembly and leave generous board at all four edges.
Laminate the base and press it flat
Cut two base blanks a little oversize. Rotate one so that its channels cross the other at right angles. Spread a thin, even coat of paper or wood glue on a liner, join the layers and press between clean release sheets and two flat boards. Set weights across the upper board and leave the panel flat until the glue dries, then trim it to the final size.
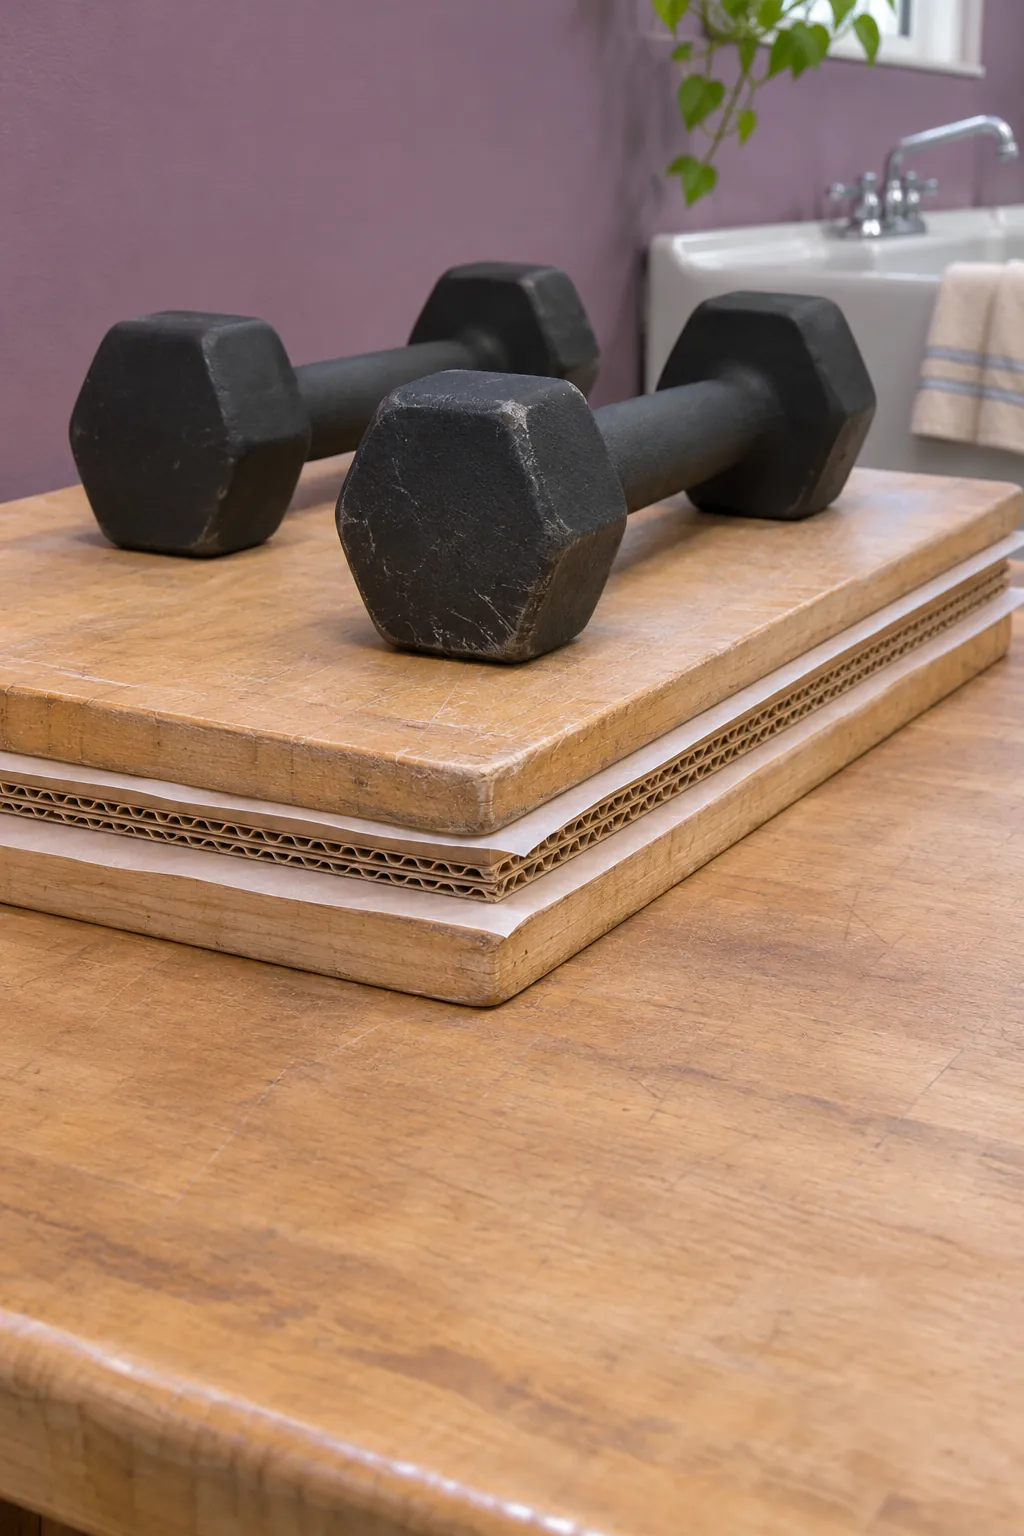
Use the same method on a wall if it bends easily when you lift it by a corner. Make the pieces before trimming the box to fit. A wet clump of glue at the edge tends to swell the liner and leaves more work when you are trying to make the seam close.
Join the walls with folded strips
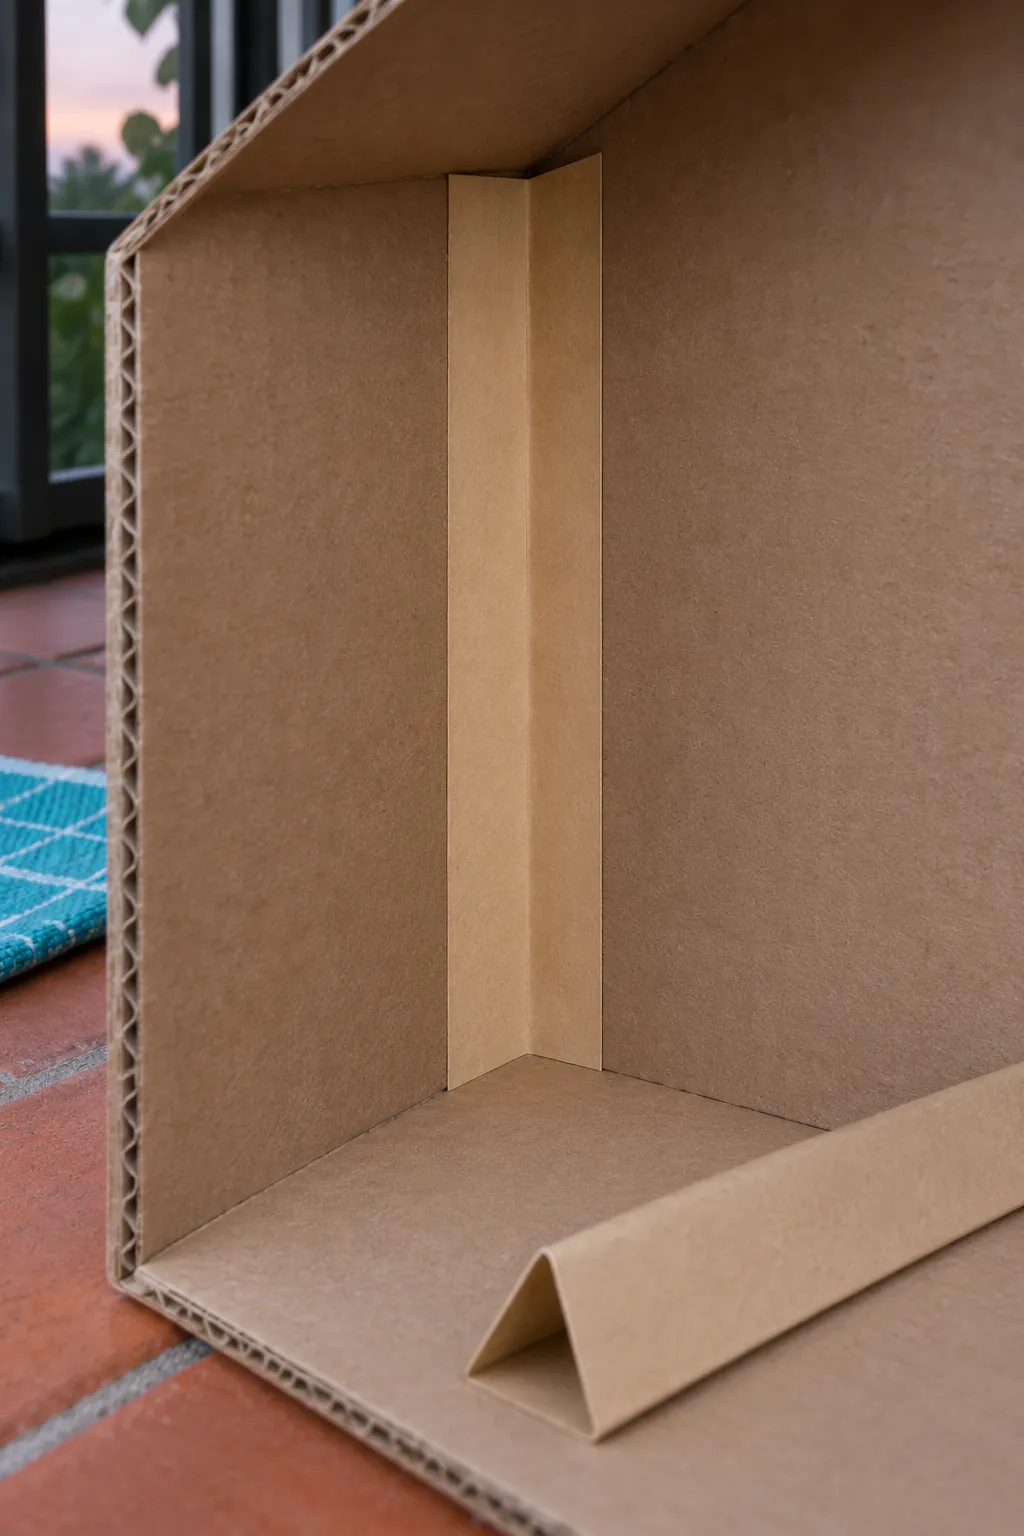
Dry fit the sides and back against a square. Fold a stout kraft strip lengthwise to make a right angle and glue one half to each adjoining surface. Use a strip on the inside of each back corner and where each wall meets the base. Press both halves flat so the glue contacts the full strip. Check that the front tips of the side walls stay square while the joints set.
Give a second floor a solid seat
Build a firm roof or upper floor from two crossed layers. Inside the shell, glue straight ledges to both side walls at the same height, and add a rear ledge if the panel reaches the back. Cut the floor to rest on the ledges without forcing the sides apart. A paper strip over each front cut edge can cover the flutes.
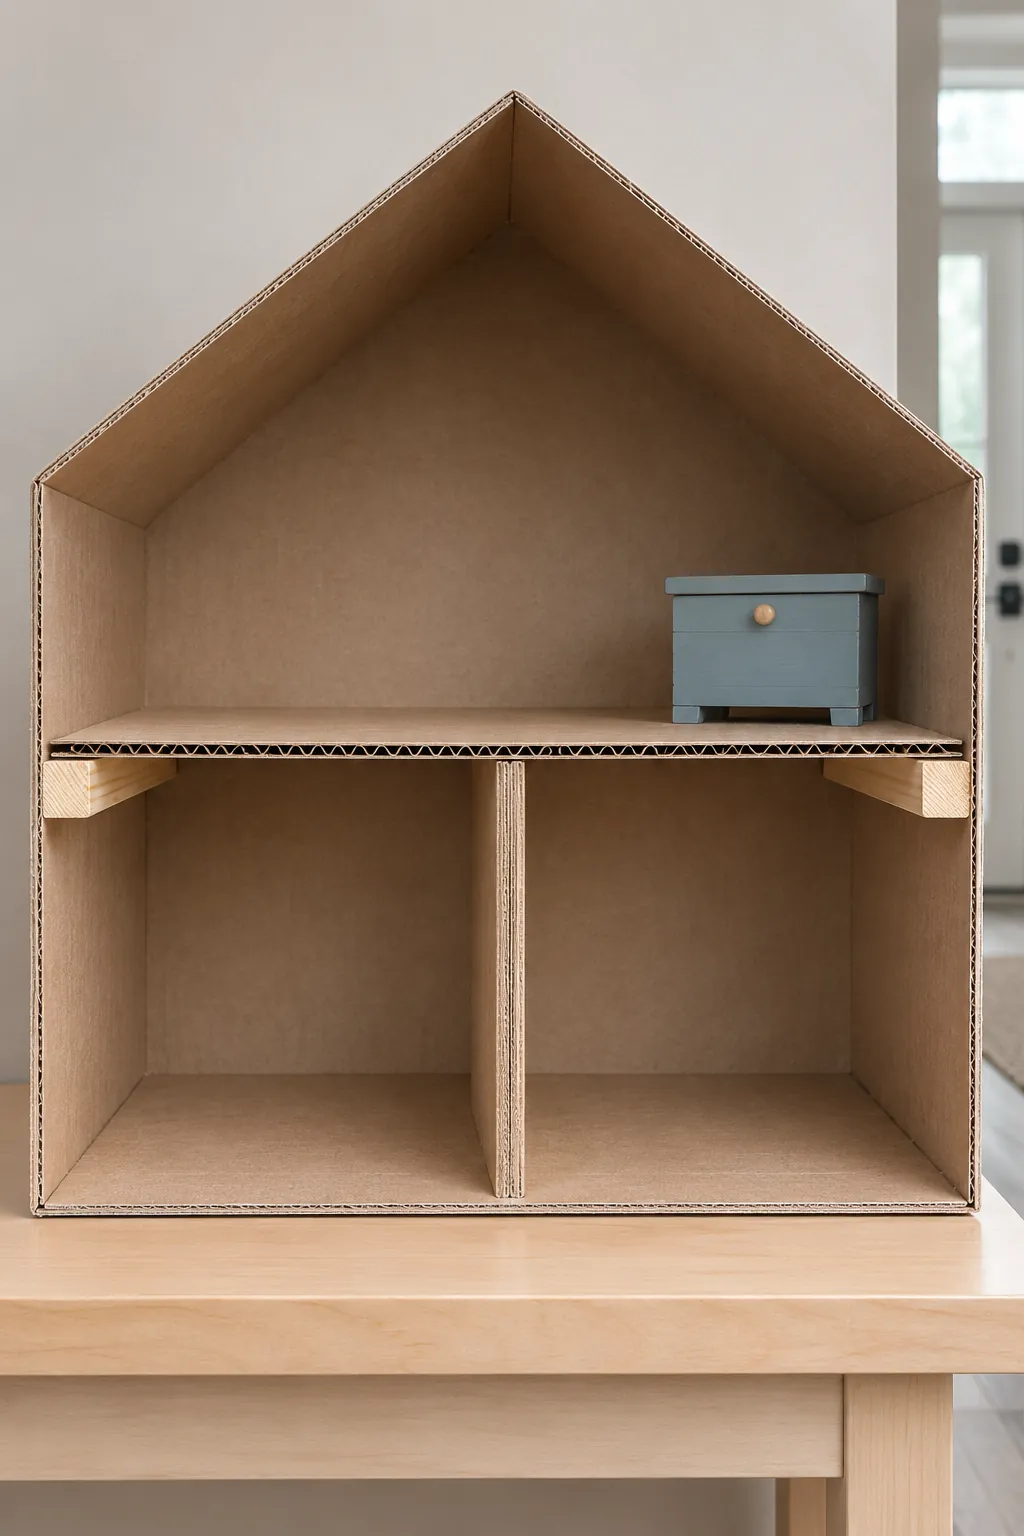
If the span still dips under the furniture you plan to use, add a divider below its midpoint. Cut the divider to touch the base and underside of the upper floor snugly. Test with the heaviest pieces after the glue dries and watch whether the front edge bows. Shortening the unsupported span usually helps more than piling another heavy finish onto it.
Cover the surfaces without soaking them
Cover visible corrugated edges with folded paper strips. For the walls, a thin card liner or light paper attached with a dry adhesive sheet avoids adding much moisture. If you use liquid glue or paint, try a small piece first and use light coats. Let each coat dry before applying more.
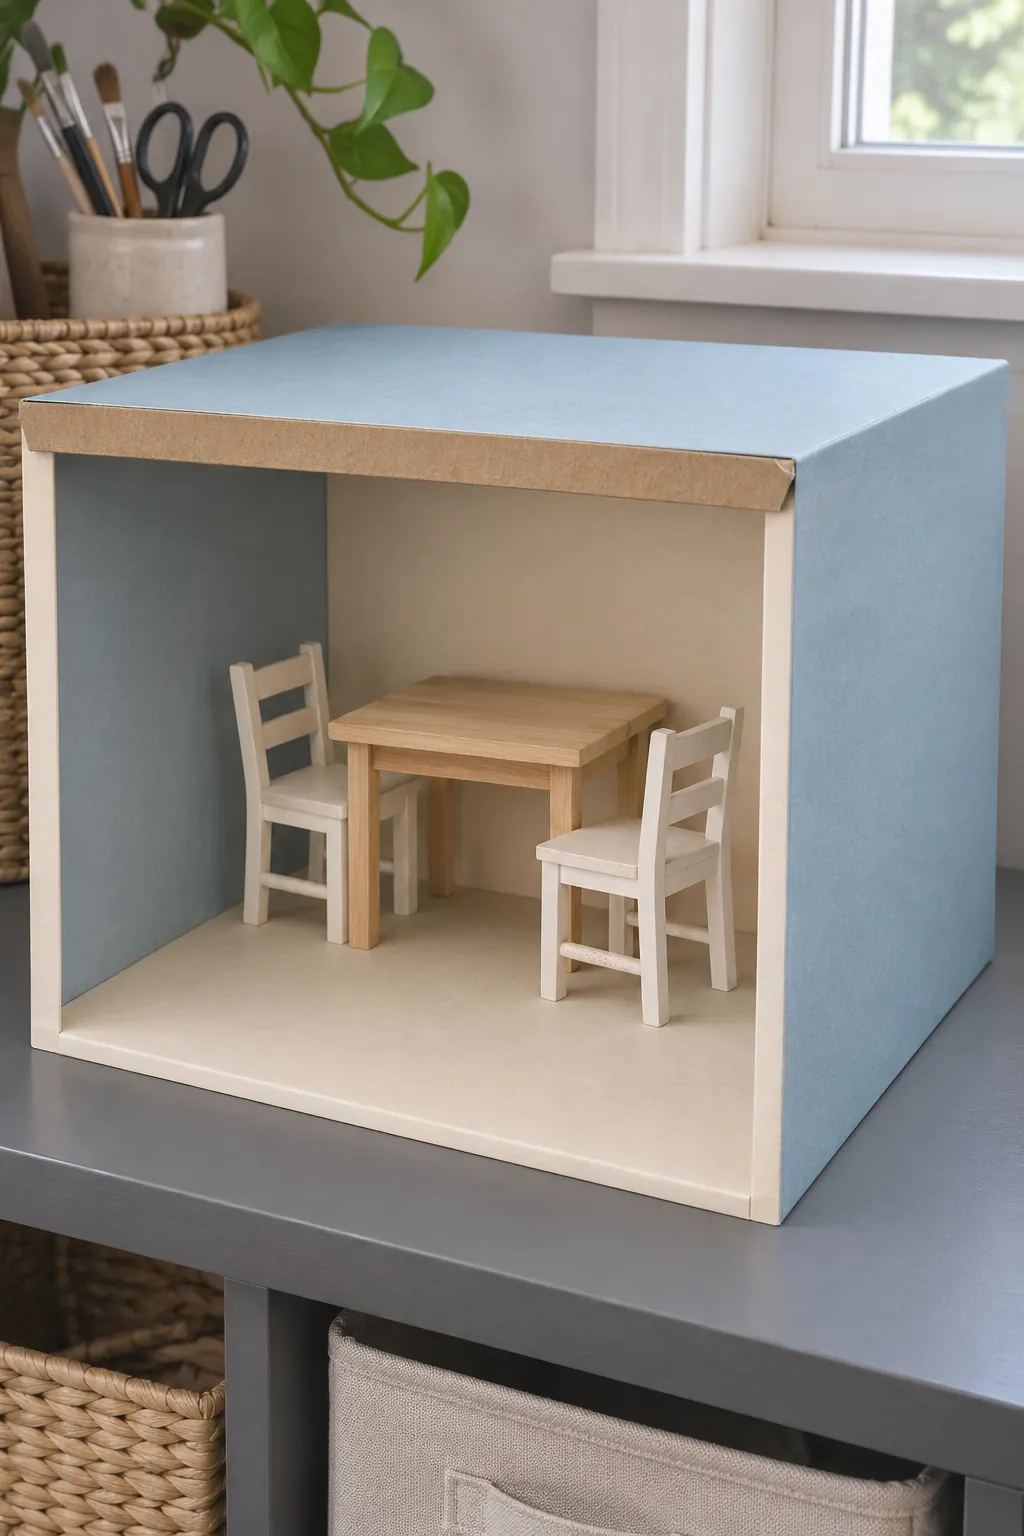
Put the furniture inside only after the shell is dry. Lift the house from underneath and check that the base stays flat and the corners stay closed. If a floor starts to sag when you set it down, take out the load and shorten the span before adding decoration.