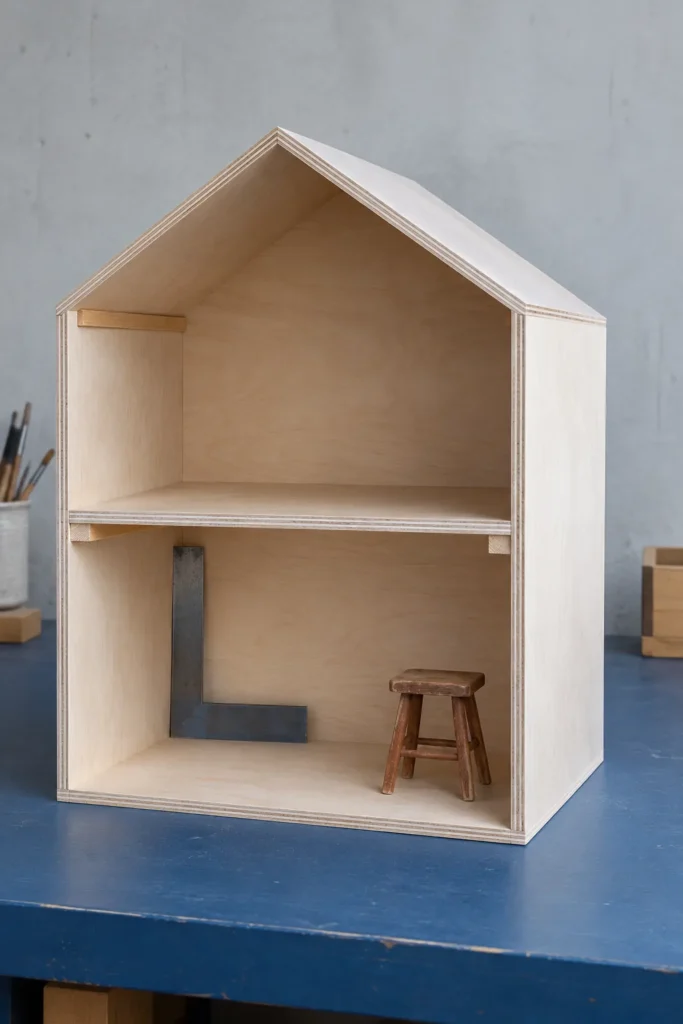
A gap at the front of a dollhouse can start at the back, where a wall shifts as the glue sets. Use a flat bench, a square and two matching spacers to catch the problem while the parts still move. Work from the base upward so each new shelf or wall uses the same reference.
Check the bench and the panels separately
Set the base on a firm work surface and press lightly on each corner. If it rocks, rotate the panel and check again. If the high point follows the panel, it probably has a twist. If it stays in the same place on the bench, check the bench first. Use a known flat board underneath if the bench is uneven.
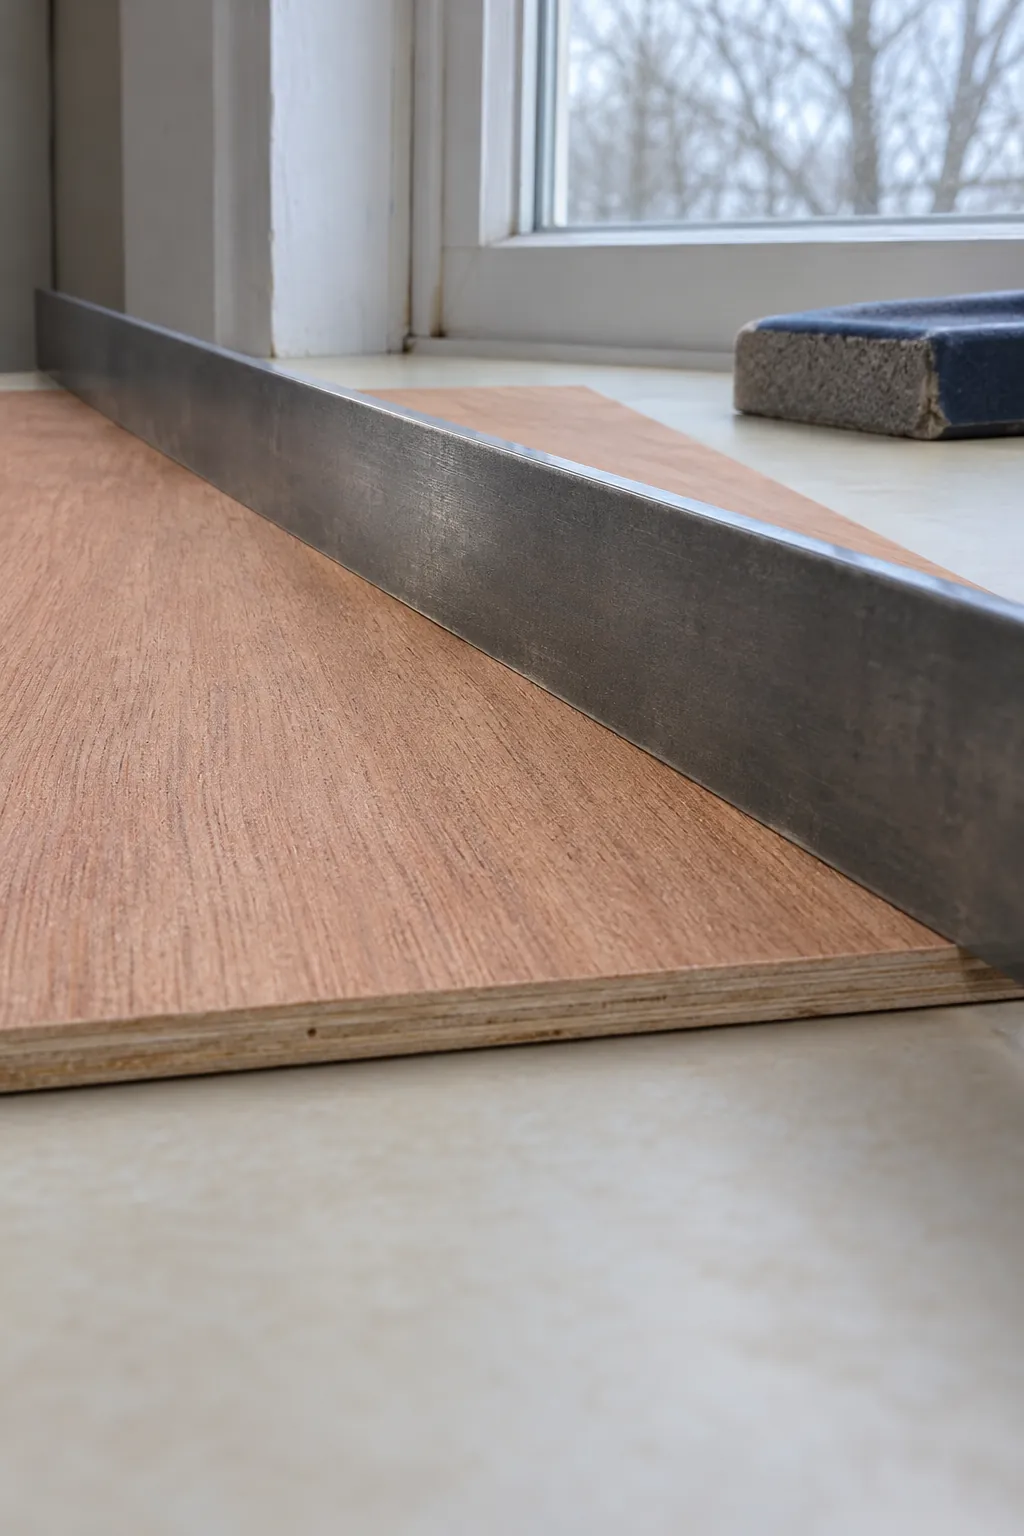
Sight along each mating edge and try a straightedge across both diagonals of each floor panel. Fix a minor burr or saw ridge with a sanding block. Replace a badly bowed or twisted part while you can still copy its dimensions.
Mark all support lines from one reference edge
Mark the inside faces and bottom edges of the two side panels. Set the bottoms against the same straight stop and transfer the intended floor height with a square. Mark the rear wall from its own bottom edge at the same height if it sits on the same base. This keeps you from adding small errors each time you measure from an existing shelf mark.
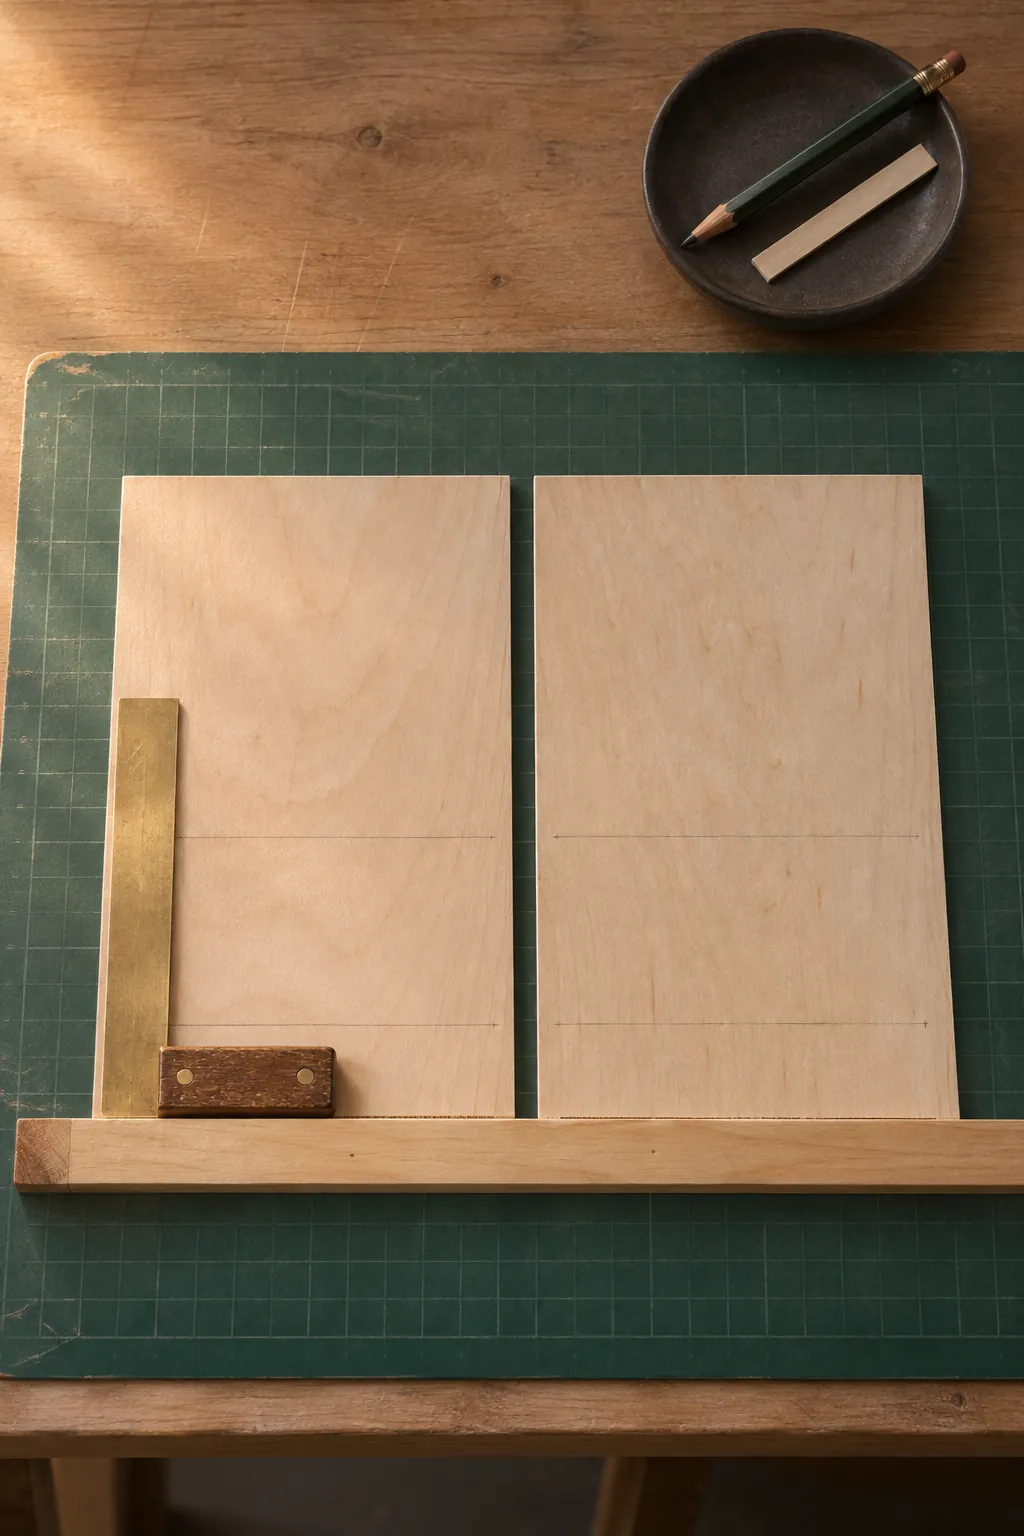
Decide whether a line marks the top or underside of the floor. If it marks the underside, align the top of the support ledge to that line. Check with a scrap of the actual floor stock before you glue.
Compare the diagonals during a dry fit
Join the base, walls and back without glue, using tape or light clamps to hold the pieces in place. Check that both sides sit flush at the bottom and touch the back. Measure the diagonals across the front opening from matching inside corners. If one is longer, shift the upper end toward the nearer corner along the long diagonal, then measure again.
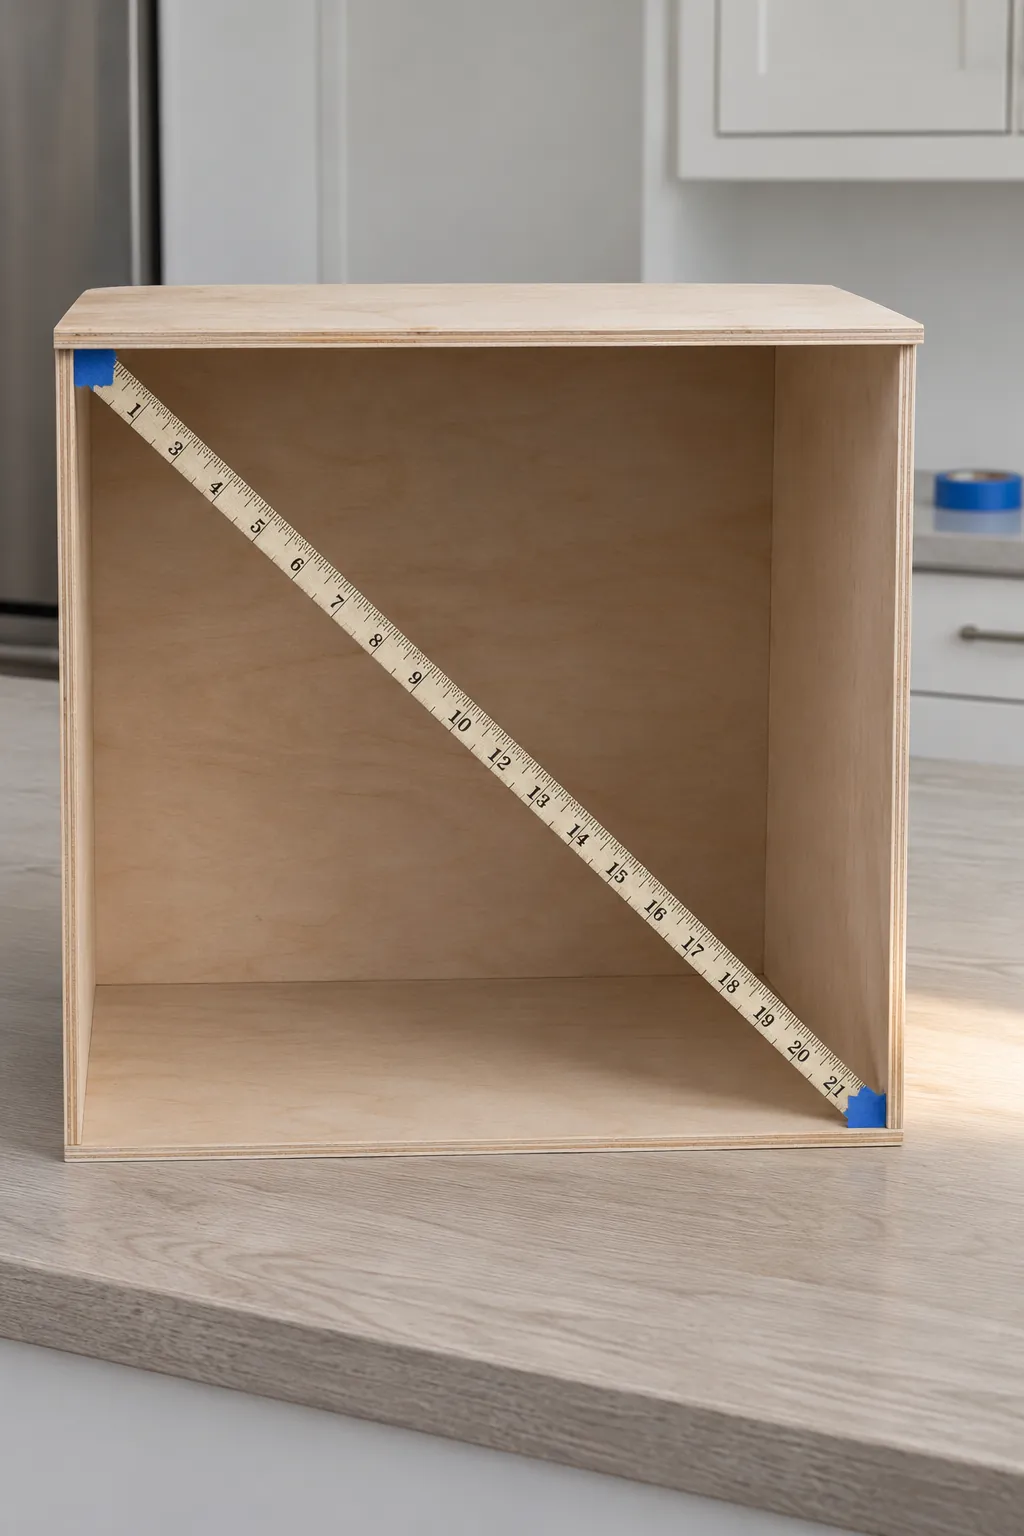
Equal diagonals are a useful check once the opposite edges have been cut to equal lengths. Also hold a square against each side and the base. A box can have a square front and still twist farther back if a wall panel is bowed or the rear joint is open.
Use matching spacers under each floor
Cut two scrap blocks to the same height and stand them on the base near the left and right walls. Use them to set the support ledges or hold the floor in place while you check the fit. For a deep room, check the rear corners as well. The floor should rest without rocking before you apply glue.
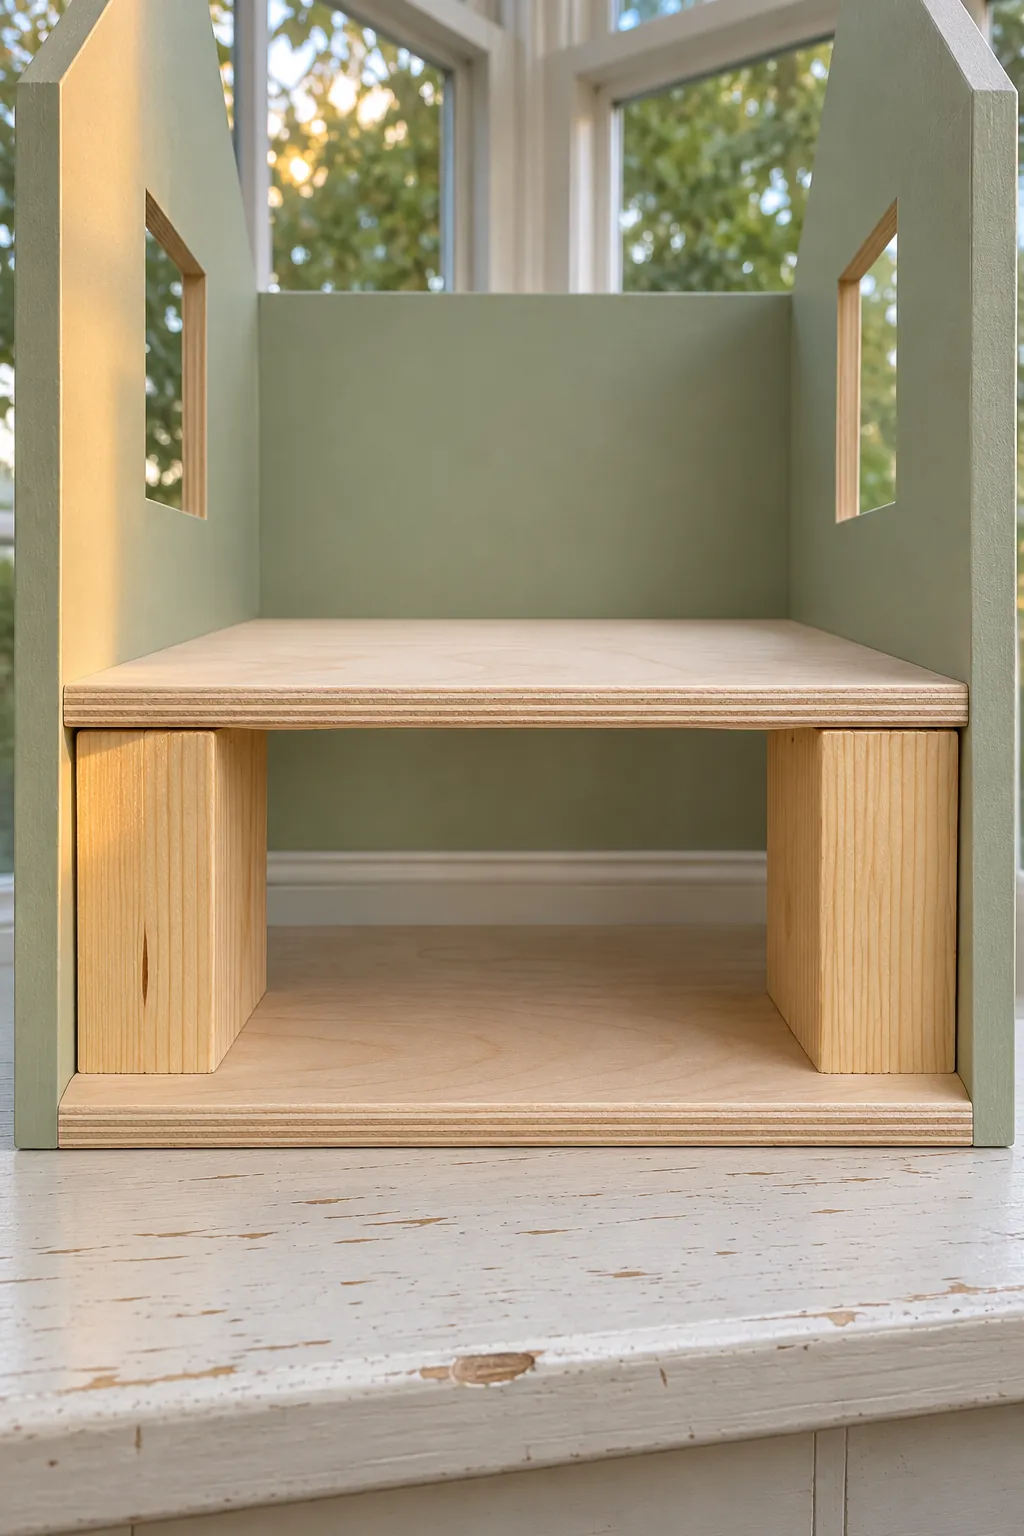
A bubble level can help later when you place the house on a shelf. While you build, check that the floor is parallel to the base and touches all its supports. A level bench cannot compensate for a high ledge.
Glue and recheck as you tighten
For a plywood box, glue one side to the base and hold it against a square block. Bring in the rear panel before the joint hardens if the glue’s working time allows. Then check the second side against both the base and the back. Use a small padded clamp or snug tape to hold the joint, depending on how rigid the panels are. Tighten only until the joint closes.
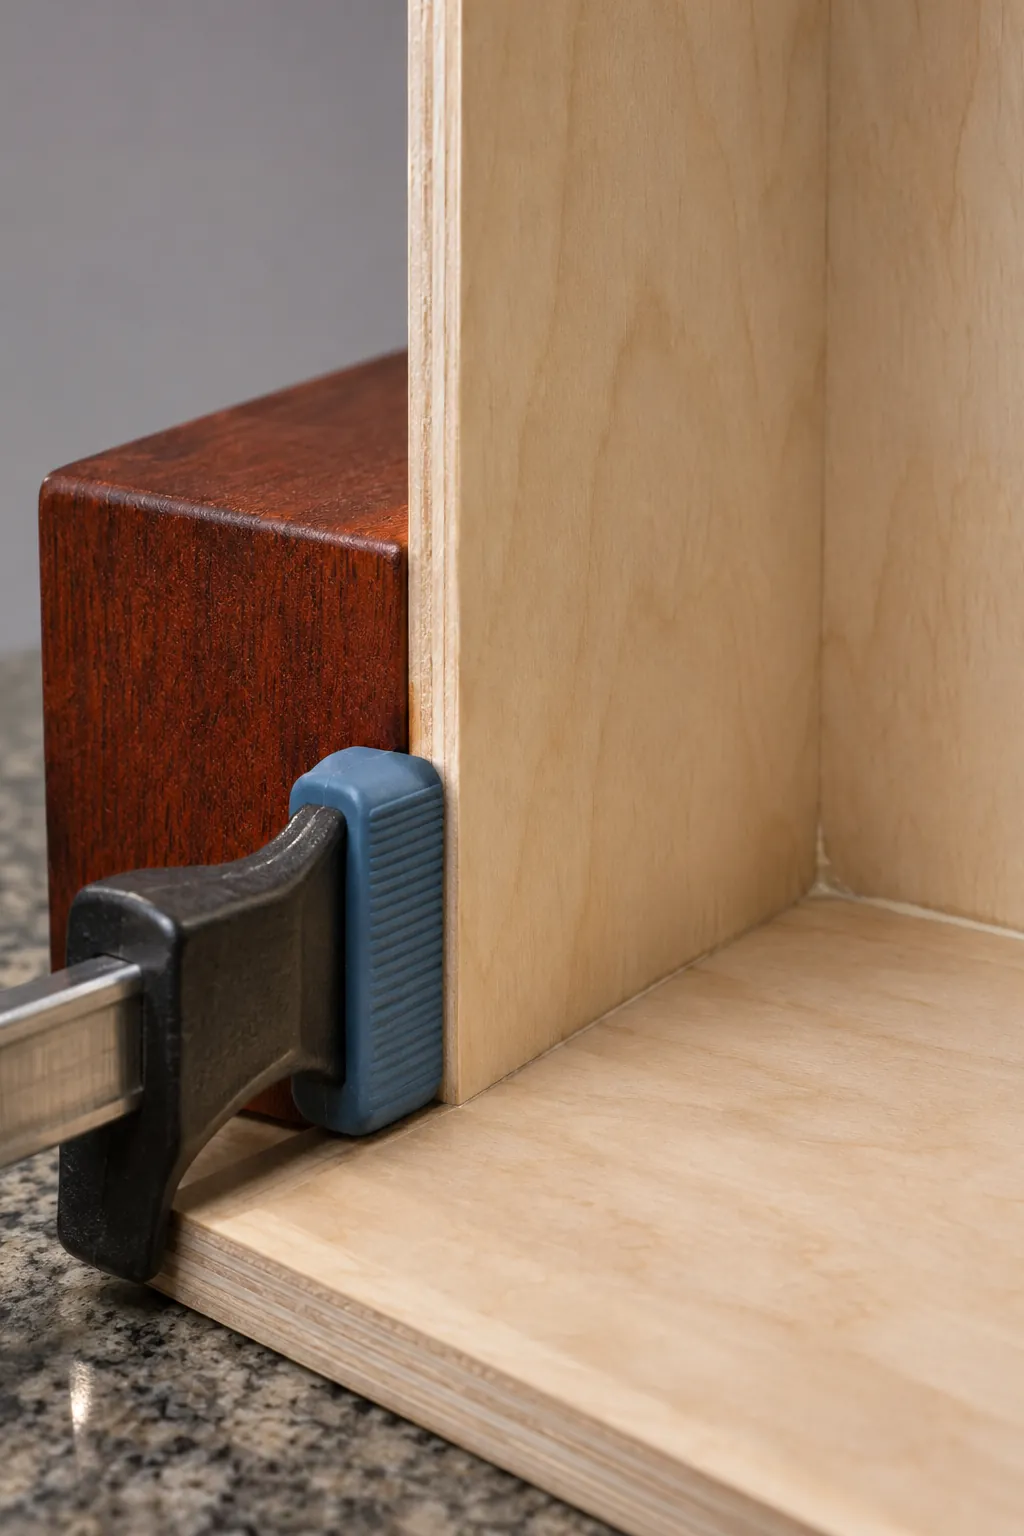
Wait until the shell holds its shape before adding a floor that pushes on the sides. If a clamp shifts the top, back off the pressure, reset the square and check the opening before the glue grabs.
Fix the mismatch before adding trim
If both side walls are straight but the floor sits high on one end, check the ledges first. While the adhesive is workable, reset the ledge against the spacer. If a cured joint holds a loose shelf too high, remove the shelf and correct the support if you can do so without damaging the wall. Where a fixed floor is flat but has a narrow gap at one edge, a fitted shim can close the gap after you confirm the floor has solid support.
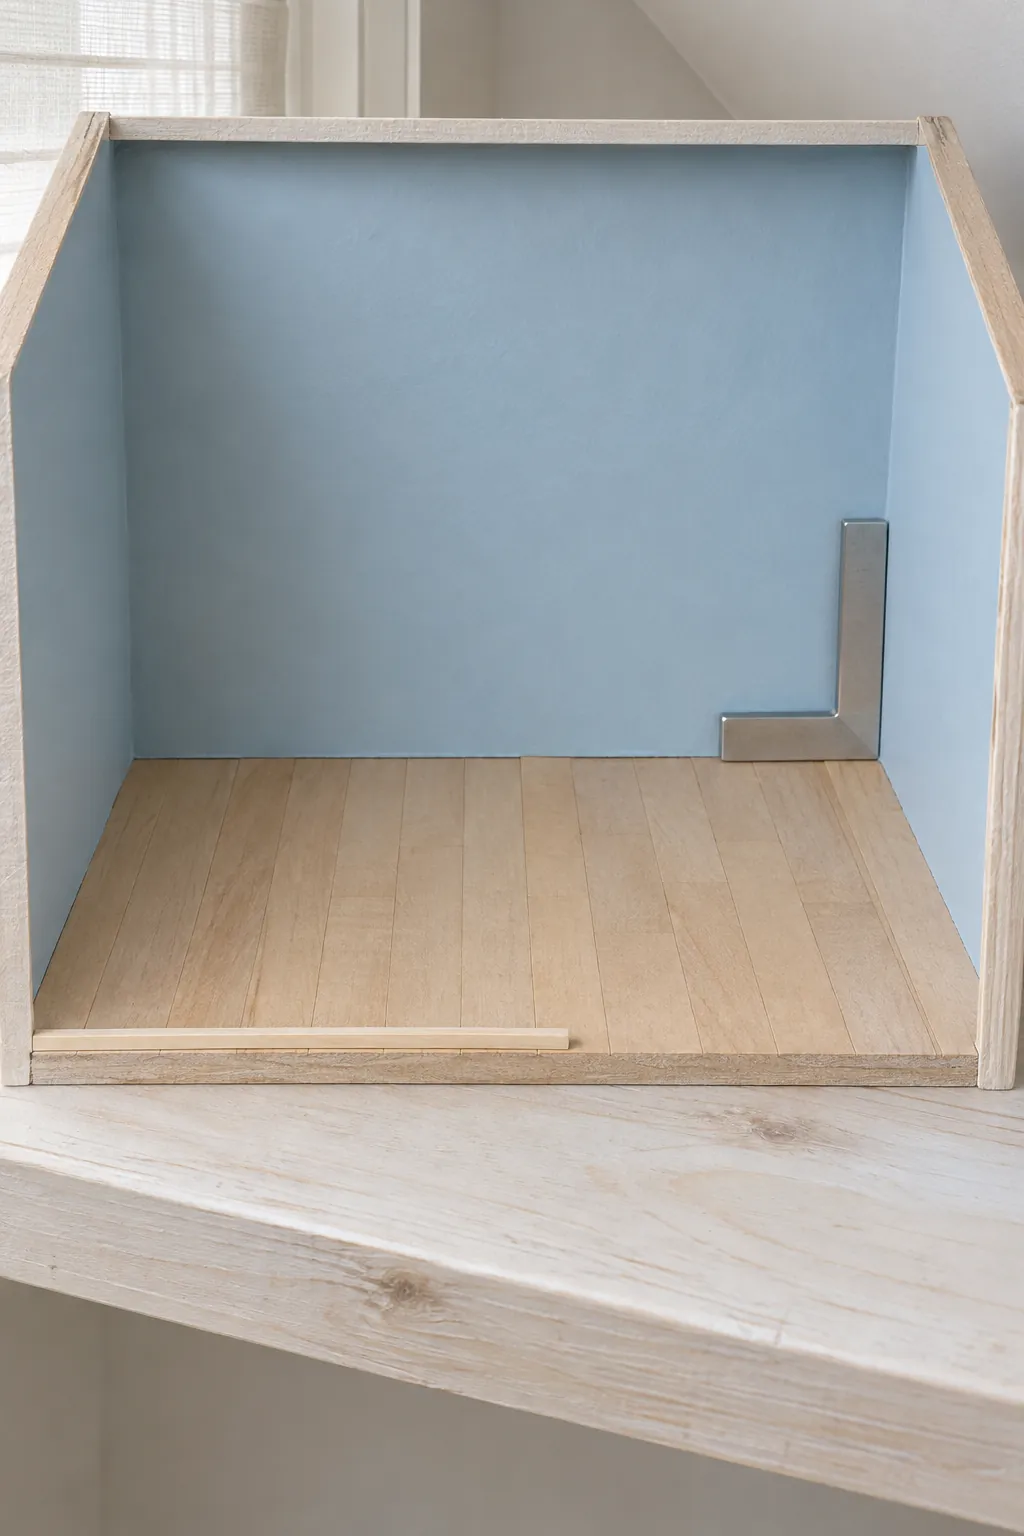
Test a piece of trim against the front. It should touch along the edge with light pressure. If you need to force the trim into a curve to hide the joint, find where the floor or wall has moved before you add the finish.