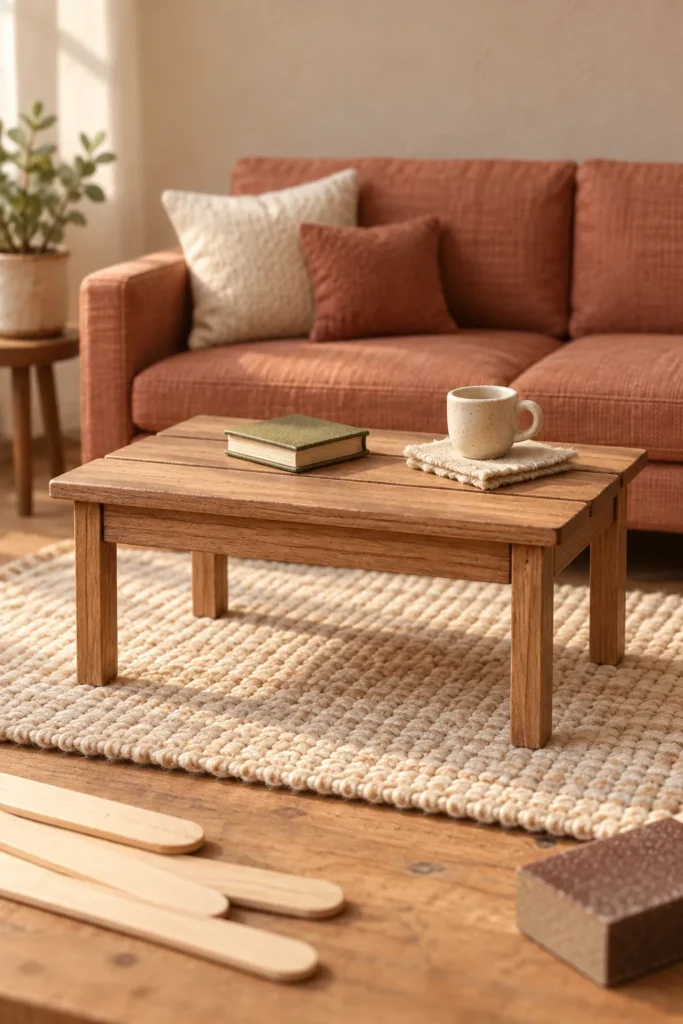
A tiny tabletop can look simple until the edges refuse to line up or the legs lean in four directions. The reliable fix is to build from a measured panel, use a support frame beneath it, and let each glue joint set against a square guide. This method uses inexpensive craft sticks and basic hand tools, so it works well for a first dollhouse furniture project.
Choose the scale and finished size
Decide where the miniature coffee table will sit before cutting anything. For a common one inch scale dollhouse, a finished table about three and one half inches long, two inches wide, and one and one half inches high looks natural beside a small sofa. Place a paper rectangle in the room first and adjust it until there is enough walking space around the furniture.
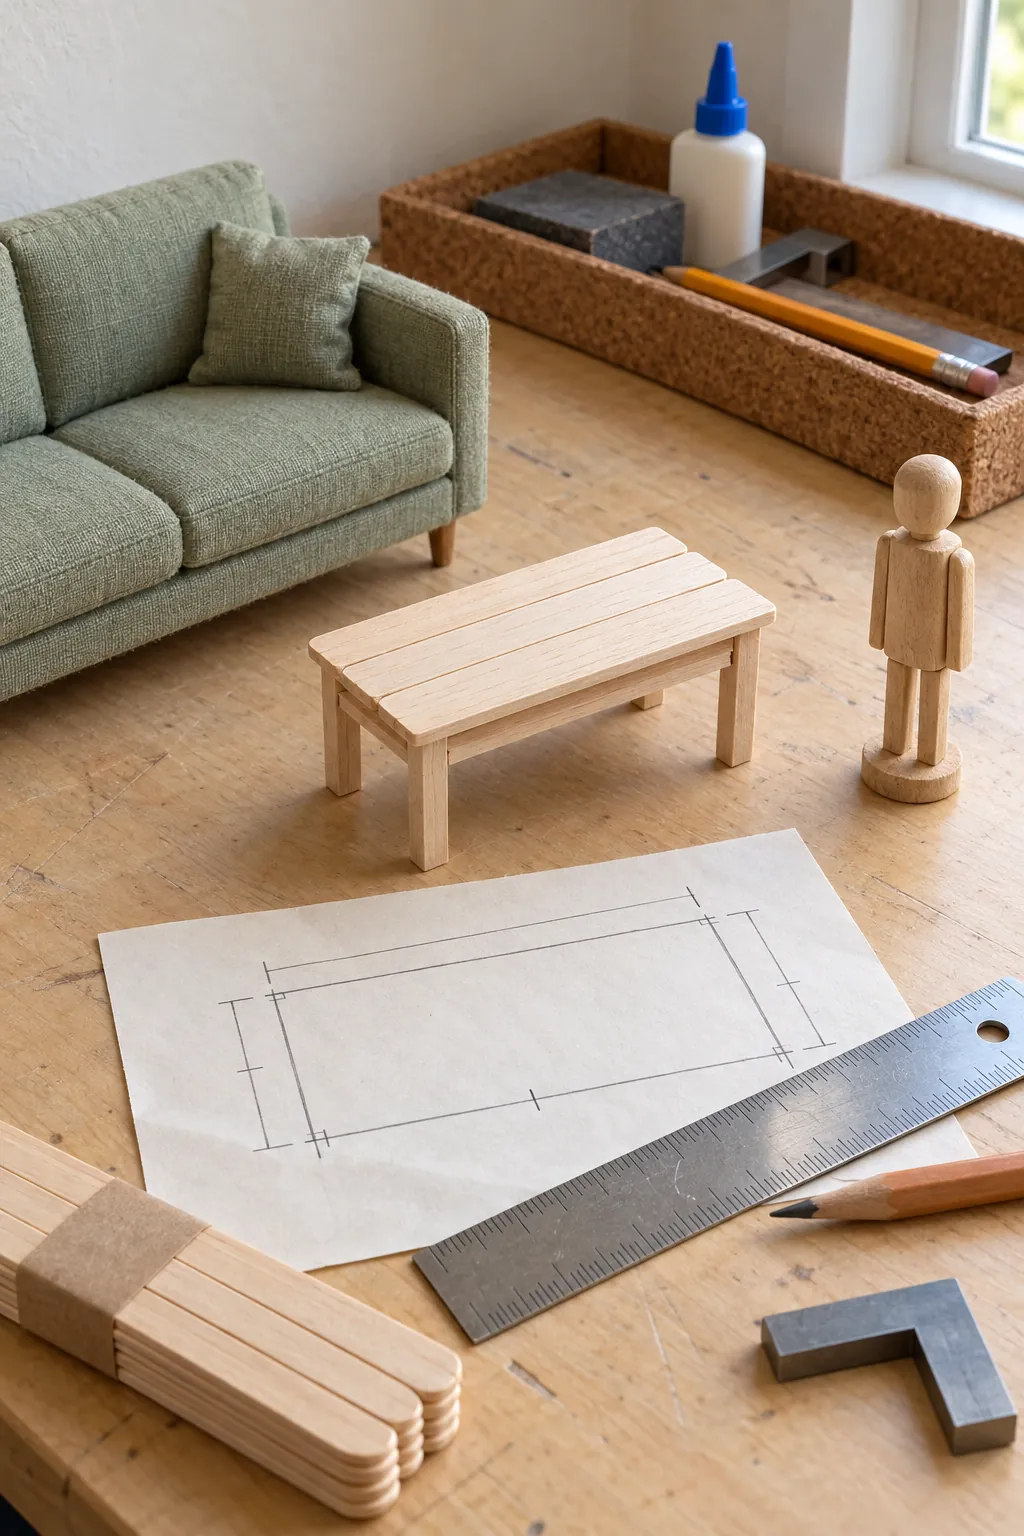
Write down the final length, width, and height. These three measurements control every later cut and help both sides remain equal. If your dollhouse uses another scale, keep the proportions and change all measurements together.
Prepare the craft sticks
Select straight craft sticks without splits or deep twists. Mark each cut with a sharp pencil and a small square, then score the line several times with a craft knife before snapping or trimming the piece. A fine sanding block removes rough fibers and lets adjacent tabletop boards meet closely.
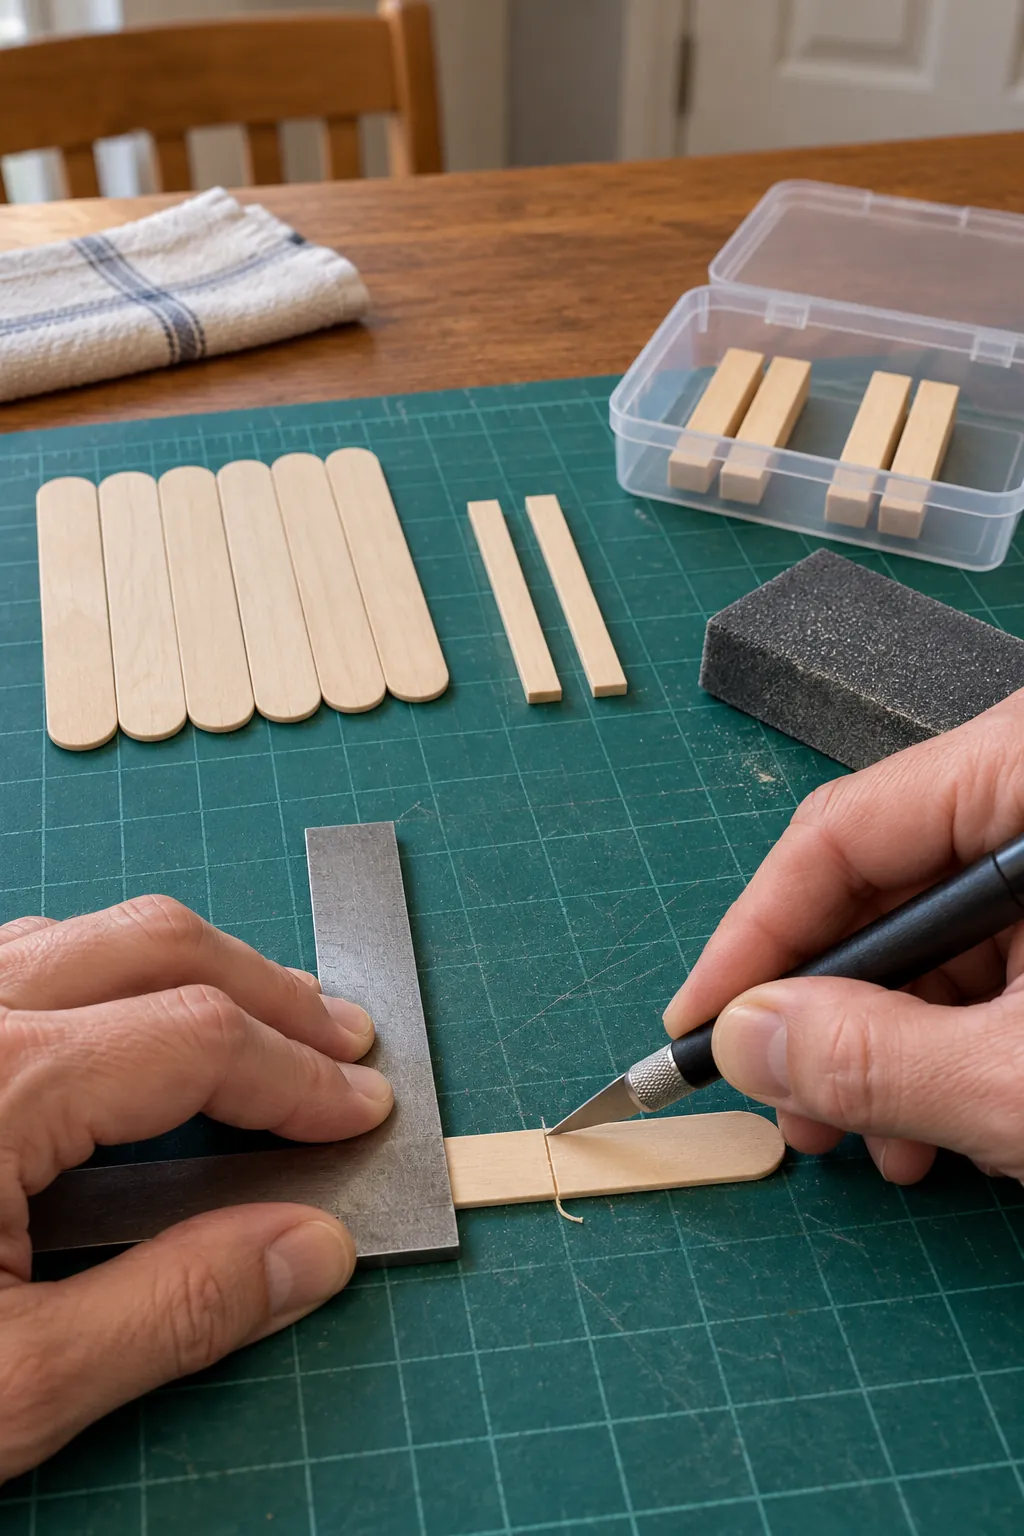
Cut the tabletop boards a little long at first if your cutting tool tends to crush the ends. You can sand the assembled panel to its exact length later. Keep matched leg pieces together so small differences do not move from one side of the table to the other.
Glue a flat tabletop panel
Cover a flat work surface with baking paper so stray glue will release easily. Lay the tabletop boards edge to edge against a straight ruler, with their best faces turned down. Apply a very thin line of tacky craft glue between the boards, press them together, and wipe away squeeze out with a barely damp brush.
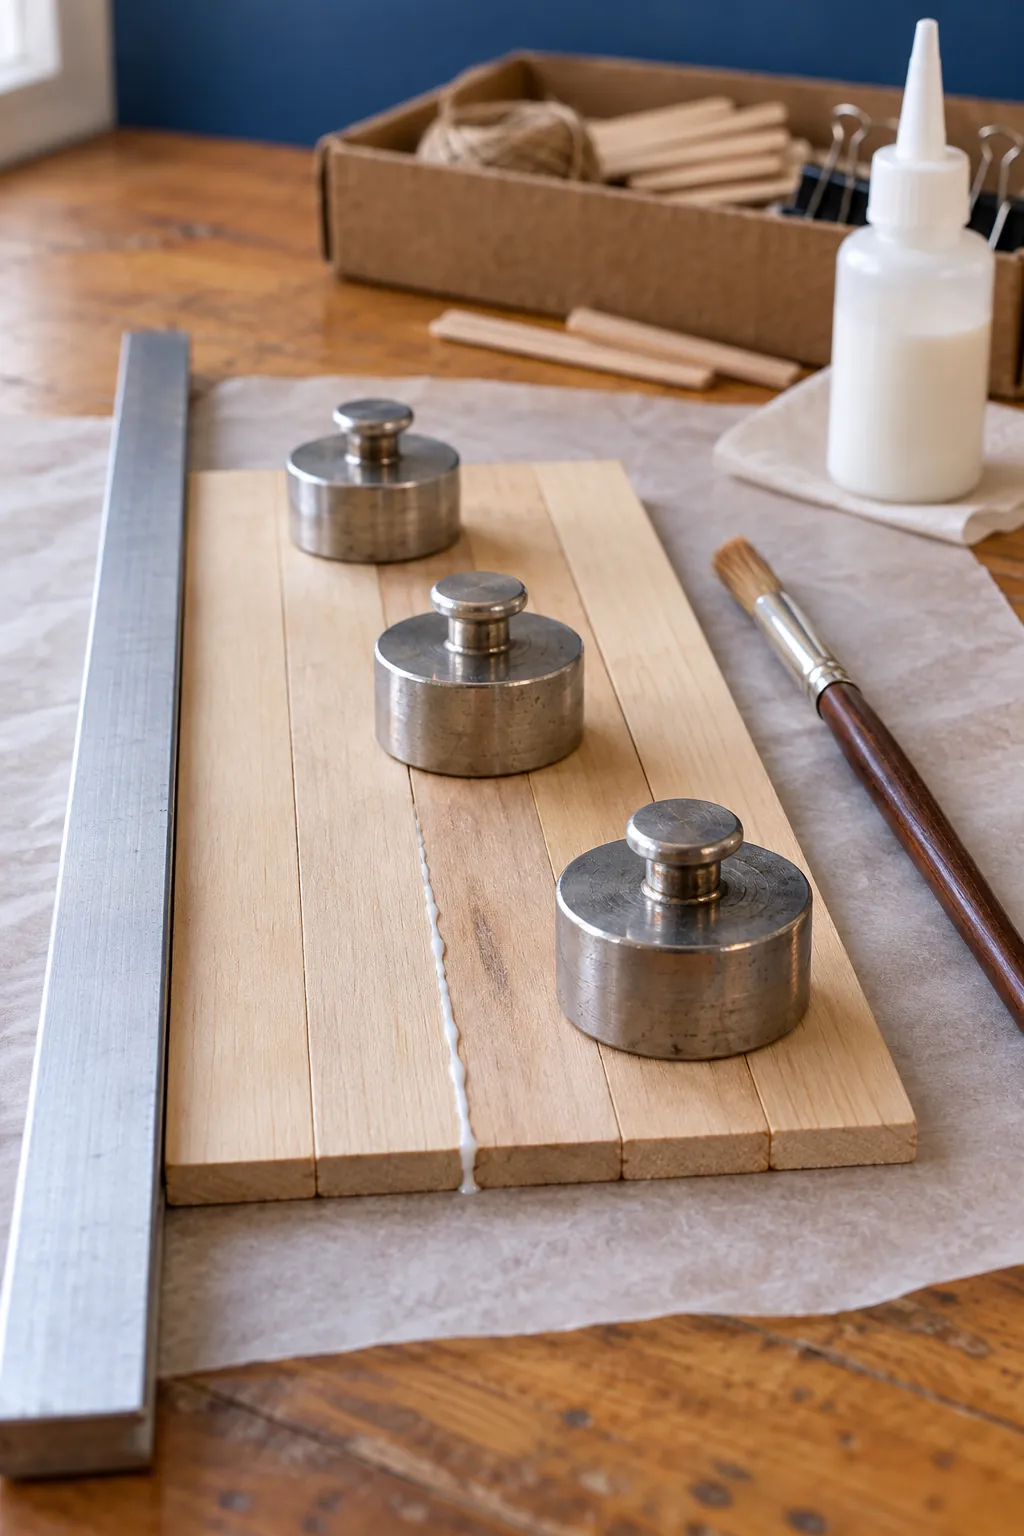
Place small weights across the panel while it dries, but do not press hard enough to force the boards out of line. Check the surface from a low angle before the glue grabs. If one strip rises, guide it back down with a clean stick and reset the weight.
Add a support frame underneath
A narrow frame beneath the top keeps the thin panel flat and gives the legs a larger area for glue. Cut two long support rails and two shorter end rails. Arrange them as a rectangle near the tabletop edges, leaving a small even reveal on every side.
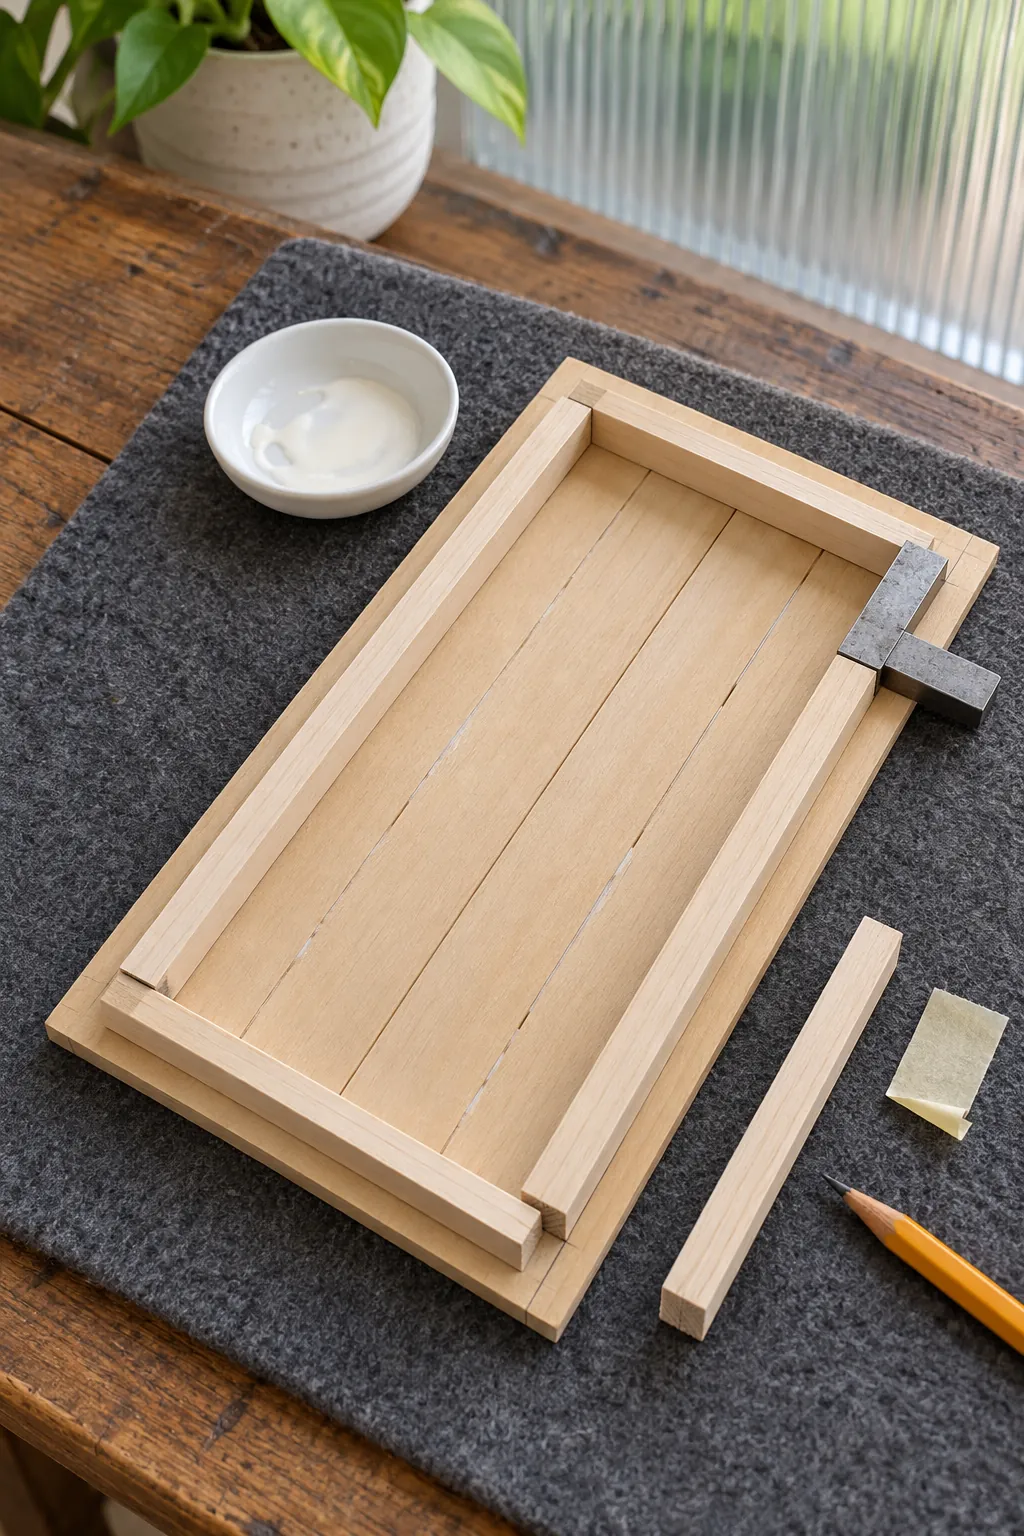
Dry fit all four rails before applying glue. Use the corner of a small square or a piece of squared card to confirm that the frame is not skewed. Let this assembly dry fully before attaching the legs because a soft joint can shift under light pressure.
Attach simple straight legs
Make four equal legs from stacked craft stick strips or narrow square wood. Sand their ends together on one flat block so every leg reaches the same length. Glue one leg inside each corner of the support frame, using a small right angle guide to hold it upright.
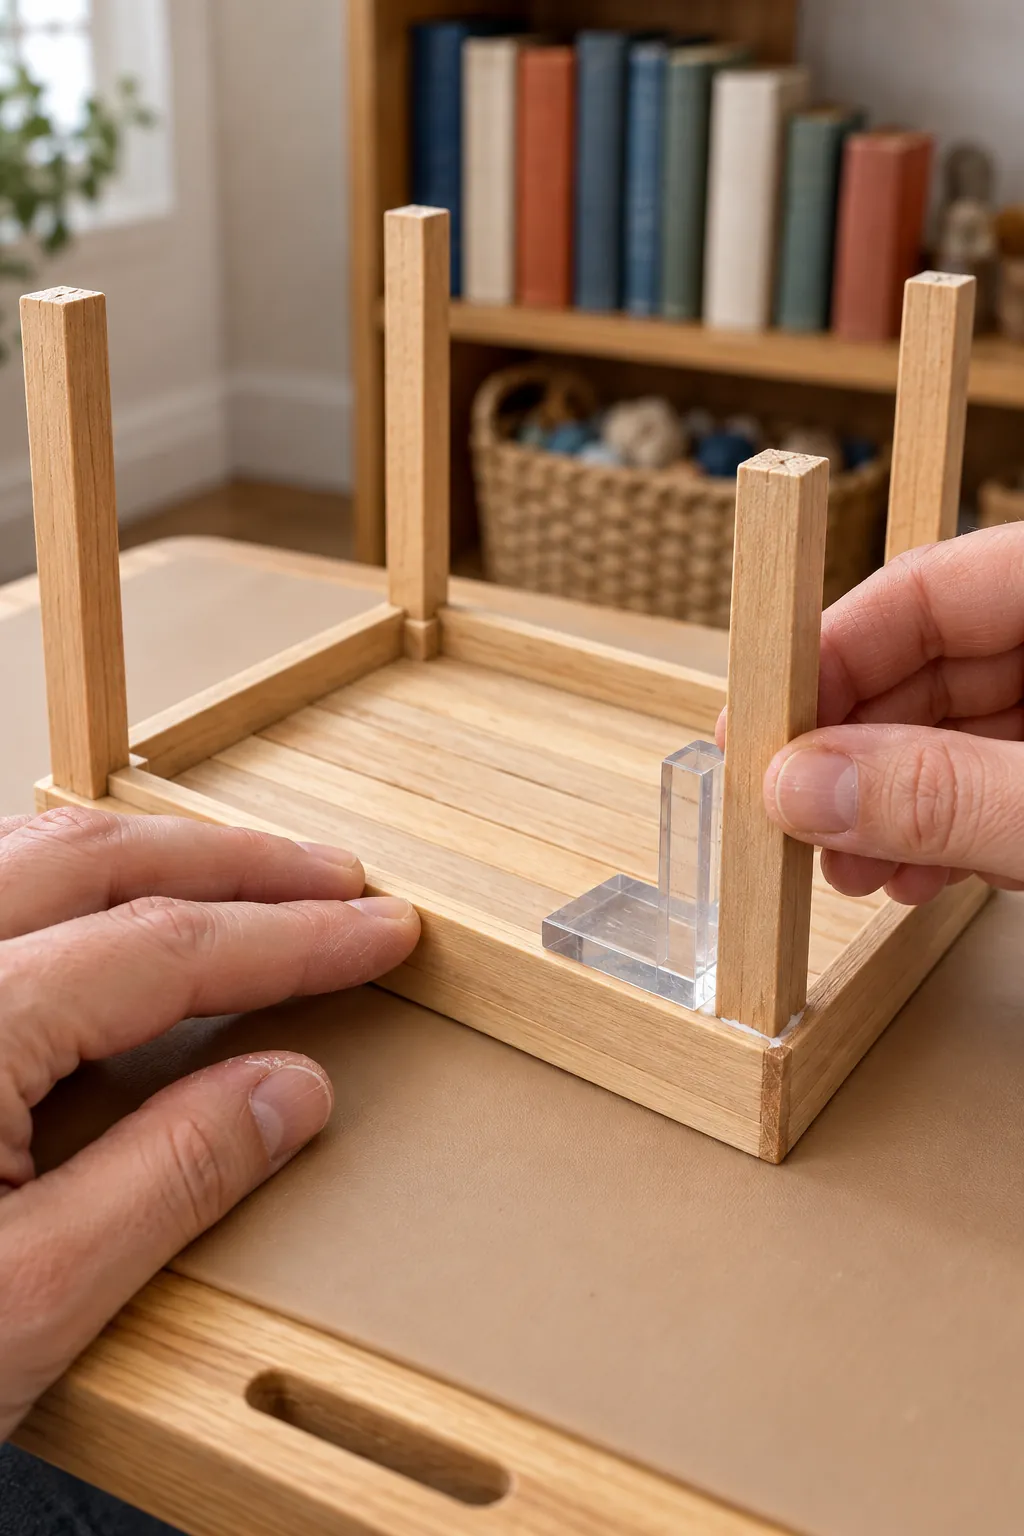
Attach two legs on one long side and allow them to set before turning the table. Add the other pair with the first side resting against a flat support. This slower sequence prevents fresh joints from moving and makes a stable result more likely for beginners.
Sand, finish, and test the table
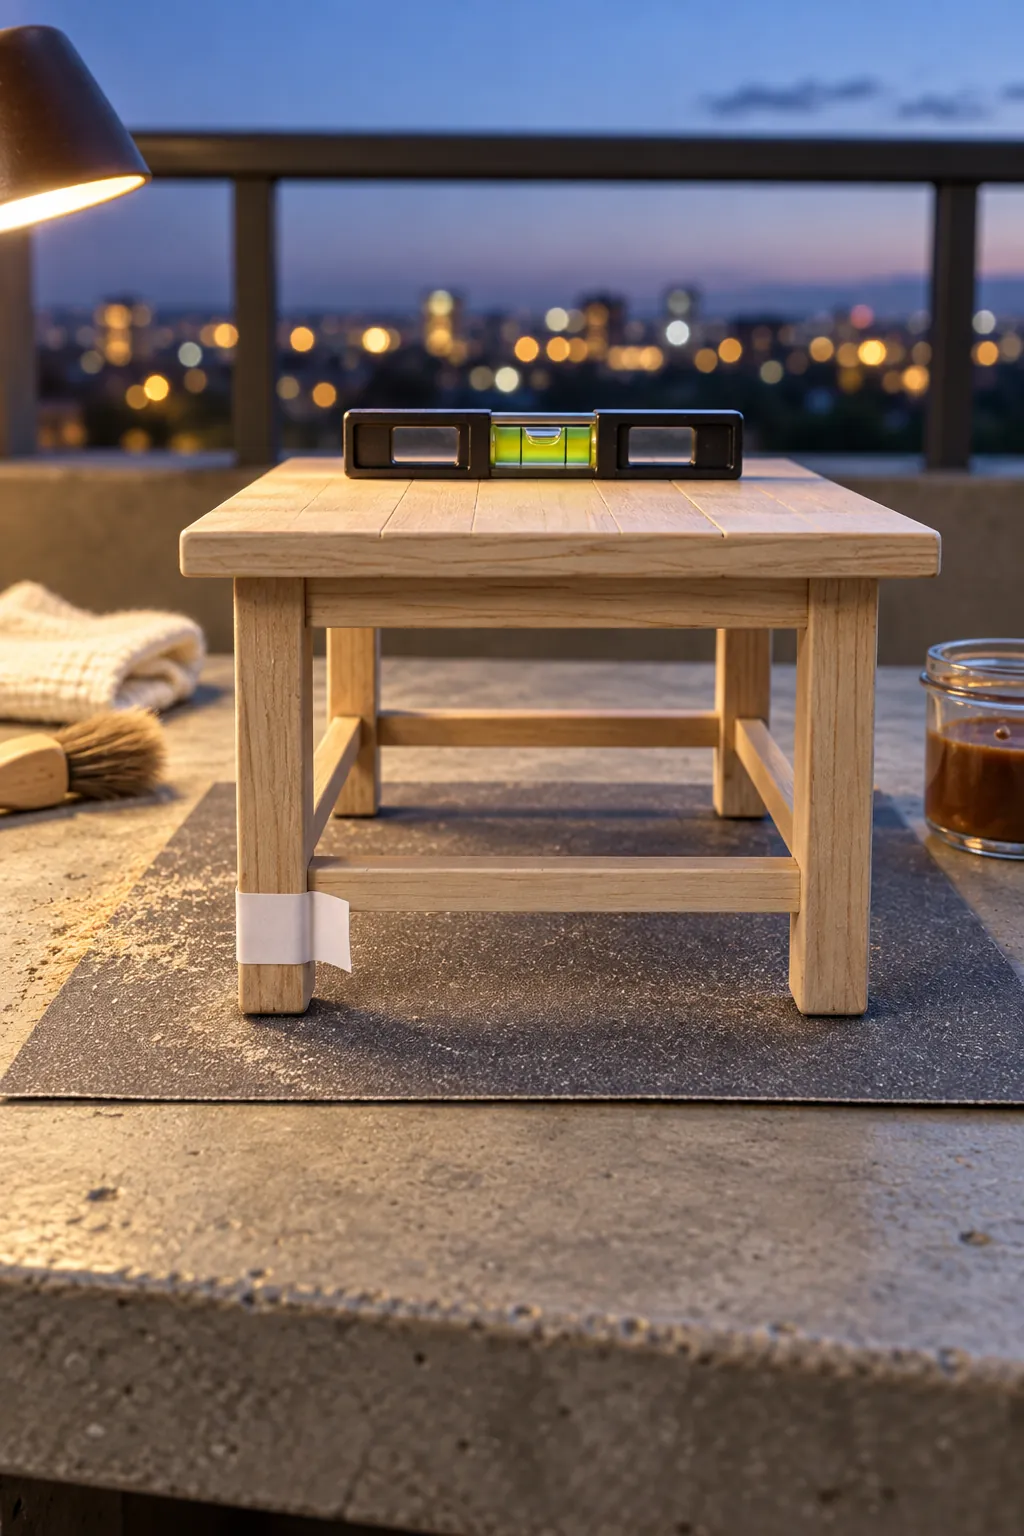
Set the dry table on a sheet of fine abrasive paper and move it in small circles to level all four feet together. Round only the sharp outer corners, since too much sanding can change the scale. Brush away dust before applying diluted acrylic paint, wood stain, or a clear matte finish.
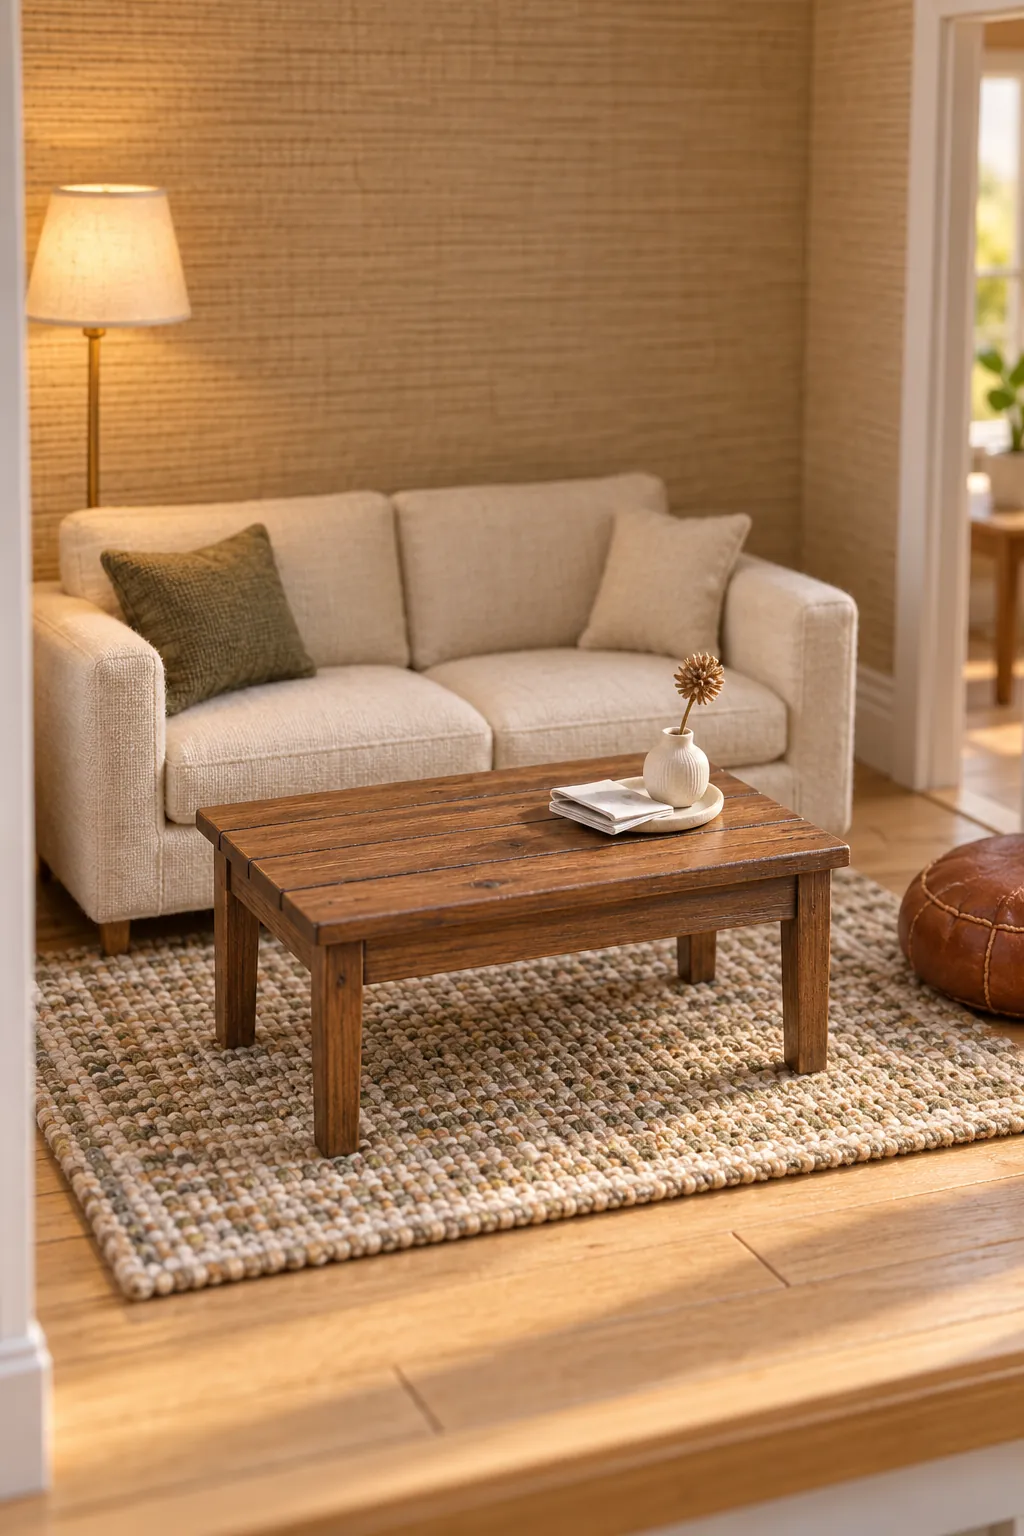
Test the finished piece with a tiny book or tray placed near each corner. If the table rocks, identify the shortest leg and sand the other three very lightly rather than building one foot up with a visible blob of glue. Once it sits firmly, the miniature coffee table is ready for a dollhouse living room or room box.