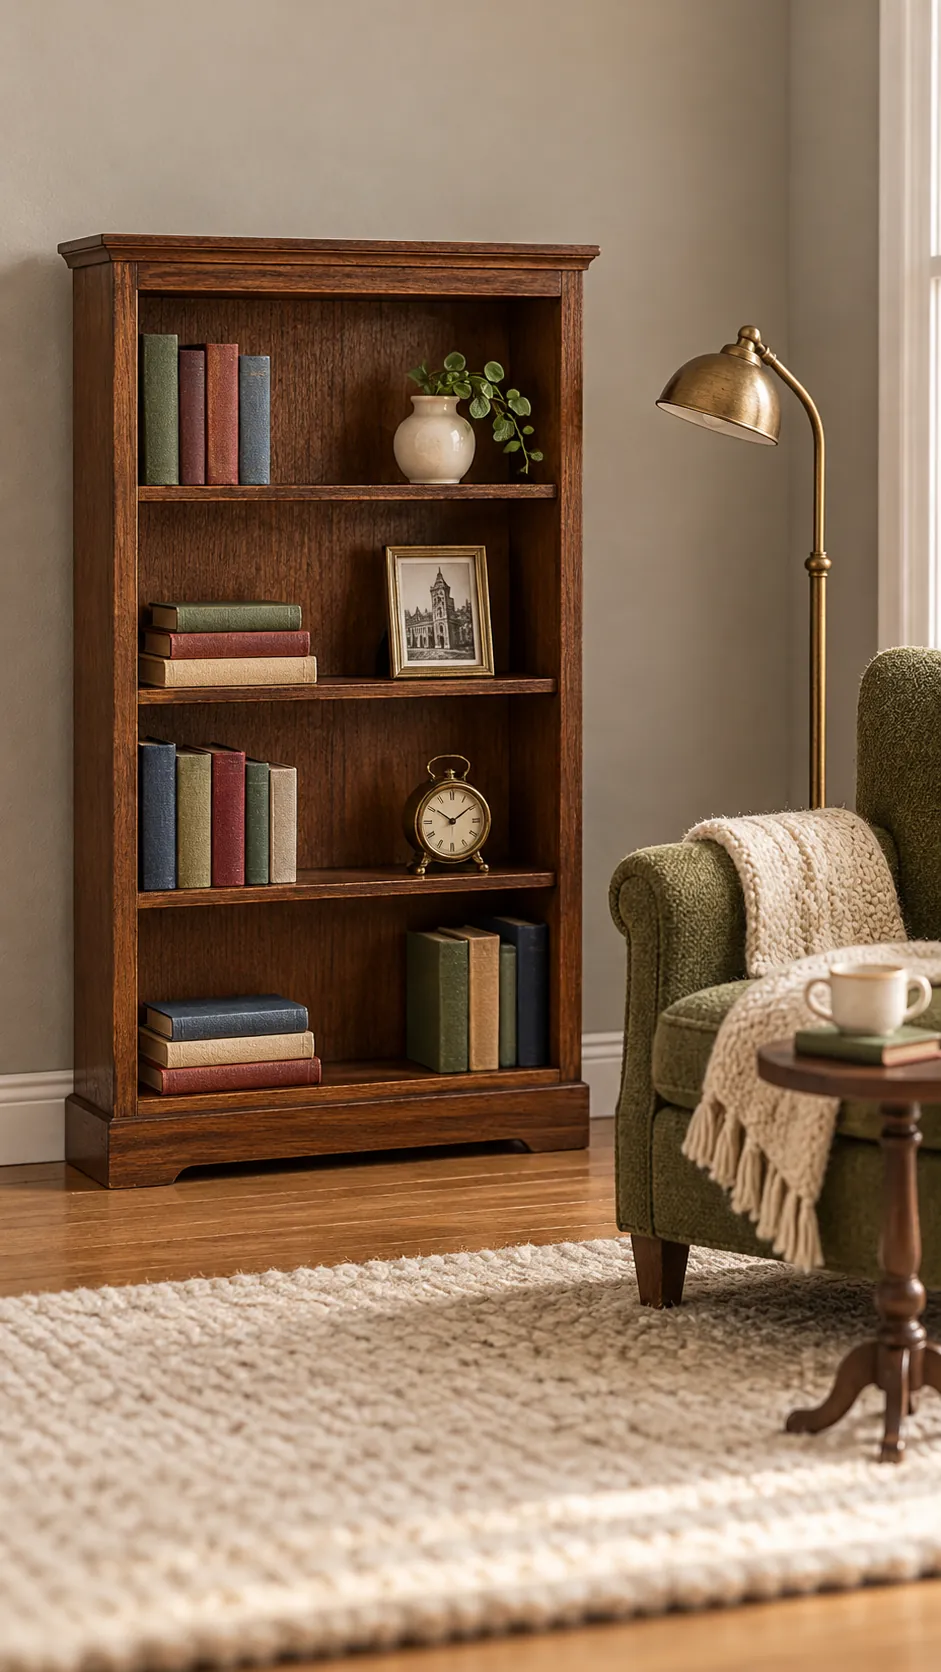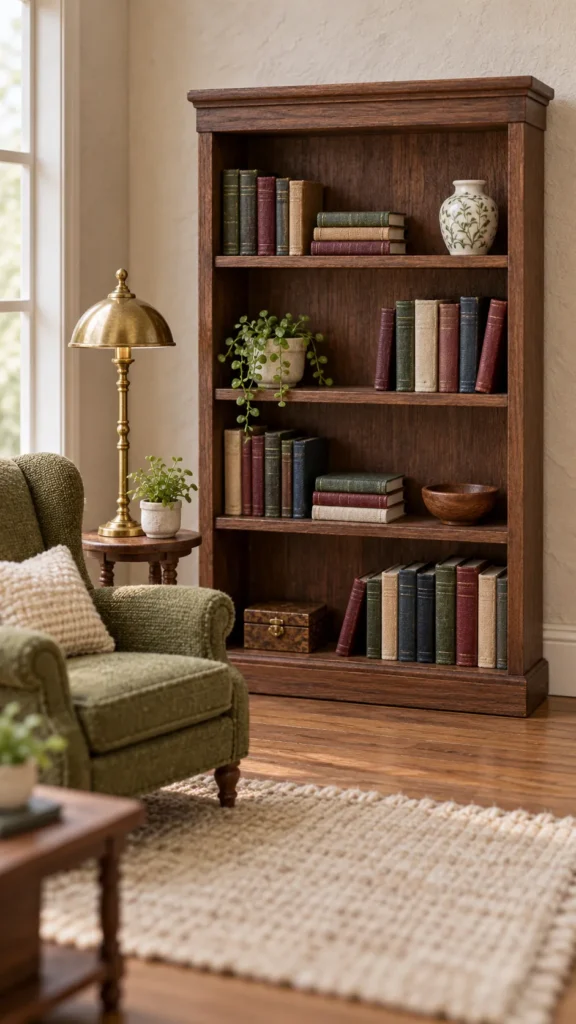
Craft sticks can become a convincing miniature bookcase when the shelves are truly level and the wood thickness matches the room scale. Careful sorting and a simple right angle jig matter more than complicated joinery.
This beginner method builds the side panels first, adds shelf supports, and keeps glue amounts small. The finished piece works in a dollhouse library, reading room, bedroom, or tiny shop.
Sort and prepare the craft sticks
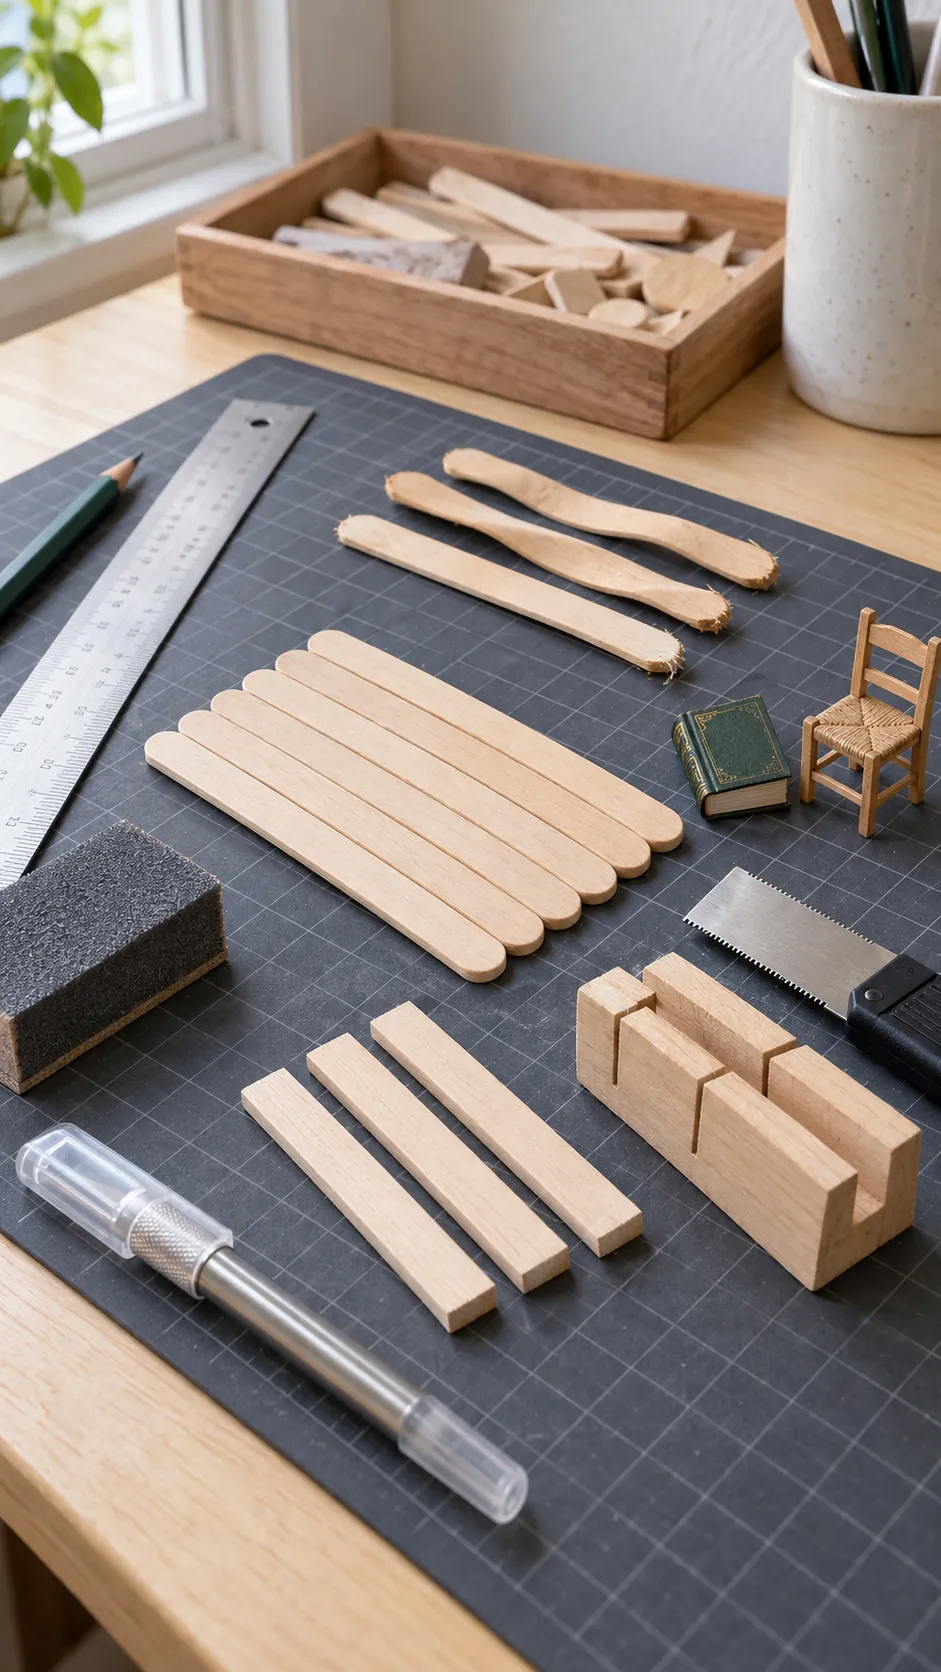
Choose straight sticks with similar thickness and a fine surface. Set aside pieces with twists, deep dents, or split ends. Trim away the rounded tips with a sharp craft saw or knife, then sand the cut ends against a small square block.
Lay the prepared pieces beside a one twelfth scale chair or book. This check keeps shelf height believable and prevents the bookcase from looking like a full size project shrunk at random. Prepare a few spare pieces before assembly.
Plan shelf spacing on paper
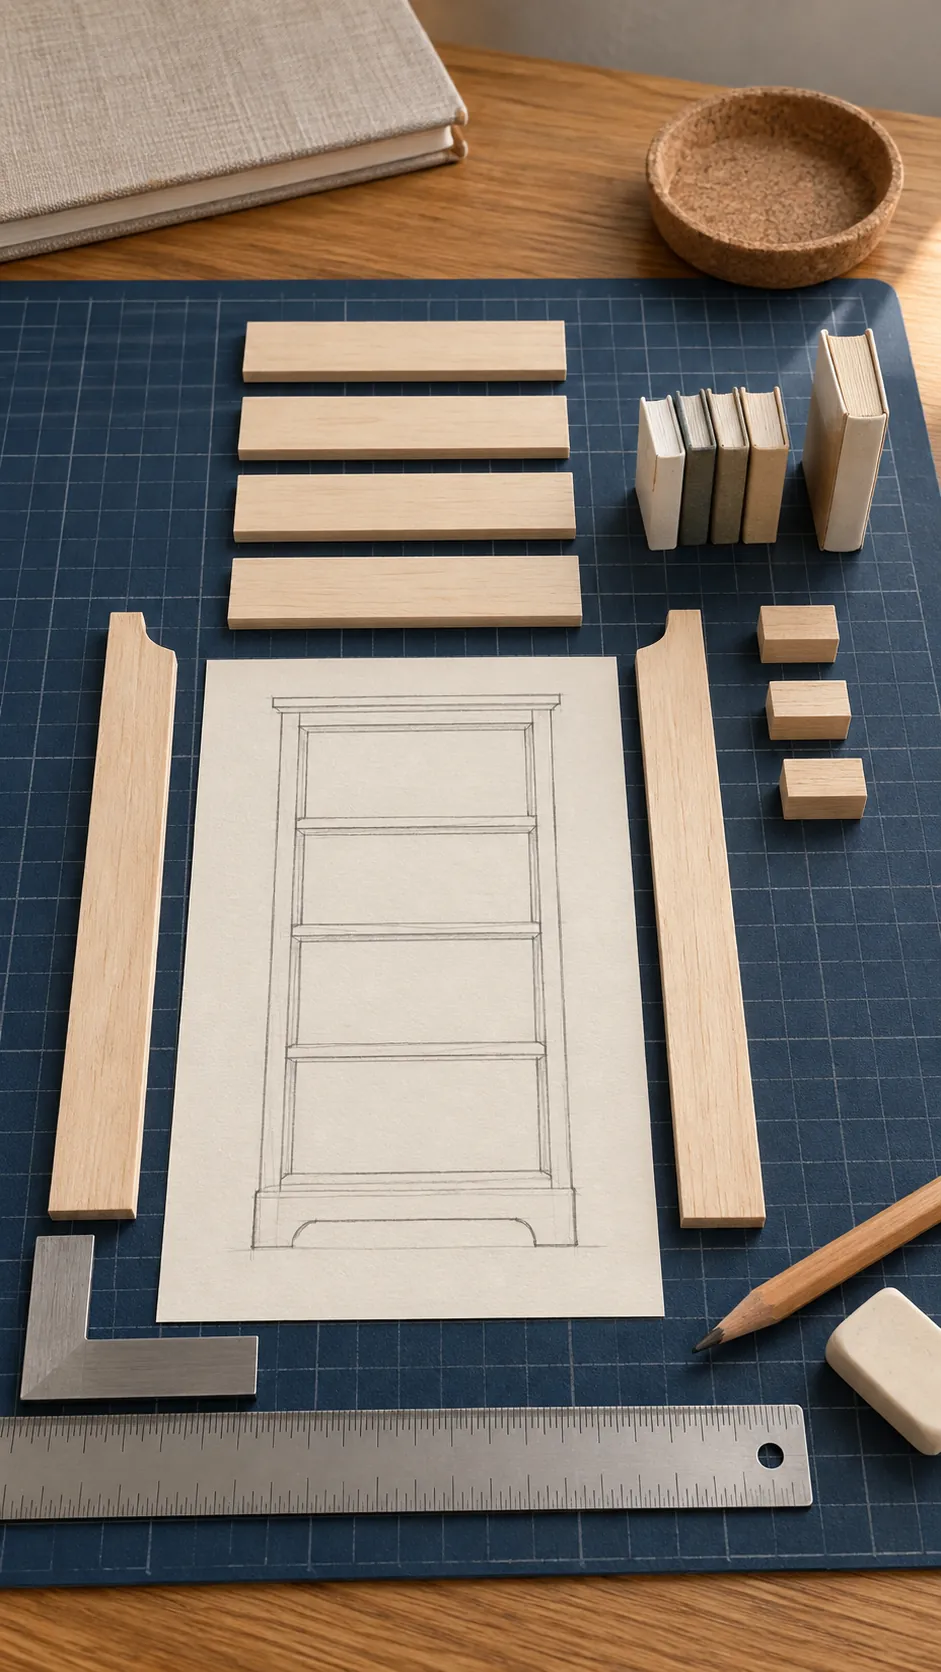
Draw the bookcase at full miniature size on paper. Mark the base, top, two sides, and each shelf as plain rectangles. Test your tallest miniature book against the openings and leave a little clearance above it.
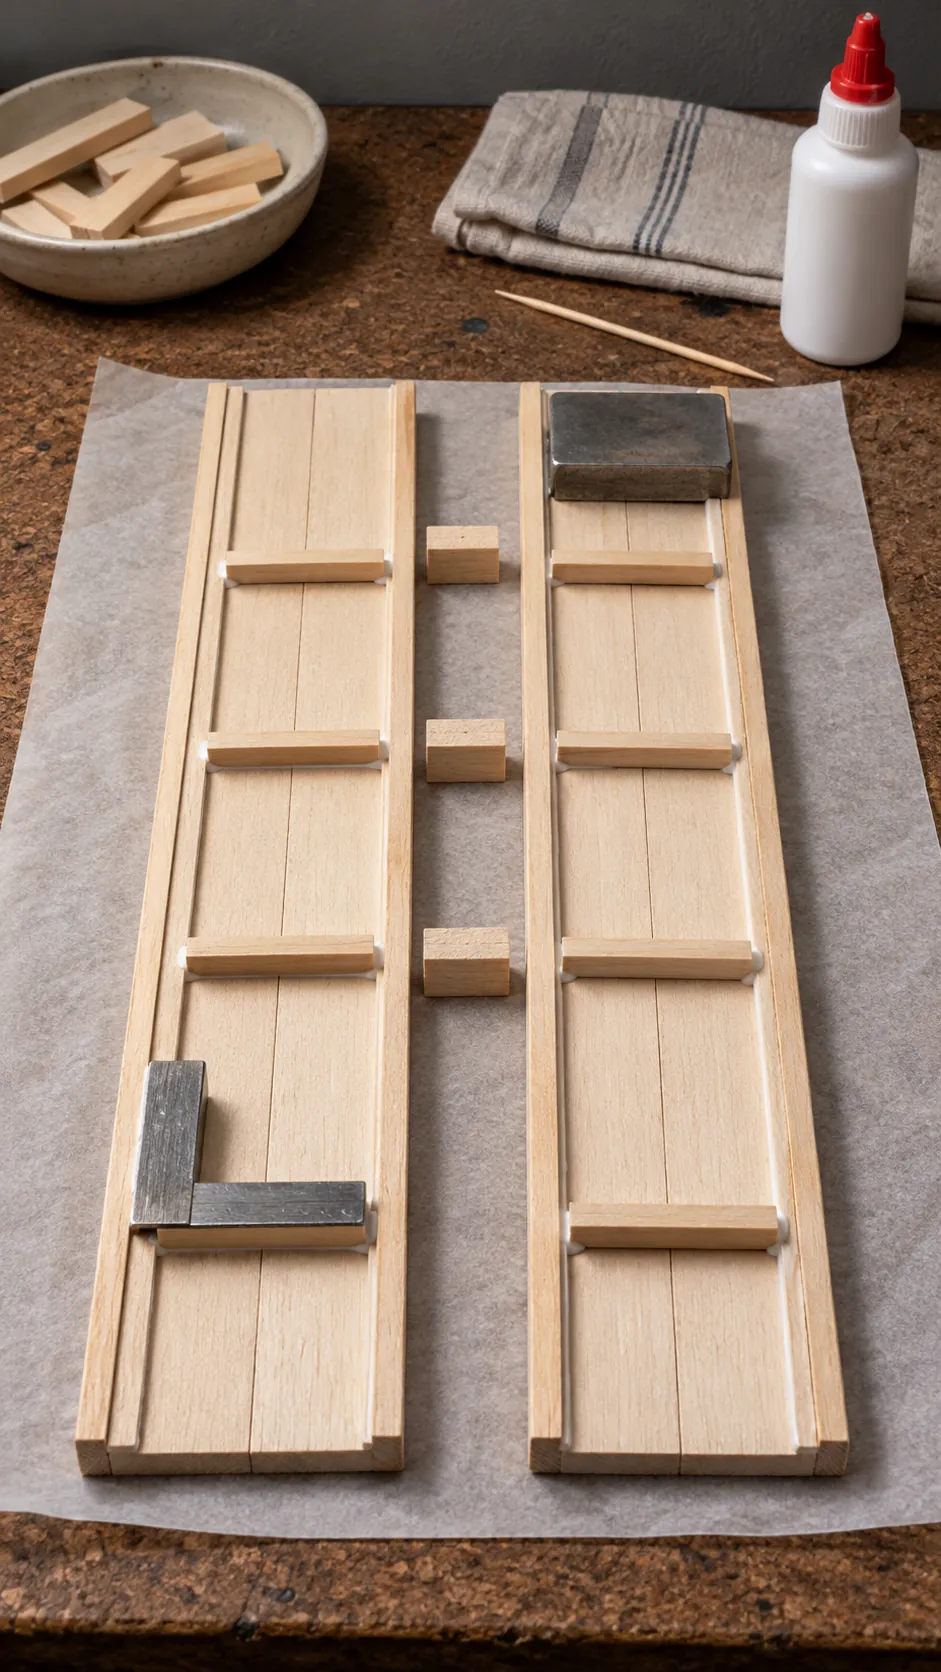
Use repeated spacer blocks to transfer shelf positions to both side panels. Matching spacers are more reliable than measuring each location separately. Pencil marks belong on the hidden inner faces where stain will not make them obvious.
Build matching side panels
Join two trimmed sticks edge to edge for each side when one stick is too narrow. Glue narrow rails across their hidden backs to keep them flat. Weight both panels lightly between baking paper while they dry.
Add small shelf support strips at the marked heights. Check every strip with a square and compare the two sides face to face. A support that sits even slightly higher on one panel will make the completed shelf tilt.
Glue the shelves square
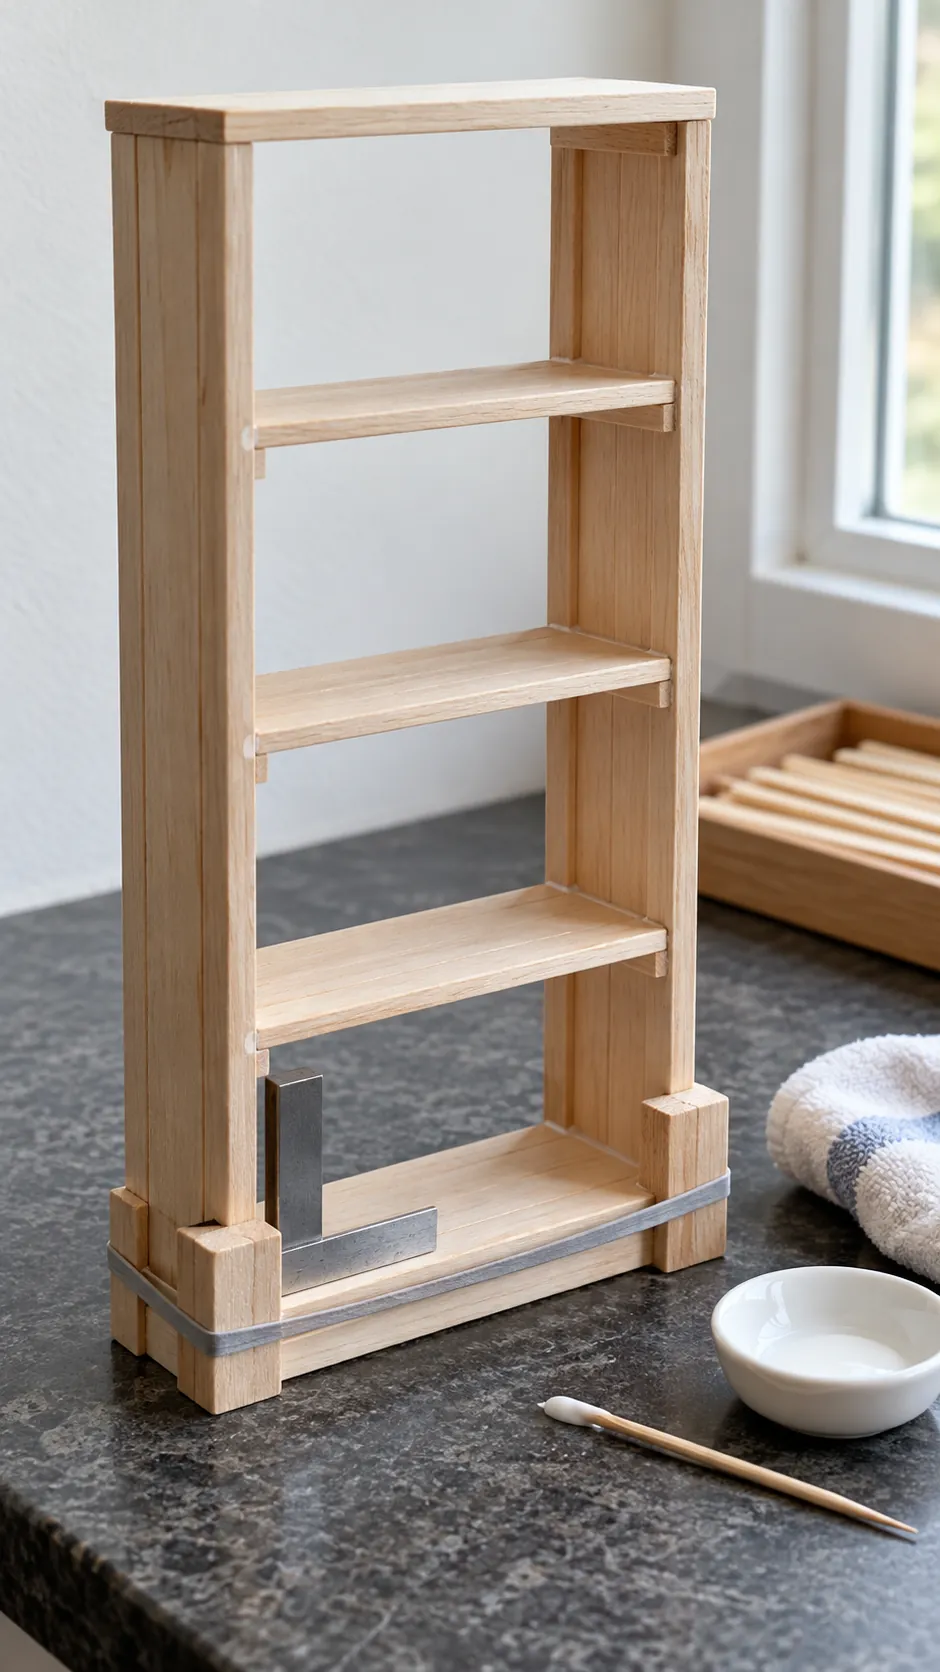
Stand the side panels against two square blocks and glue the bottom shelf between them. Add the top next, then work inward one shelf at a time. A toothpick gives better control than squeezing glue directly onto these small joints.
Check the frame from the front after every shelf. Wipe away squeeze out before it dries because excess glue blocks stain. Let the assembly become firm in the jig before moving it or adding decorative trim.
Add a back and finish the wood
A thin card or wood veneer back keeps the case square and stops tiny books from falling through. Cut it just inside the outer edges, dry fit it, and glue it with a thin even film. Add simple top and base trim only after the case is stable.
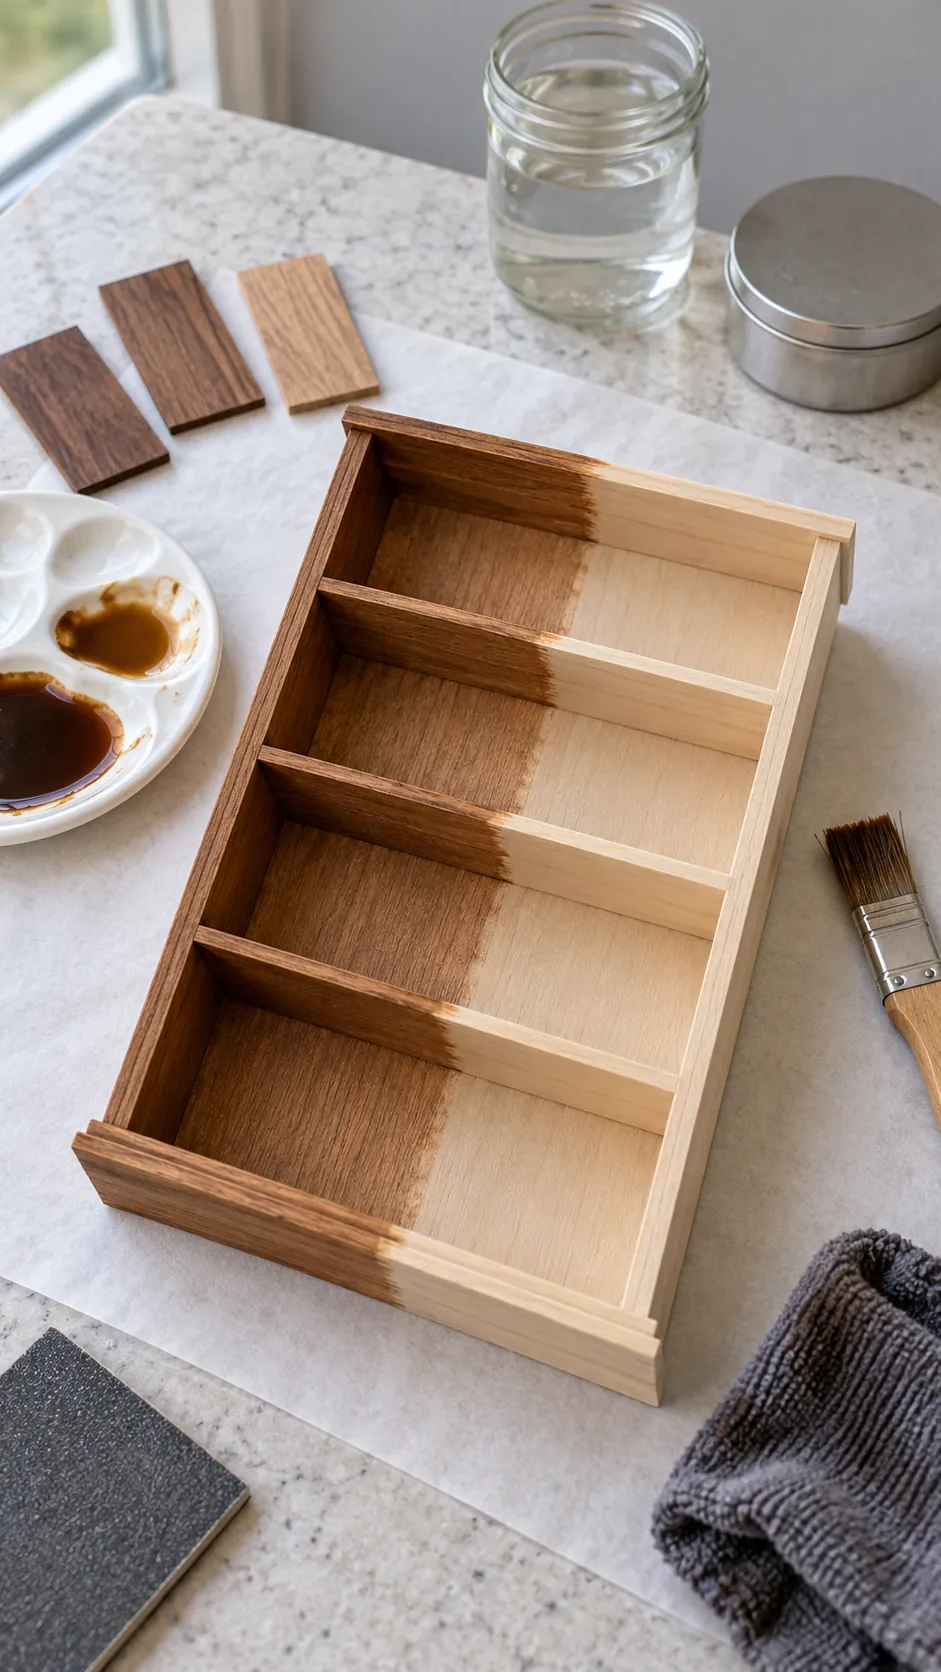
Sand lightly with fine abrasive and remove all dust. Use diluted acrylic stain, water based wood stain, or paint in thin coats. Test the finish on scrap because some craft sticks absorb color unevenly at the end grain.
Style the finished miniature bookshelf
Place books in small groups with open space between them. Mix upright volumes with one short stack, then add only one or two scale objects such as a tiny vase or framed photograph. Crowding every shelf hides the structure and makes the display feel flat.
Set the bookcase against the dollhouse wall and check that all feet touch the floor. Museum wax can hold lightweight accessories in place while allowing future changes. The shelf should feel like useful furniture, not a container filled to its edges.