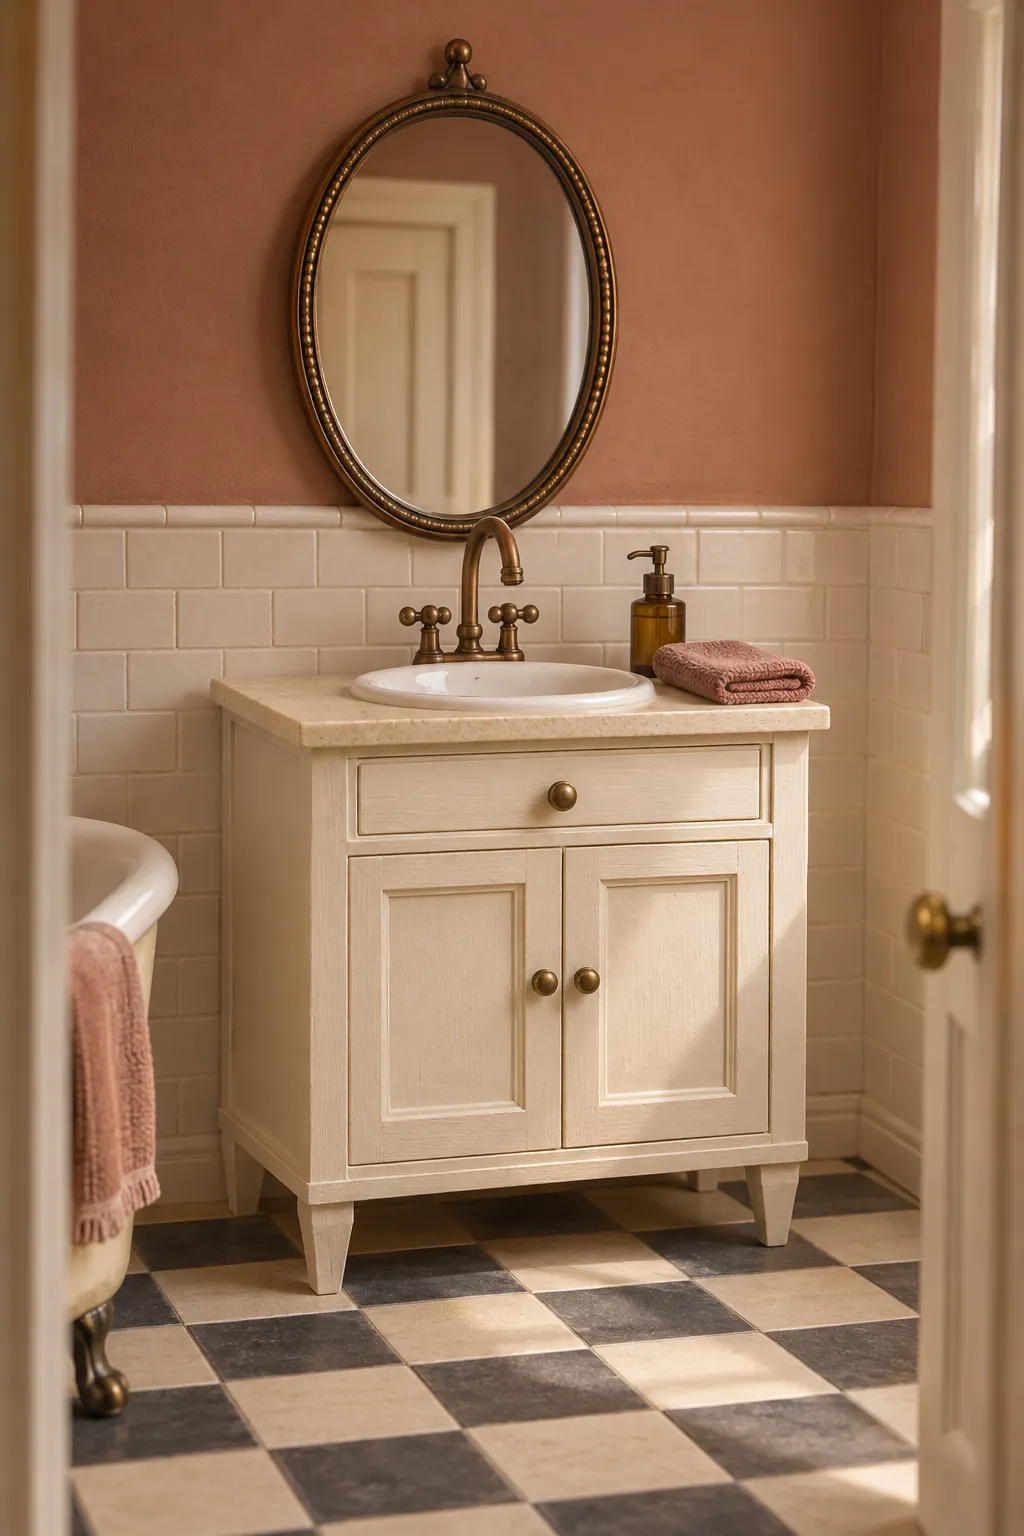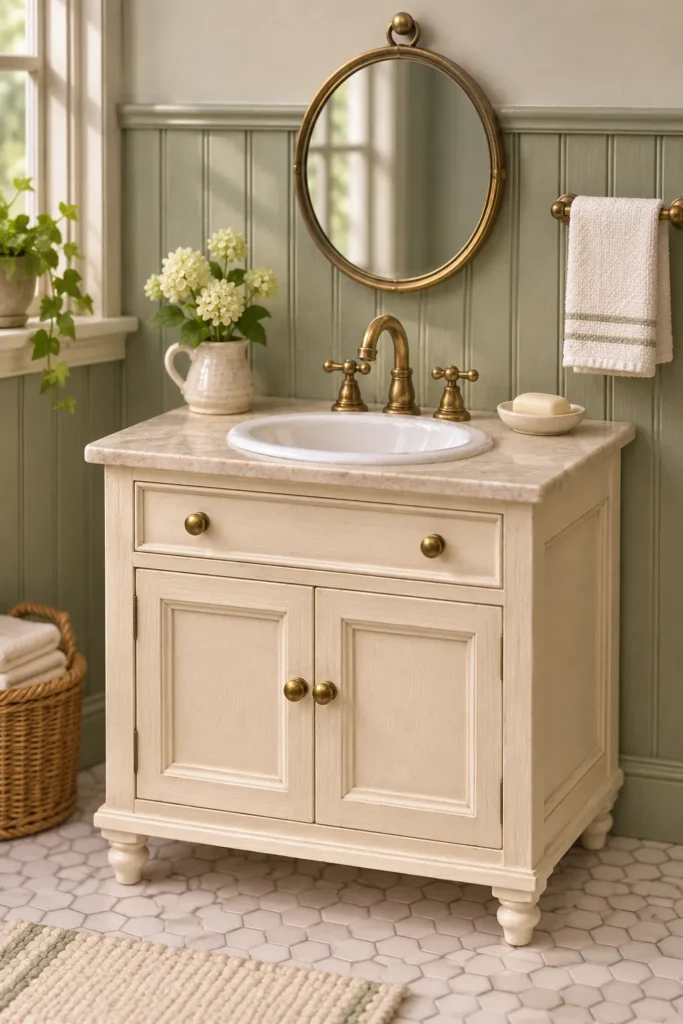
A convincing tiny bathroom depends less on expensive supplies than on careful proportion. A basin that sits too close to the back edge leaves no room for a faucet, while a deep cabinet can crowd a narrow dollhouse room. This project solves those problems before glue touches wood.
Choose the scale and finished size
This tutorial uses one inch to represent one foot, which is the common 1:12 scale. A realistic vanity can measure about 2 3/4 inches high, 2 1/2 inches wide, and 1 5/8 inches deep. Those dimensions represent a cabinet that is about 33 inches high, 30 inches wide, and 19 1/2 inches deep in a full size room.
Measure the intended bathroom wall before you cut anything. Leave a visible gap beside the cabinet so it does not look wedged into the room. Set a paper rectangle on the floor to check whether the door, bath, and toilet still have believable clearance.
Cut a square cabinet shell
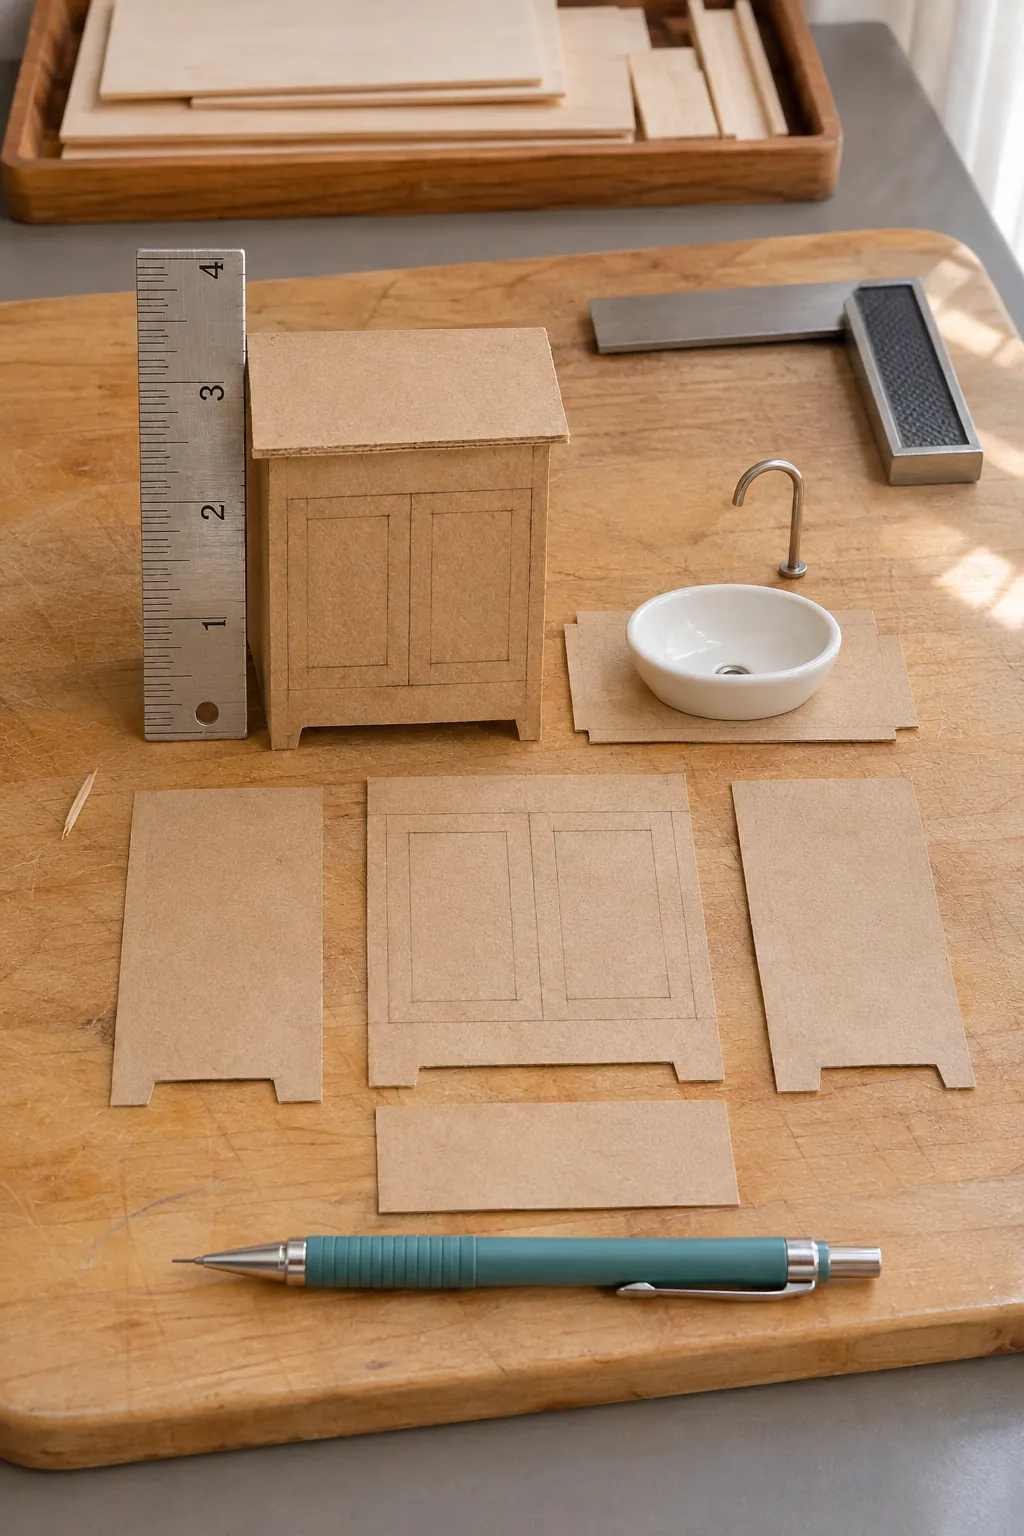
Use 1/16 inch basswood, thin craft plywood, or dense chipboard for the cabinet. Cut two side panels at 2 5/8 inches by 1 1/2 inches, a base at 2 3/8 inches by 1 1/2 inches, and a front at 2 1/2 inches by 2 5/8 inches. A metal ruler and several light knife passes produce cleaner edges than one forceful cut.
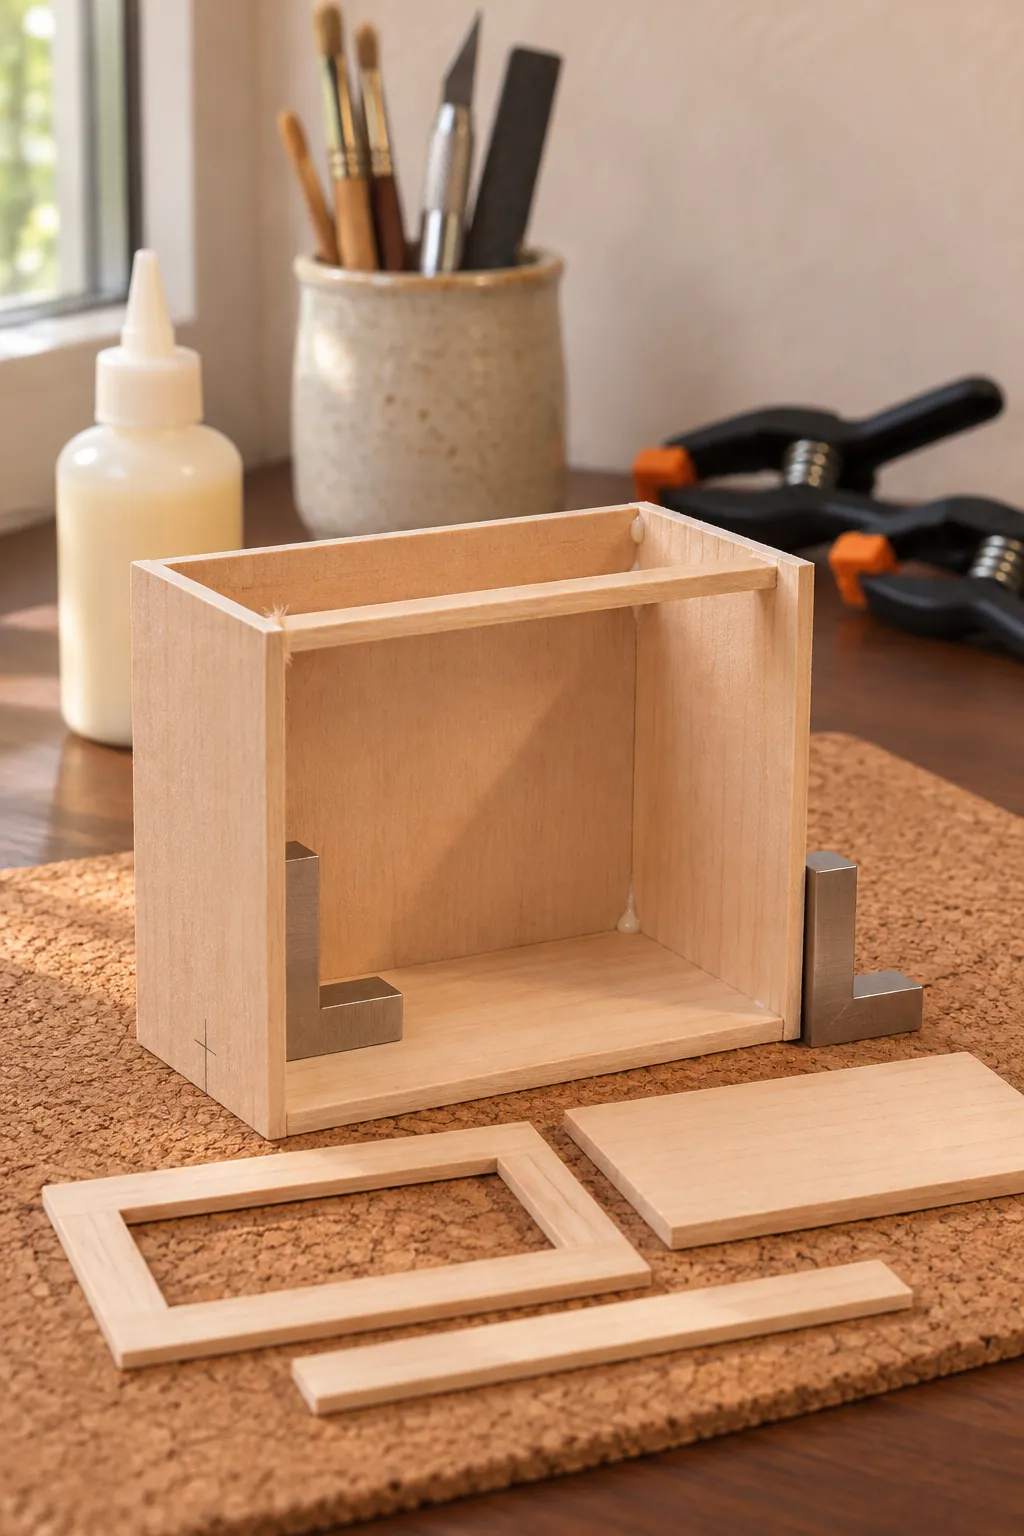
Glue the sides around the base and check every corner against a small square. Add a narrow strip across the inside top to stop the walls from bowing. Keep the back open if the vanity will sit against a wall, since that makes the cabinet easier to position and reduces weight.
Build the doors and drawer front
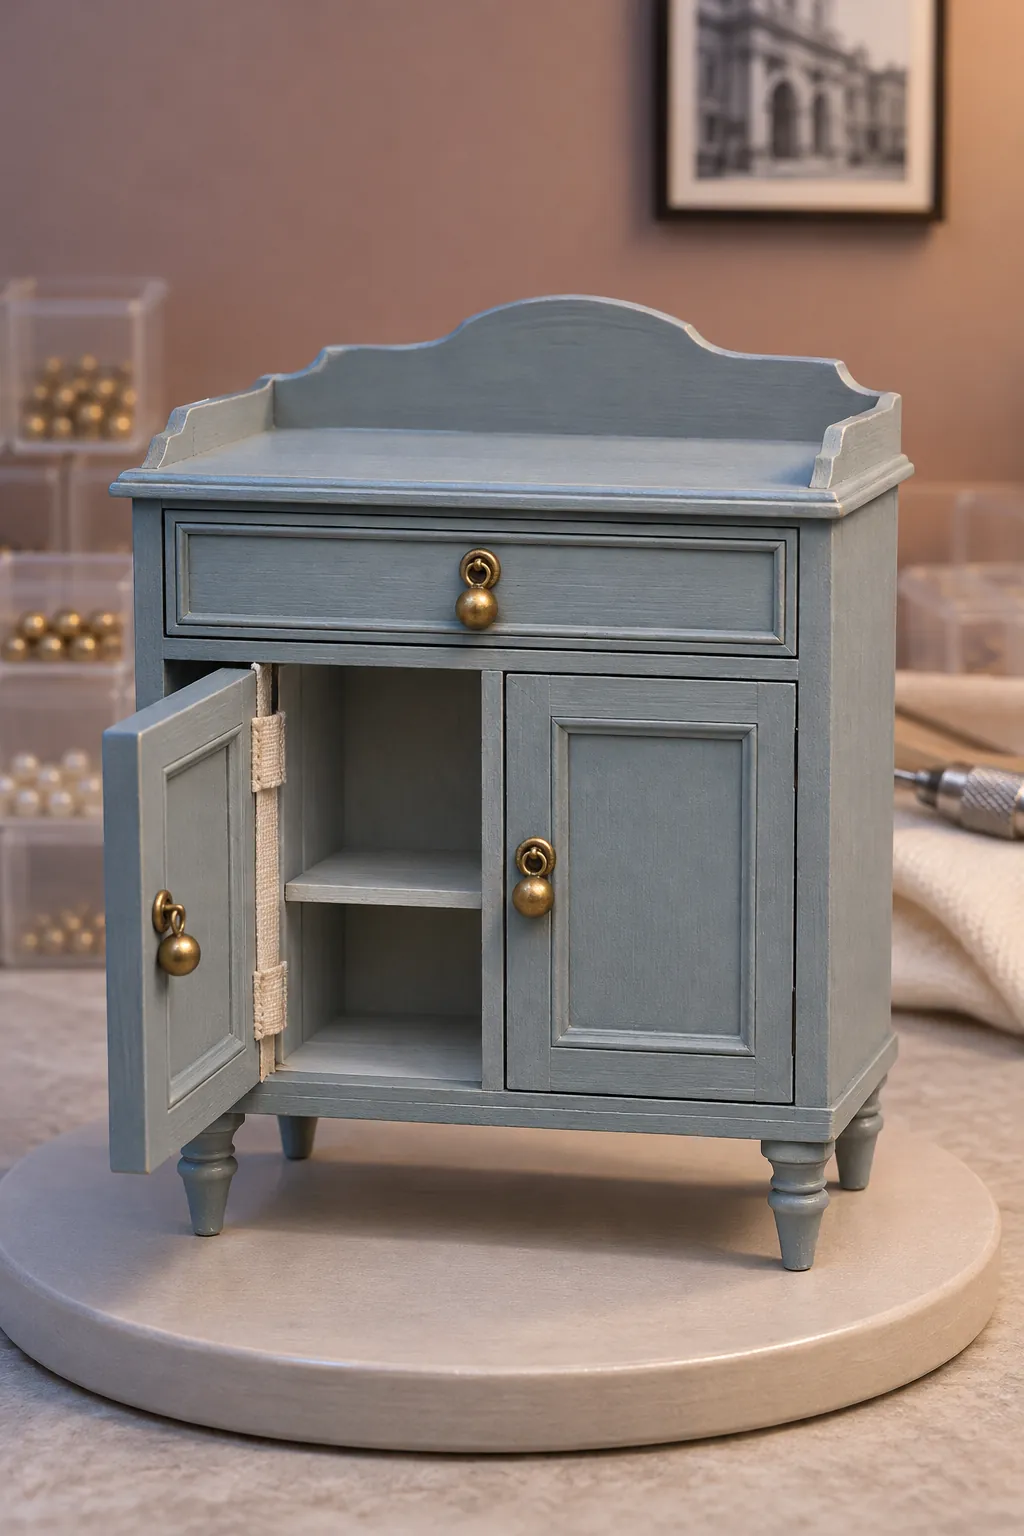
Mark a shallow drawer across the upper front and two doors below it. You can make convincing fixed panels by gluing thin card rectangles onto the cabinet face. Leave a narrow, even reveal around every panel so the gaps read clearly after paint.
For working doors, cut the lower front into two separate pieces and hinge them with narrow fabric tape on the inside. Test the swing before adding trim. Tiny beads, jewelry findings, or short pieces of bent wire make handles, but matching their height matters more than choosing an elaborate style.
Shape the countertop and basin
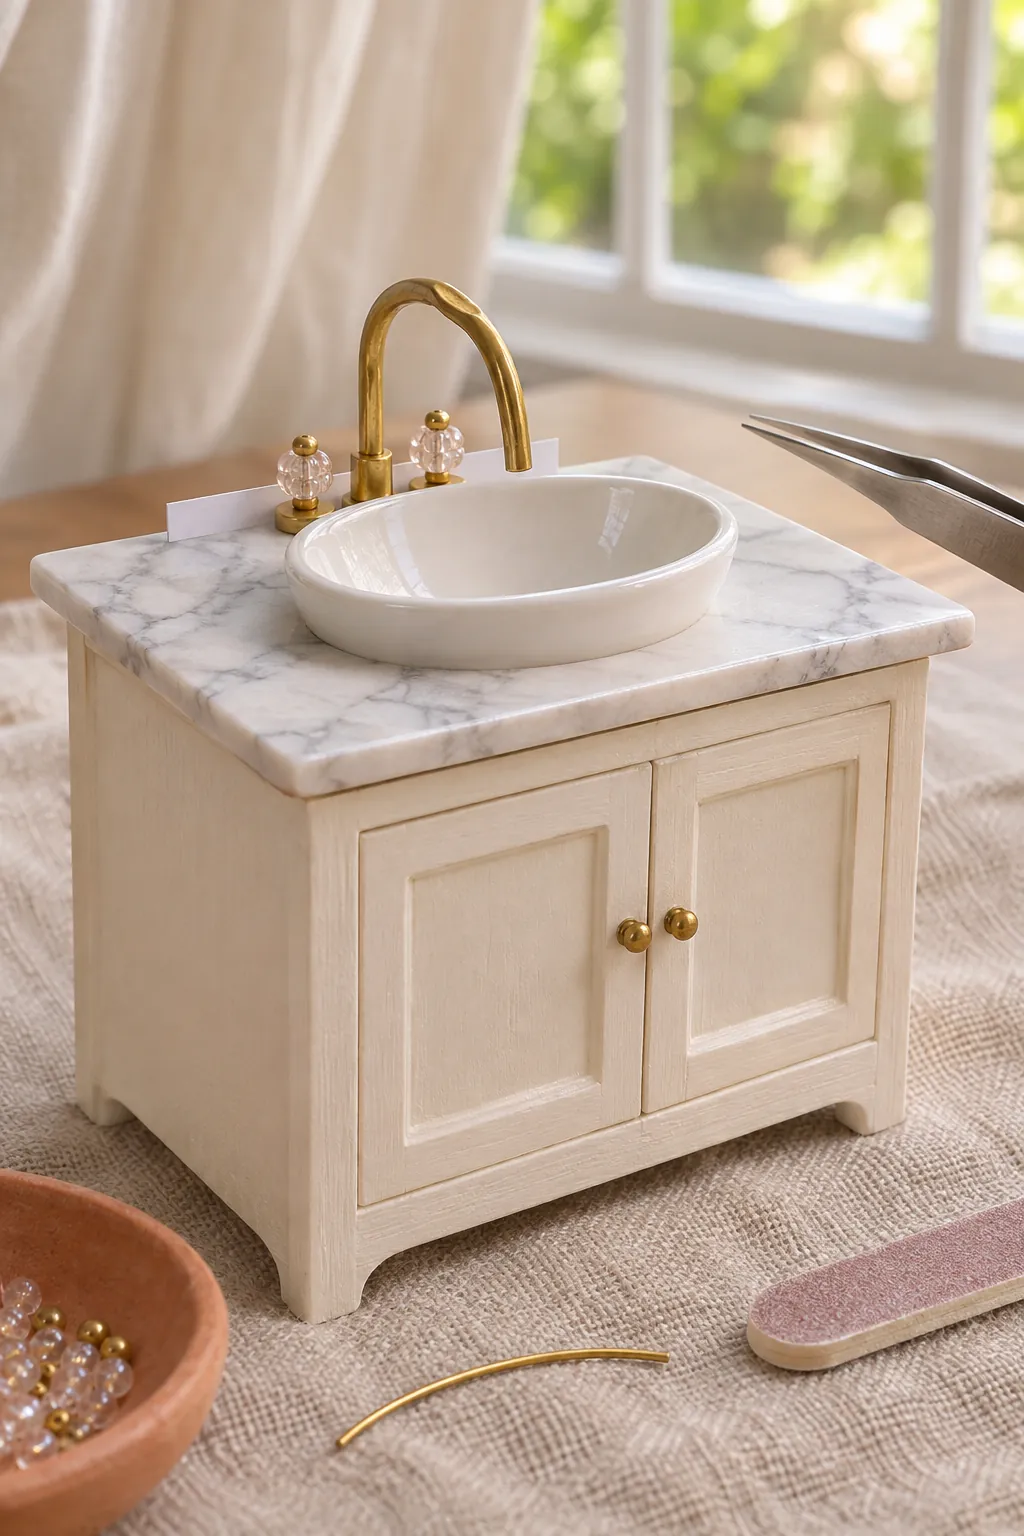
Cut the counter at 2 5/8 inches by 1 5/8 inches so it projects slightly at the front and sides. Sand the front corners gently, then seal the surface before adding the sink. A smooth painted finish can suggest solid stone, while a thin printed marble paper can create veining without adding bulk.
A shallow oval bead cap, a shaped piece of polymer clay, or a small molded cabochon can become the basin. Place it on the counter with the faucet behind it before applying glue. The faucet needs enough counter space to stand upright, and its spout should reach over the bowl rather than stop at the rim.
Make a believable faucet
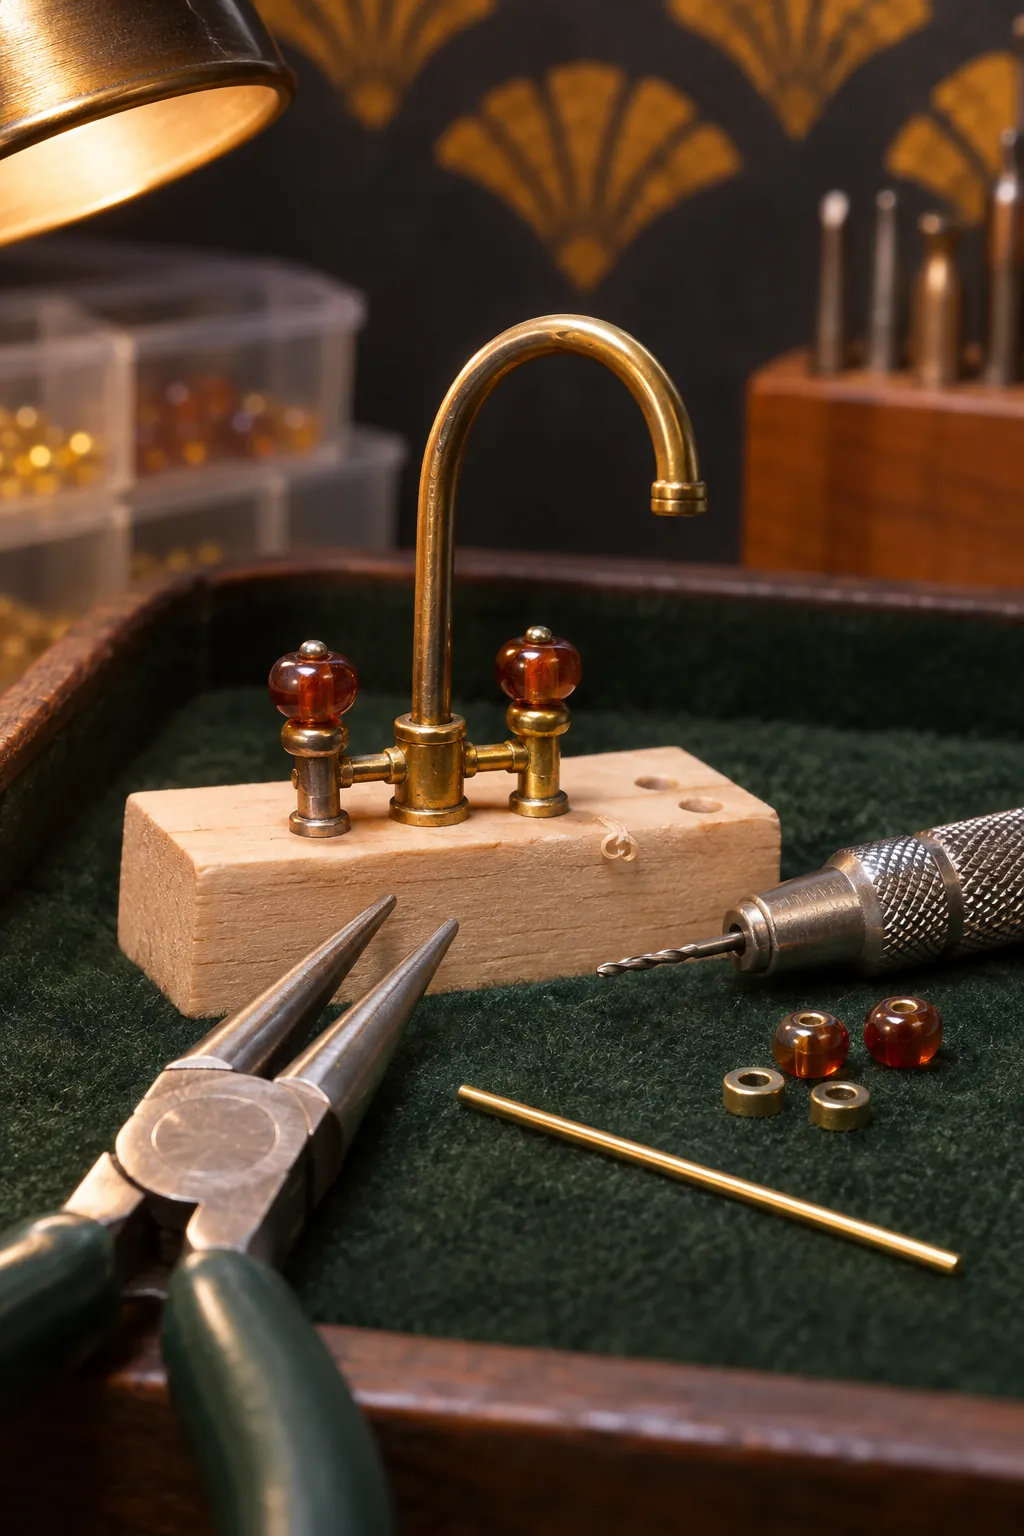
Bend soft craft wire around a round tool to form a smooth spout. Insert each end into a tiny drilled hole or a bead base, then secure it from below with a small amount of strong glue. Two seed beads or short pin heads can represent separate hot and cold controls.
Choose a finish that contrasts with the counter without dominating it. Silver paint suggests chrome, muted gold creates aged brass, and dark metallic paint gives a modern blackened look. Keep the spout centered over the basin and compare both sides from the front before the glue sets.
Paint, seal, and install the vanity
Sand fuzzy edges with very fine abrasive paper and remove the dust with a soft brush. Apply a thin primer, then use several light paint coats so panel lines remain crisp. Seal the counter with a satin or gloss finish, but leave the cabinet closer to matte for a believable painted wood surface.
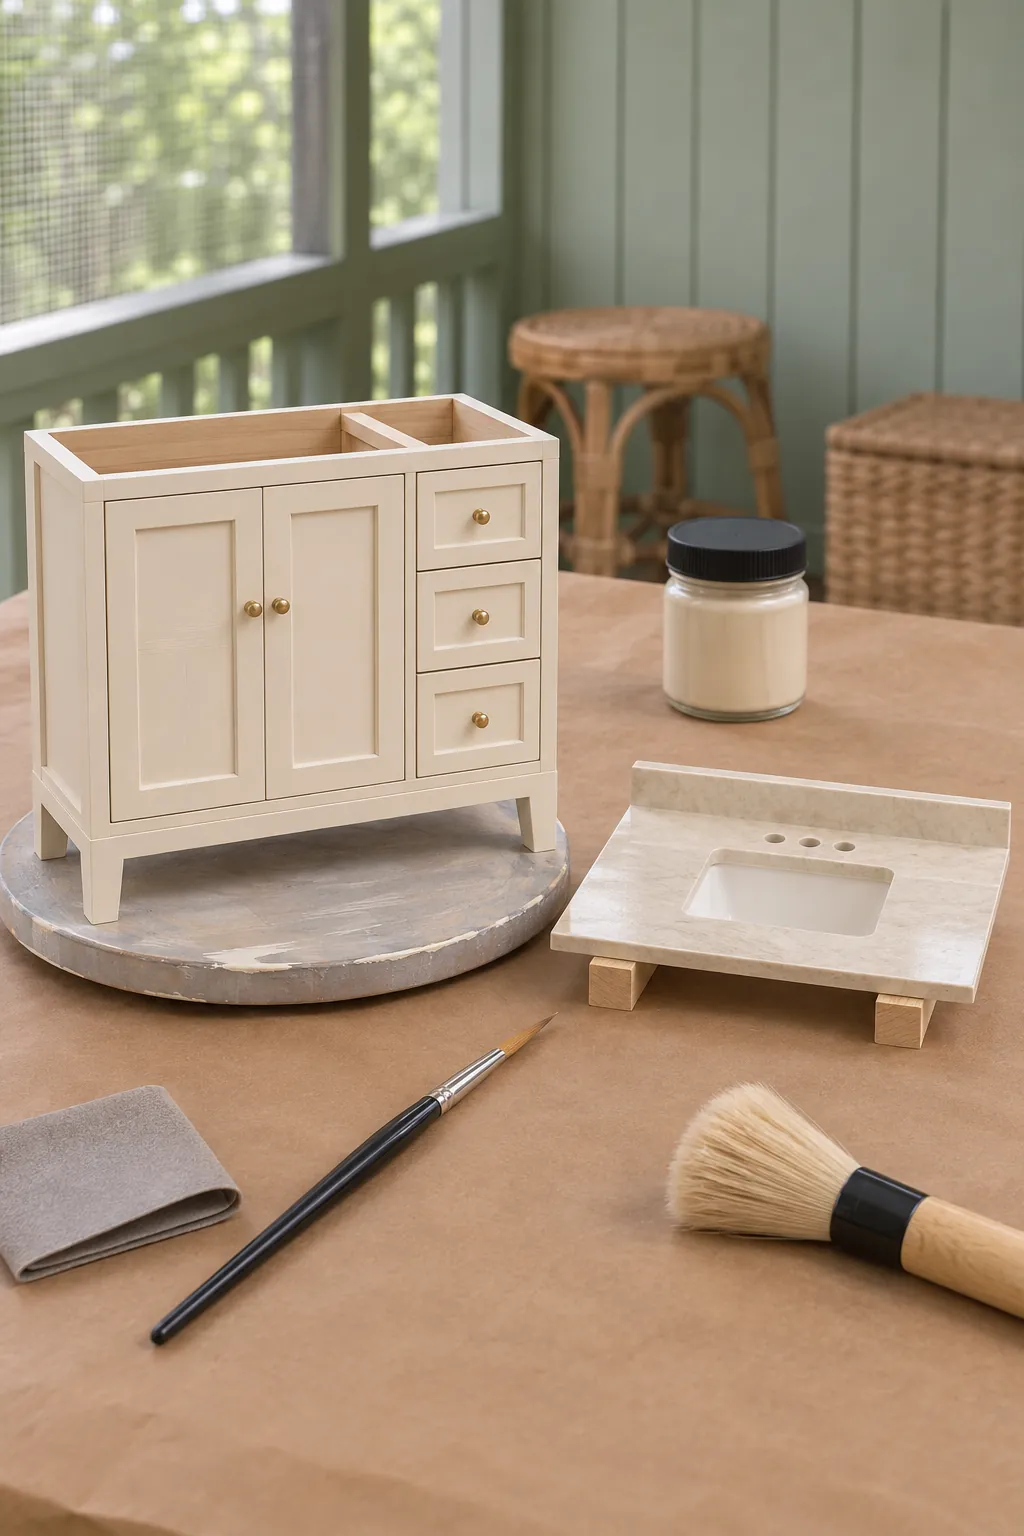
Set the finished vanity in the room before fixing it permanently. Check the height against nearby bathroom furnishings and view the faucet from the doorway. A tiny folded towel, soap dish, or bottle adds life, but clear counter space keeps the carefully made basin visible.
Use removable museum wax if you may rearrange the room later. For a permanent display, a small glue dot at each rear corner is enough. The final result should feel usable at a glance, with balanced gaps, a centered basin, and hardware that follows the cabinet scale.