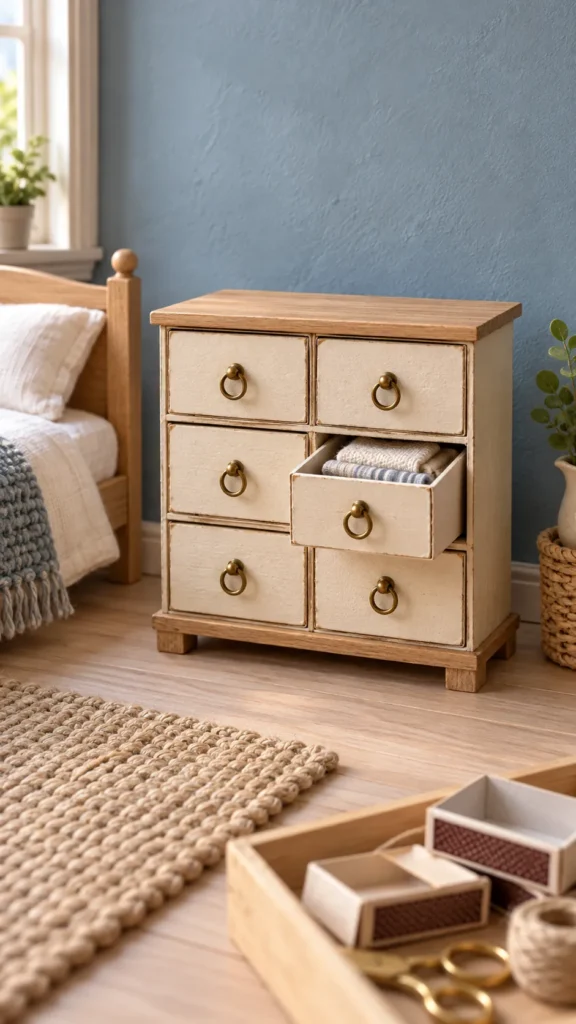
Matchboxes already contain the hardest part of a tiny dresser: drawers that slide inside fitted sleeves. The challenge is keeping several sleeves square while glue dries, then adding a back that stops the cabinet from twisting. This method turns common boxes into useful dollhouse bedroom furniture with working storage and simple handles.
Sort and test the matchboxes
Choose six clean matchboxes of the same size. Empty them, remove loose paper fibers, and slide every inner tray in and out several times. Set aside any sleeve that is crushed or any tray that binds badly, since one distorted box can pull the whole dresser out of square.
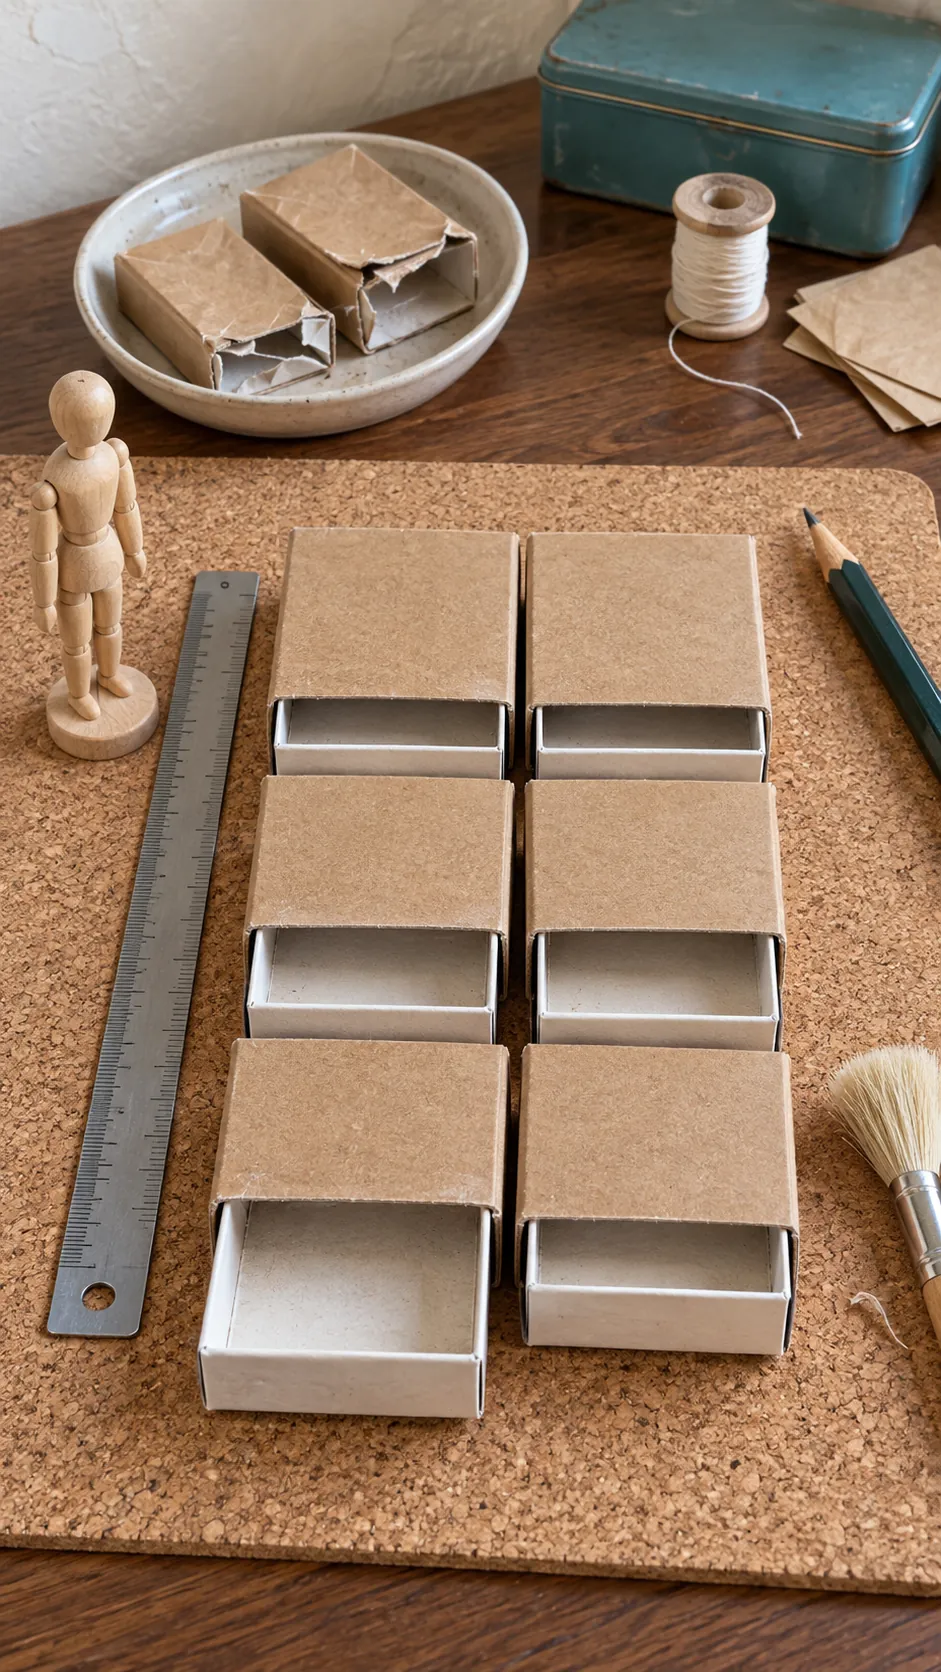
Arrange the boxes as two columns with three drawers in each column. Turn every open end toward the front and check that the outer sleeves form an even rectangle. Mark the underside of each tray with a tiny pencil dot so it returns to its original sleeve after decorating.
Glue the sleeves into a square block
Remove the inner trays before gluing so adhesive cannot lock them shut. Spread a thin, even coat of tacky craft glue between neighboring sleeves, then press the six sleeves together against a right angle guide. Place a flat scrap board on top with a light weight to keep the rows level.
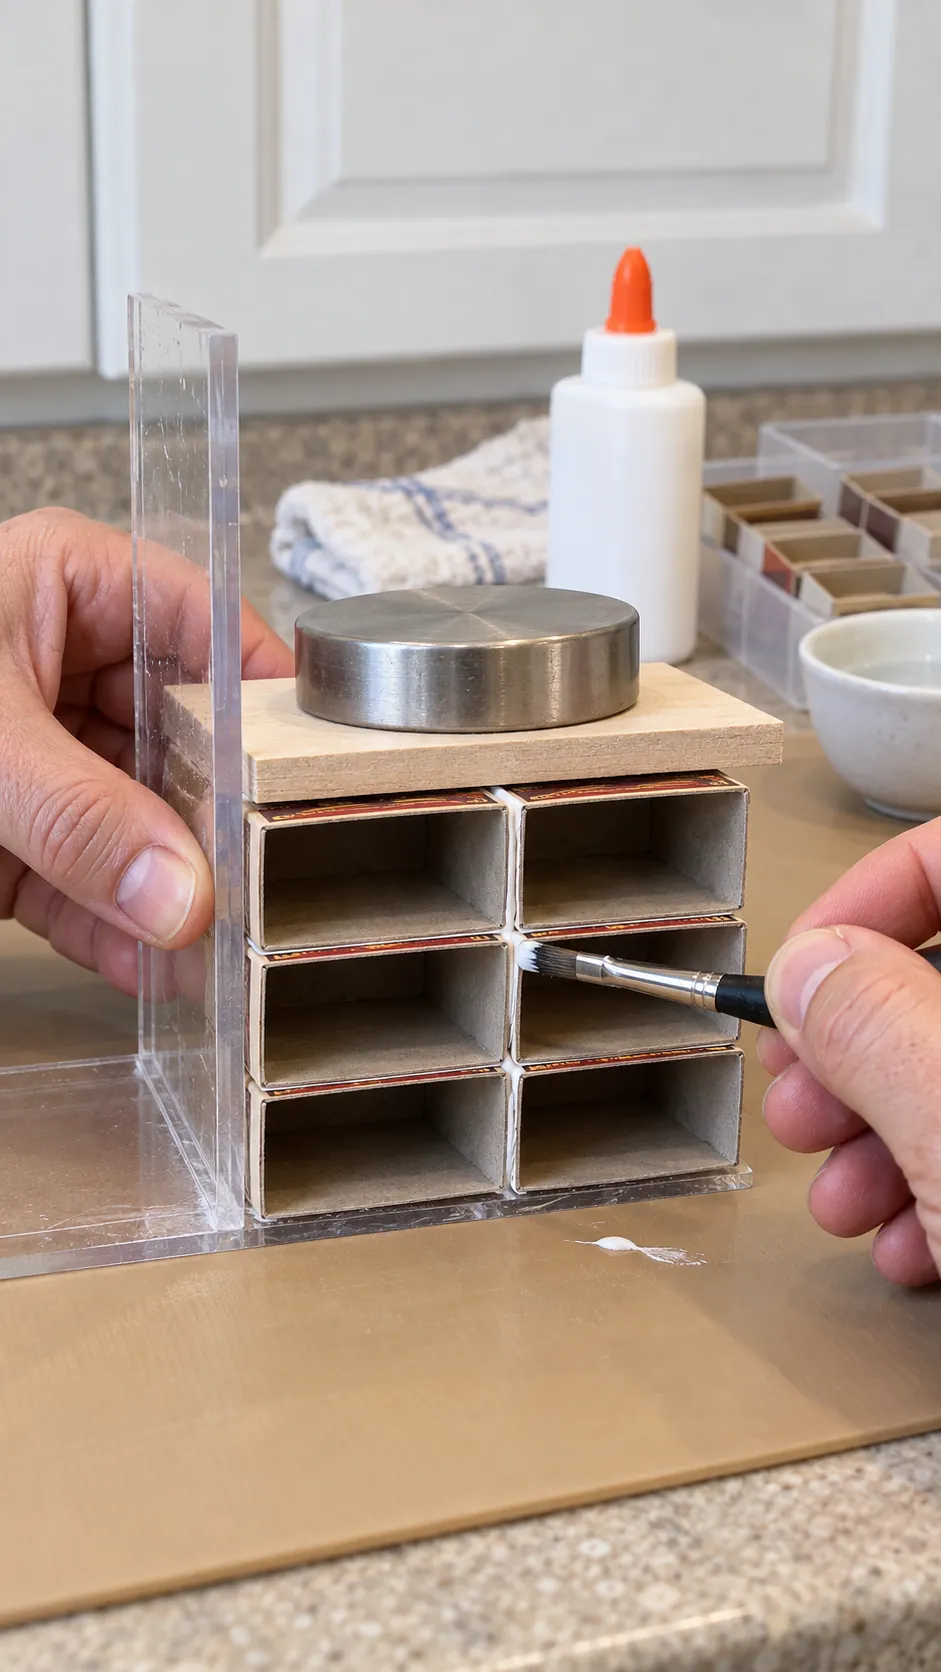
Wipe away glue from the front openings immediately with a barely damp brush. Look through every sleeve before the glue sets and confirm that no ridge has shifted into a drawer path. Let the block dry fully before returning the trays.
Add a rigid back, top, and base
Cut thin card or basswood to cover the back of the joined sleeves. Glue it across the full rectangle because this panel provides important side to side stability. Add a slightly wider top and base from craft sticks or thin wood, keeping the overhang equal on the left and right.
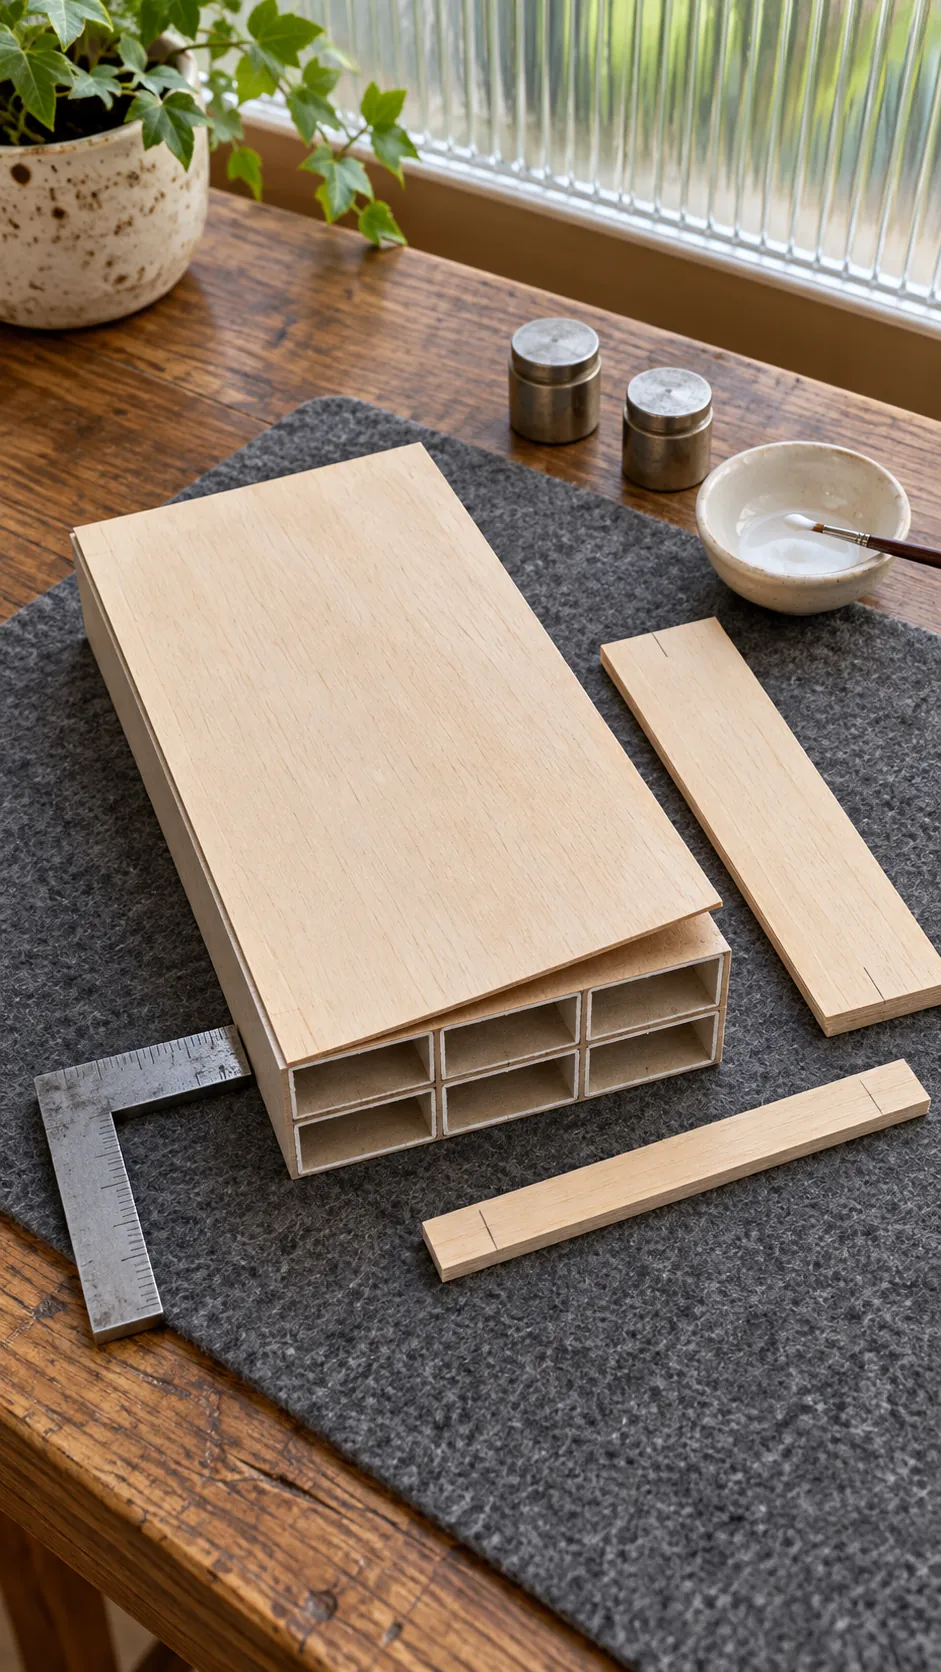
Use a small square to check both front corners while these pieces dry. If the cabinet rocks, correct the alignment now rather than hiding the problem under feet. A firm back and level base prevent the drawers from rubbing after the outer surface is decorated.
Cover the drawer fronts
Cut six matching rectangles from thin wood veneer, sturdy paper, or painted card. Make each front slightly smaller than its matchbox tray so a narrow, even reveal remains around it. Dry fit all six rectangles in the cabinet before attaching any one of them.
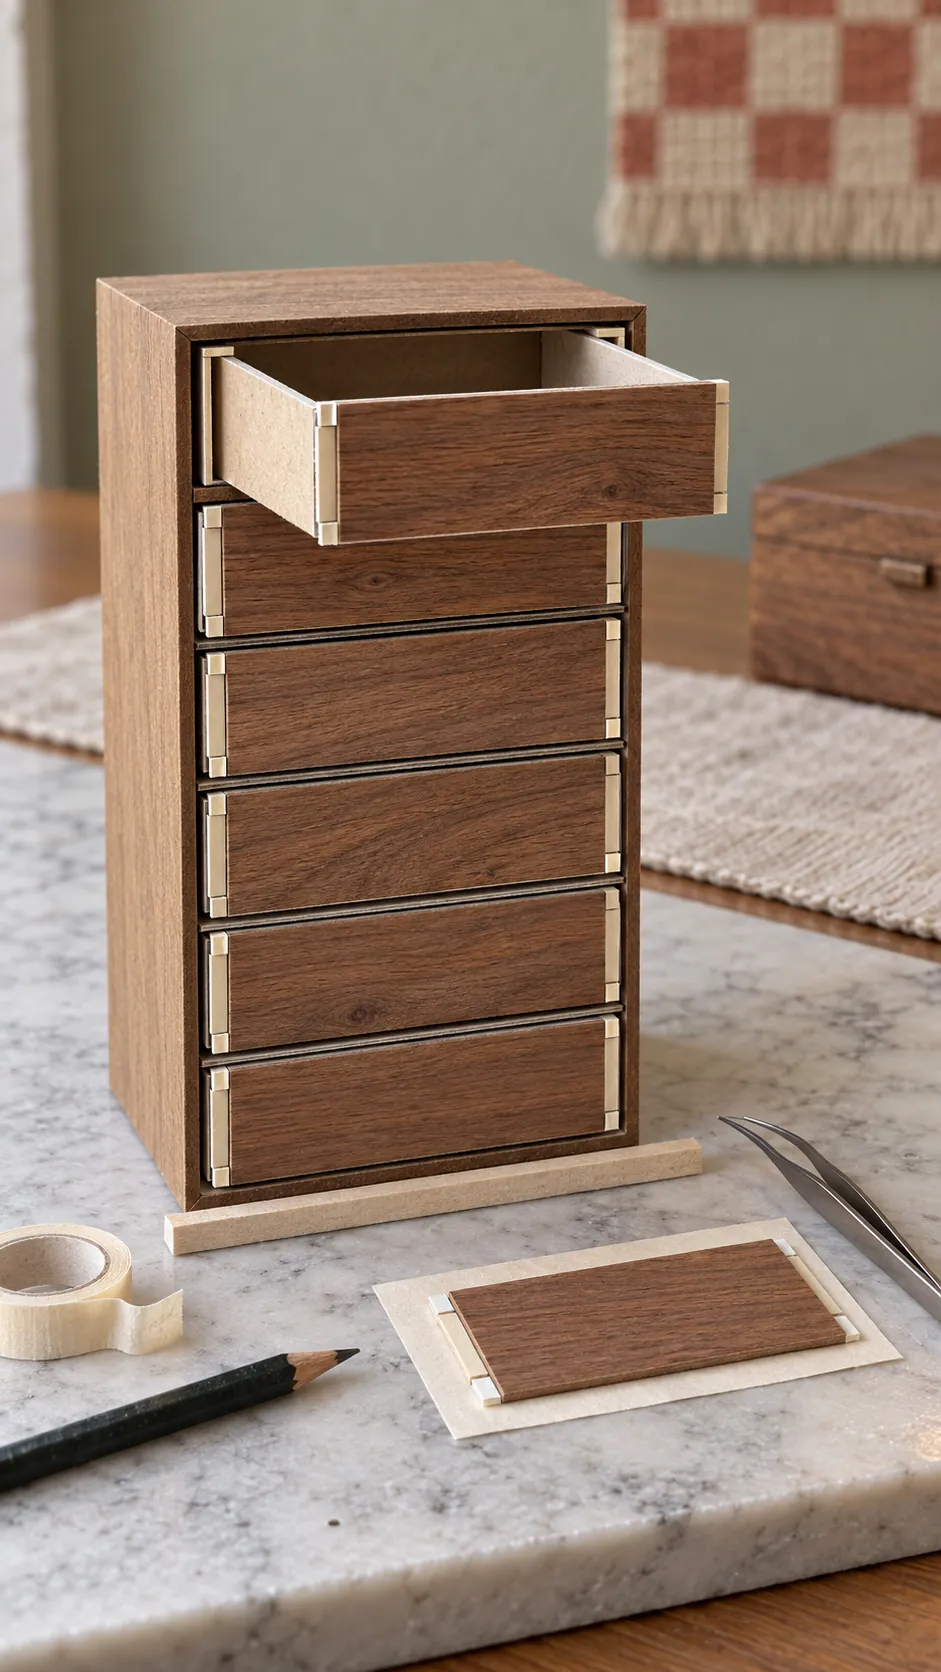
Glue each rectangle to the closed tray while it sits inside its sleeve. Thin paper spacers placed around the front help maintain consistent gaps. Remove the tray before the adhesive dries completely and clean any squeeze out so the drawer remains functional.
Make tiny drawer handles
Small beads, short loops of waxed thread, or bent jewelry wire all work as drawer pulls. Use a paper template to mark the center of every front, then pierce holes with a fine awl on a protected surface. Keep each handle shallow enough that it does not overpower the miniature chest of drawers.
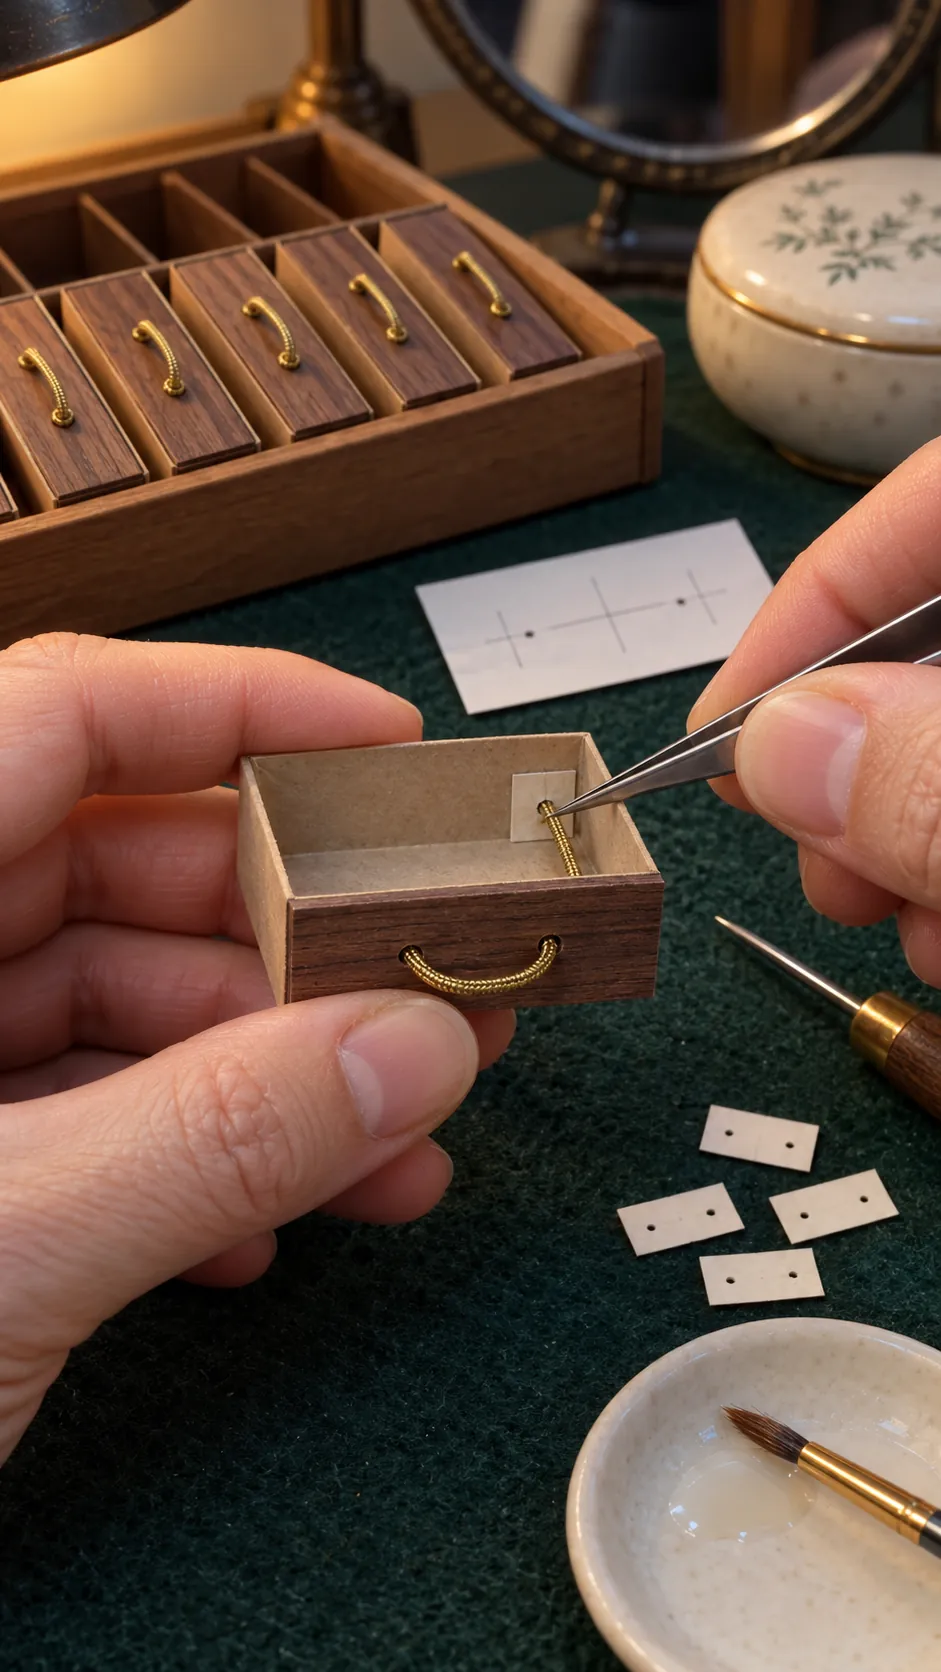
For a strong thread pull, pass both ends through the front and secure them inside with a small paper tab and glue. For beads, use only a pin length that stays clear of the drawer contents. Test every handle with gentle pressure before returning the trays to the cabinet.
Finish and test every drawer
Paint or seal the dresser with the drawers removed. Keep finish away from the sleeve interiors and tray sides because even a thin coat can make close fitting cardboard bind. If one drawer feels tight, rub its outer edges lightly with fine abrasive paper and test again.
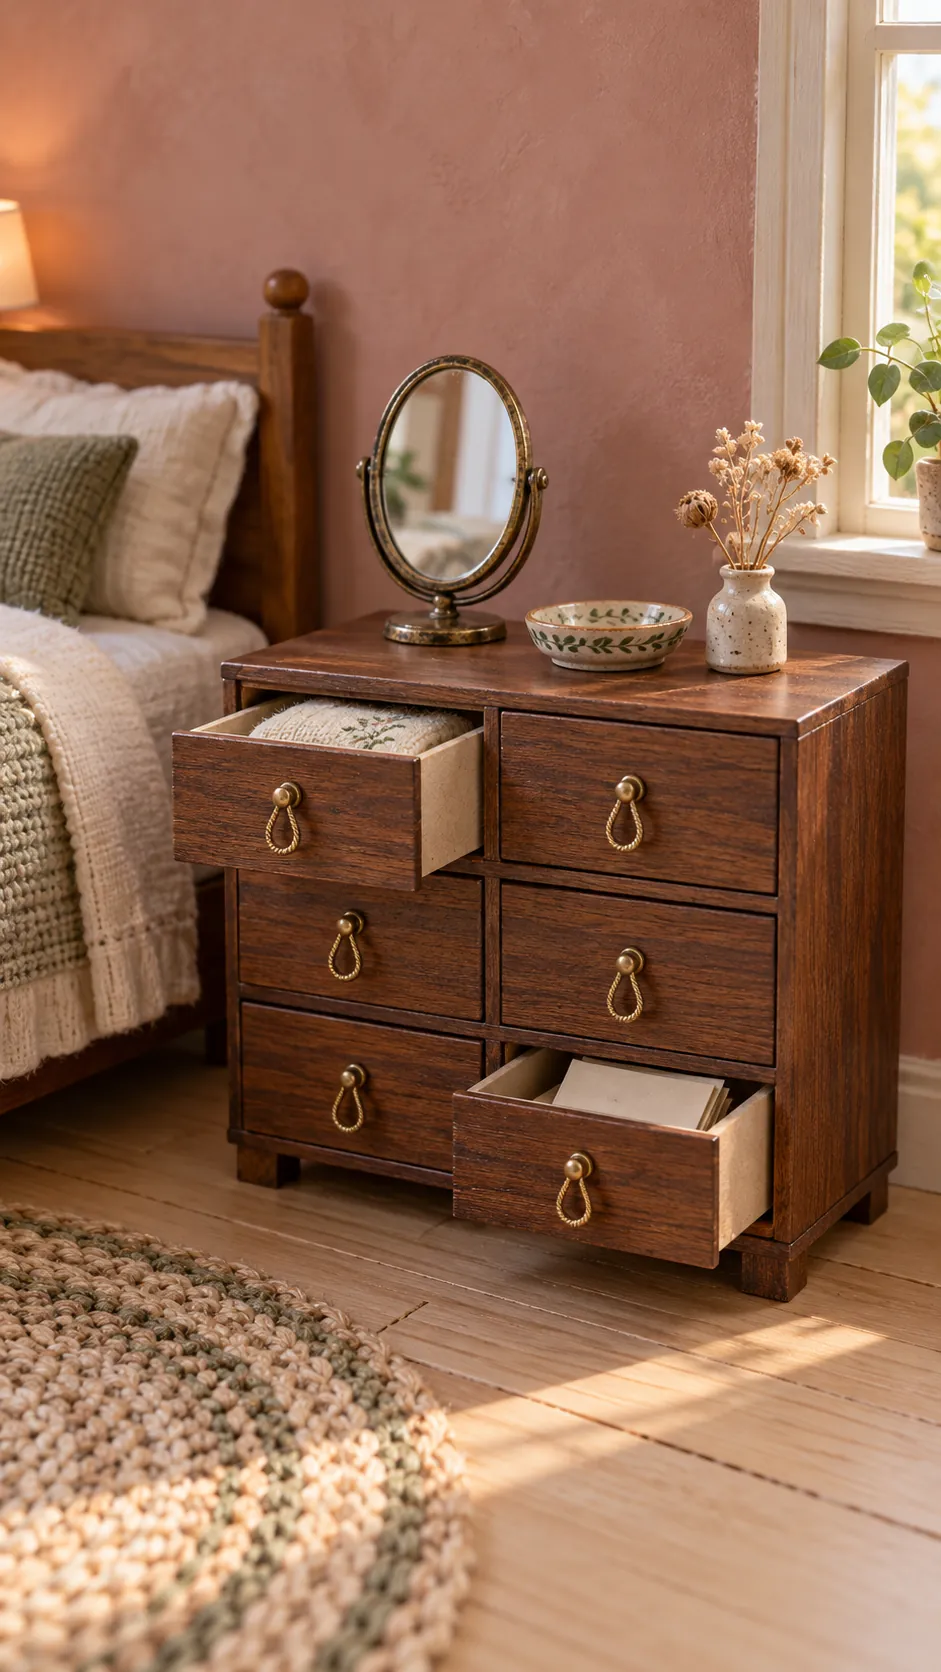
Load the drawers only with light dollhouse accessories, then open them one at a time. A tiny dresser can tip forward if every drawer is extended together. Once the cabinet sits flat and each tray moves freely, it is ready for a dollhouse bedroom or miniature room box.