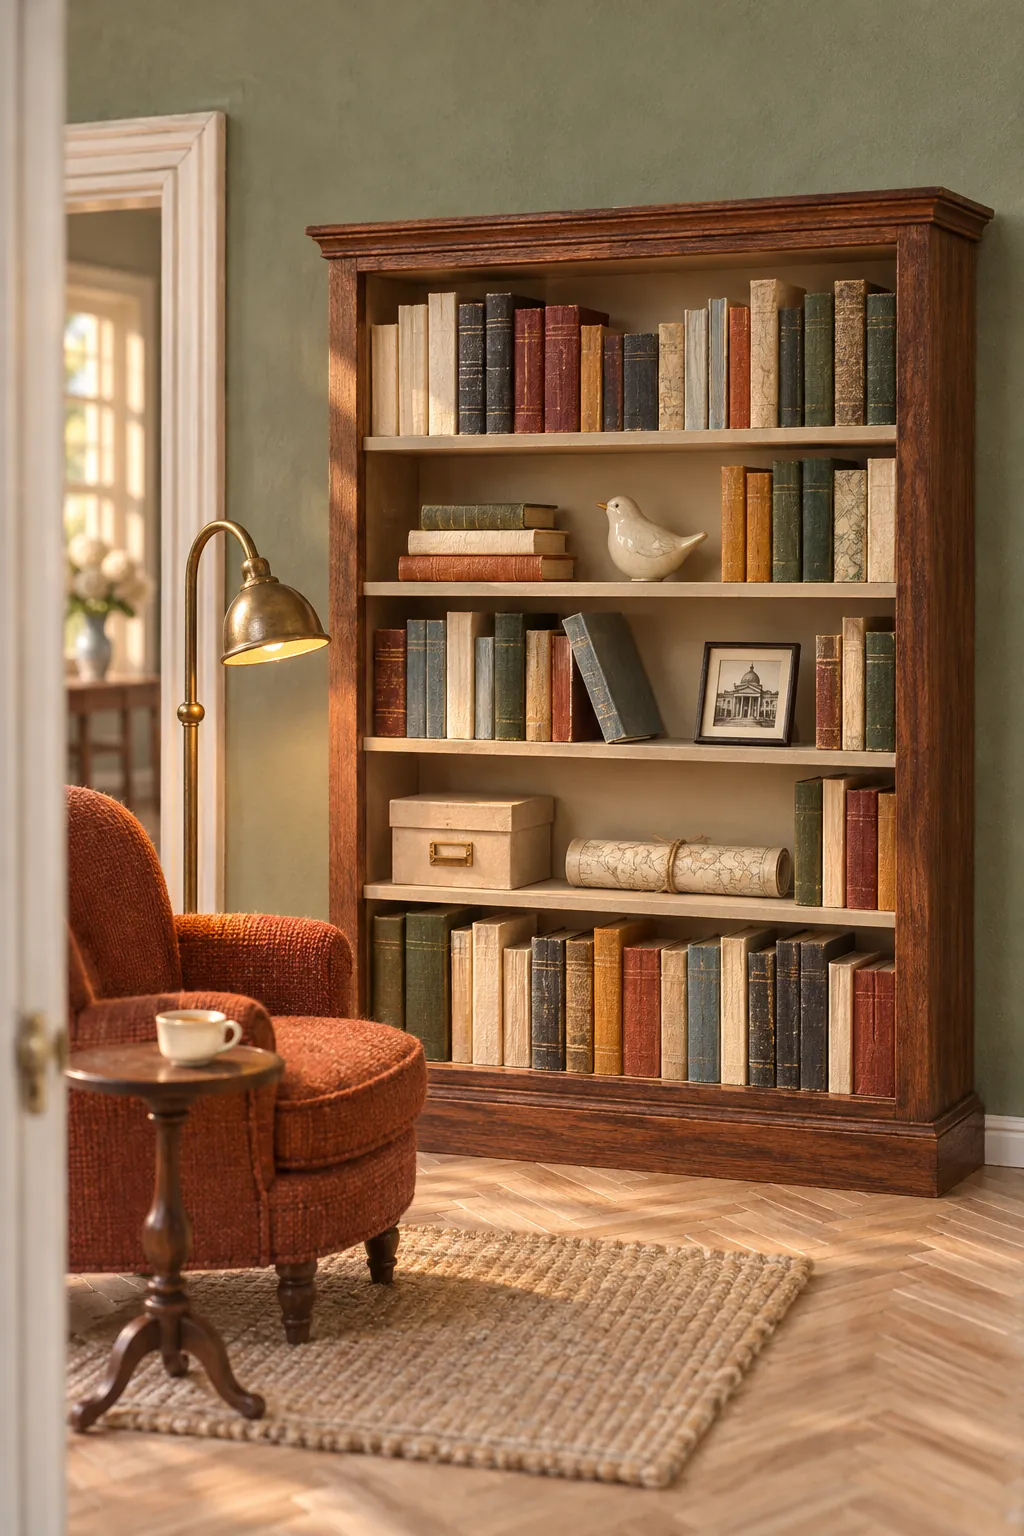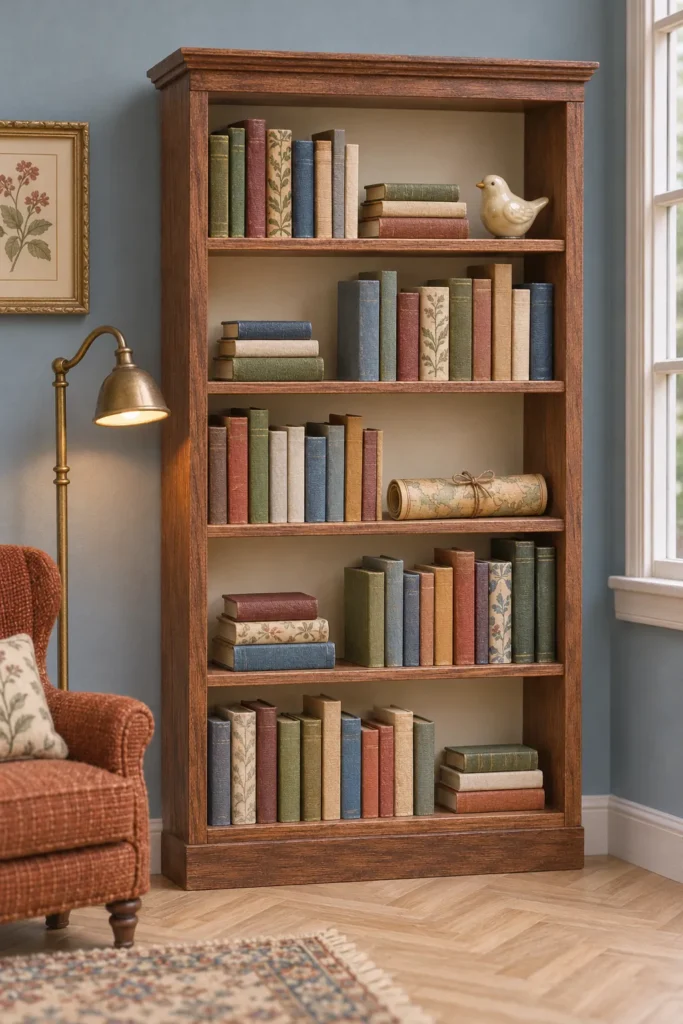
A miniature bookcase looks simple until uneven shelves and oversized books expose the scale. The case must stay square, each shelf must carry a small load without sagging, and the books need varied heights without becoming random blocks of color. Building the cabinet and book collection as one project keeps both parts in proportion.
Choose the dimensions and cut the parts
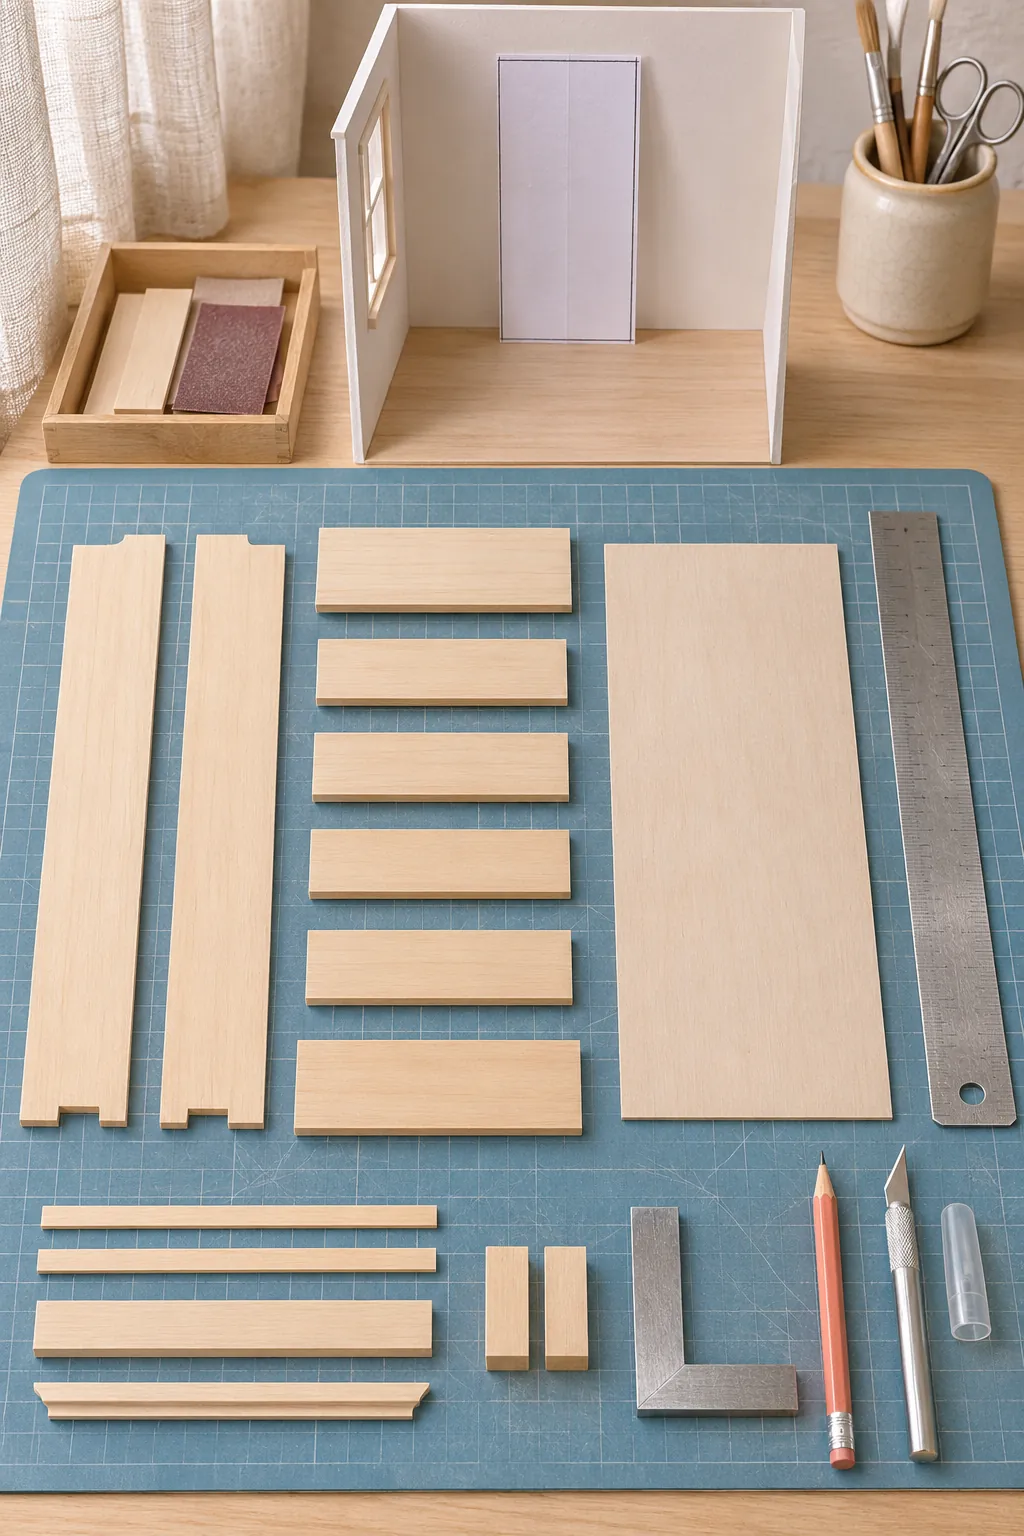
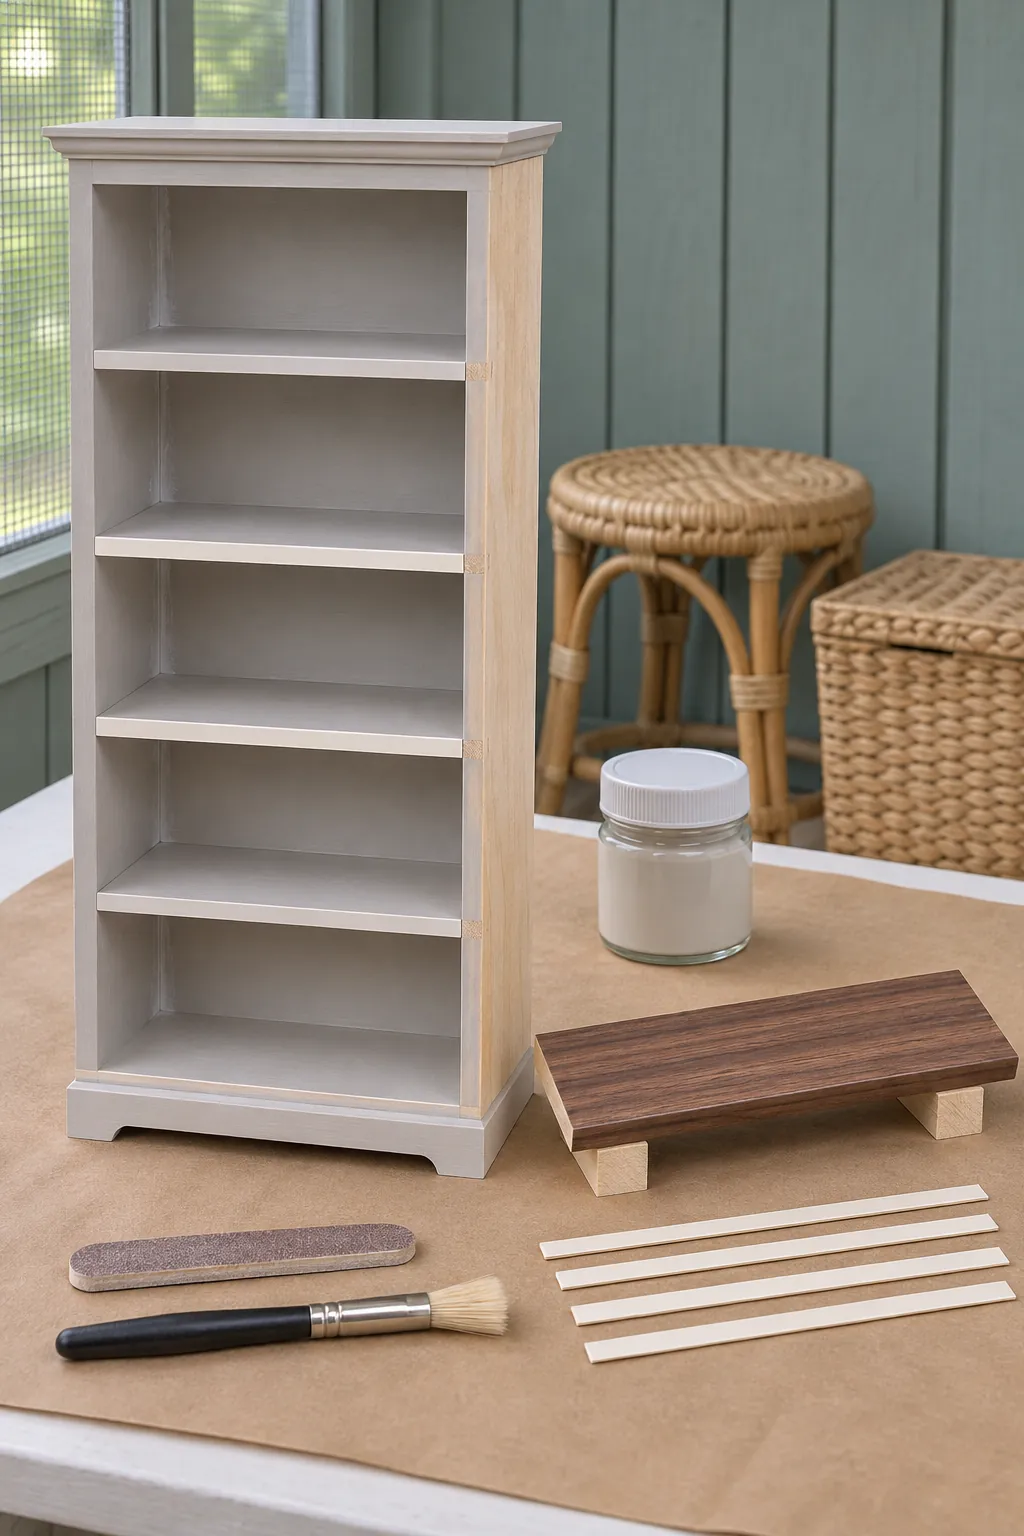
This 1:12 bookcase can measure about 6 inches high, 3 inches wide, and 1 inch deep. Cut two matching sides, a top, a base, four shelves, and a full back from 1/16 inch basswood or dense craft board. Mark every shelf position across both side panels at the same time so the lines cannot drift.
Measure the miniature room before choosing the final height. A tall narrow case should leave some wall visible around it and enough floor space for a chair or reading lamp. Test a paper rectangle against the wall before cutting valuable material.
Assemble level shelves
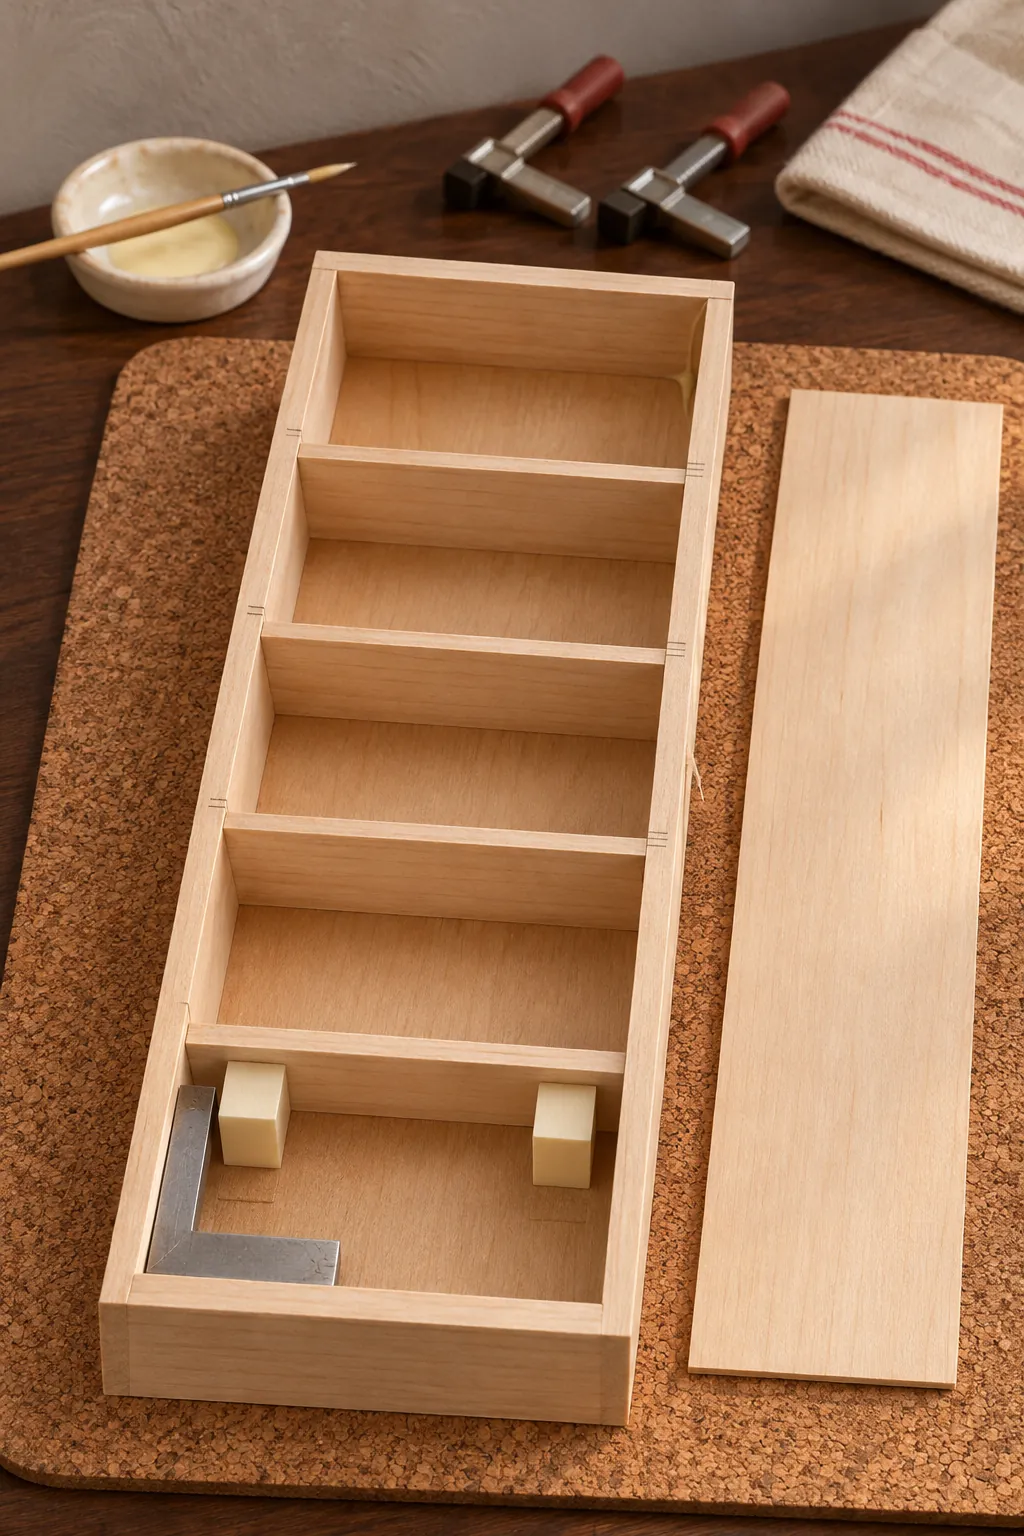
Glue the top and base between the two side panels, then use a small square to hold the case true. Fit the shelves from bottom to top with two equal spacer blocks under each one. Allow every joint to set before moving the spacers, because a slight shift becomes obvious across a row of books.
Attach the full back after checking both diagonals of the case. The back prevents racking and keeps the shallow cabinet flat against a wall. A narrow lower plinth and a thin top molding can add a finished silhouette without taking useful shelf space.
Cover and finish the shelf edges
Raw board edges can make a delicate bookcase look thick or unfinished. Glue narrow face strips across each shelf front, then sand their ends flush with the case sides. Apply very thin paint coats so the shelf openings remain crisp and the added strips do not lose their definition.
A natural wood look works best when printed grain runs in one believable direction. Wrap the shelves before assembly if you use decorative paper, and place seams along hidden rear edges. Seal only after the adhesive dries completely, since trapped moisture can bow a shallow shelf.
Make realistic tiny books
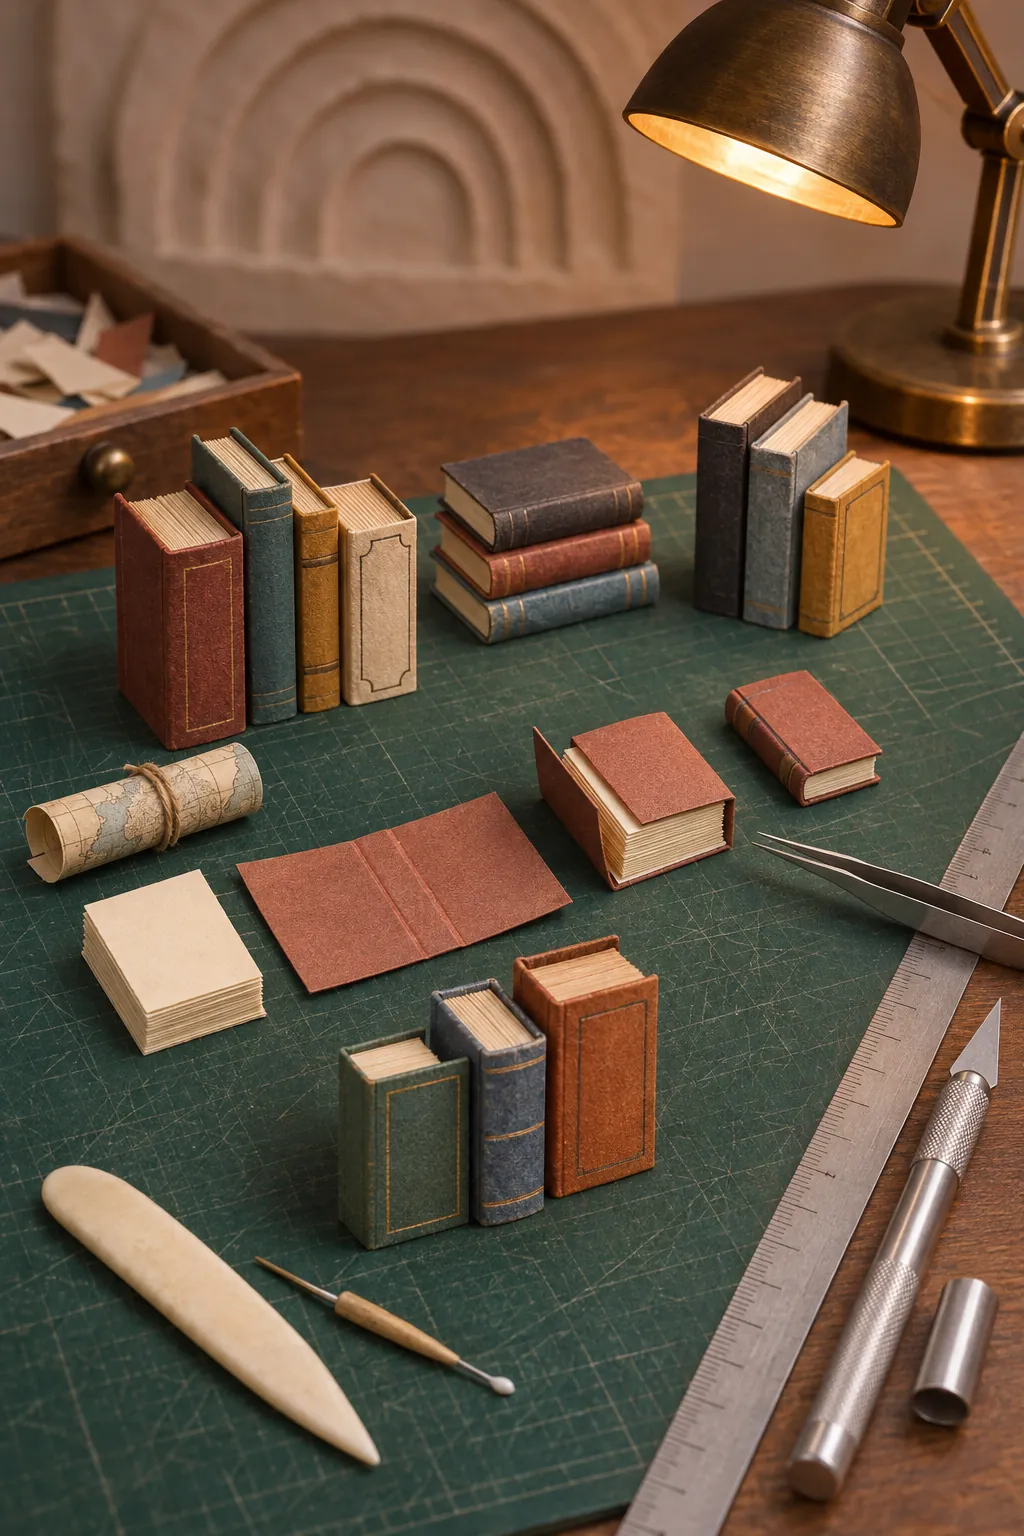
Cut small paper or thin card rectangles in several heights, then fold each around a narrow page block. Use cream paper for the page edges and muted colored paper for the covers. A faint dark line along the spine adds depth, but readable miniature titles are not necessary.
Vary thickness as well as height so the collection does not look like repeated tiles. Press each folded cover around its page block until square, then trim any projecting paper with a sharp blade. Make a few stacked books and one rolled paper map to break the upright rhythm.
Arrange the books without overcrowding
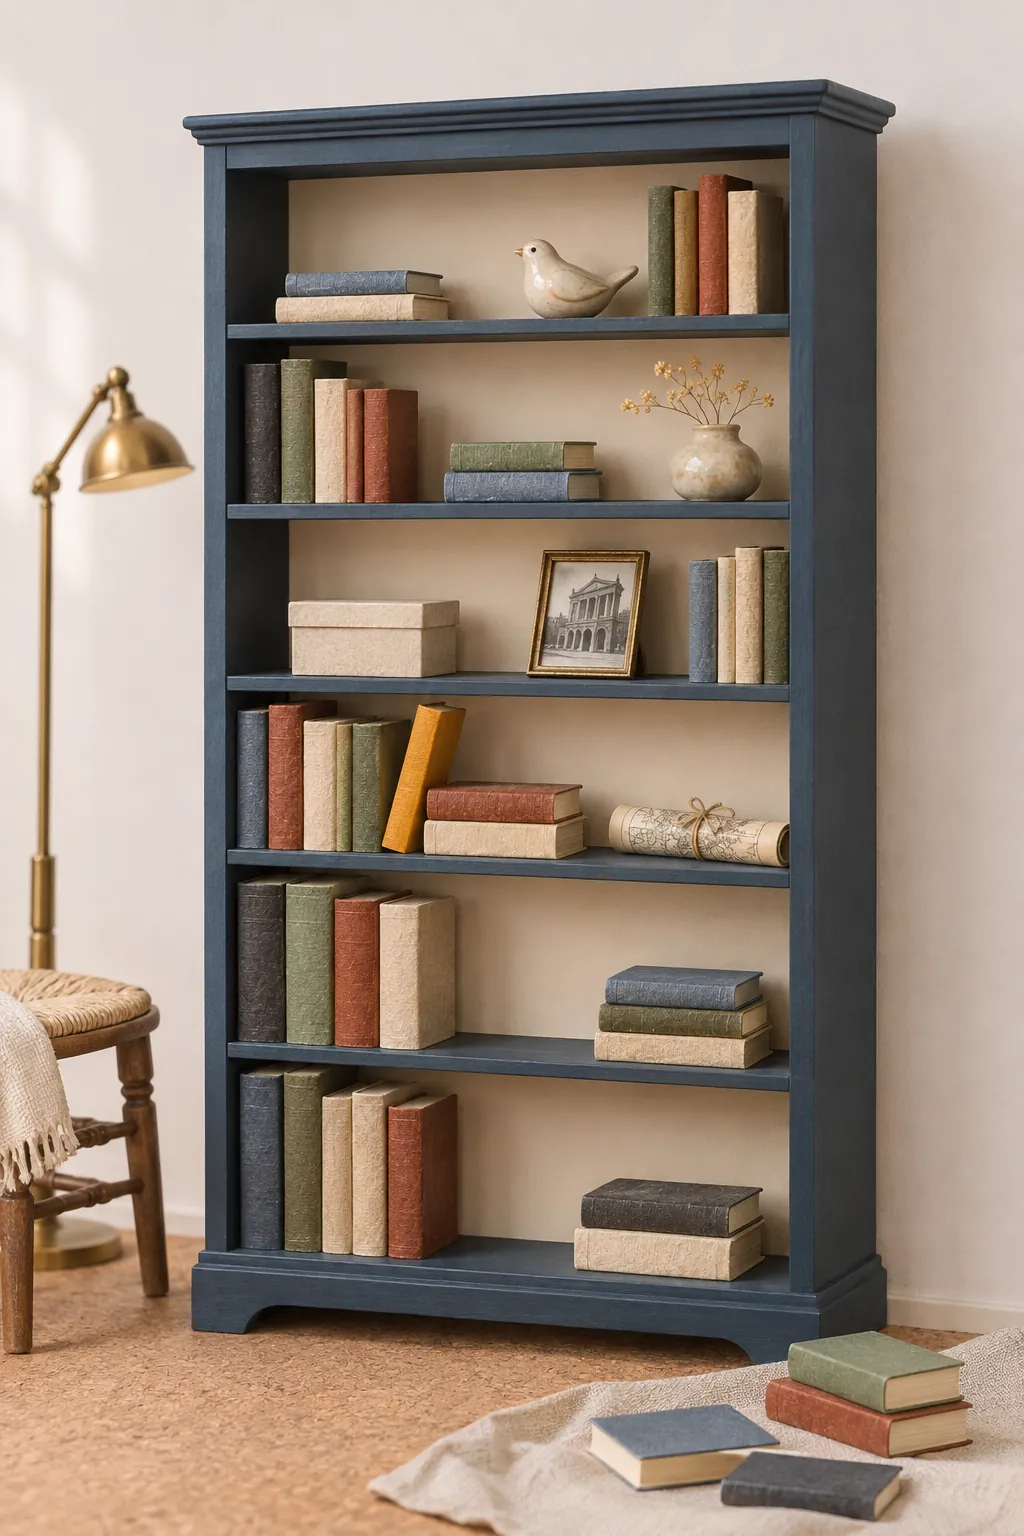
Fill each shelf in small groups rather than one solid row. Mix upright books with short stacks, then leave a narrow space for a vase, box, or framed miniature photograph. The empty spaces help the eye understand the shelf depth and keep the case from becoming a wall of tiny rectangles.
Place taller books on lower shelves to lower the visual weight. Repeat two or three cover colors across the whole case so the collection feels related, and keep the brightest cover away from the exact center. A tiny drop of removable wax can hold loose books while preserving the option to rearrange them.
Install the finished library bookcase
Stand the completed case on a flat floor and confirm that the back meets the wall from top to bottom. Use a small amount of museum wax beneath the base and at the upper back if the cabinet is tall. This stabilizes the bookcase without making a permanent change to the dollhouse wall.
Add a reading chair or lamp only after the cabinet position is fixed. Keep the nearest furniture far enough away that the lower shelves remain visible. The finished scene should look collected over time, with level shelves, readable scale, and enough quiet space around the tiny books.
Check the room from its usual viewing angle before adding more accessories. If the bookcase appears crowded, remove one object rather than moving every group. The strongest detail is the contrast between precise cabinet construction and the gentle variation of the handmade books.