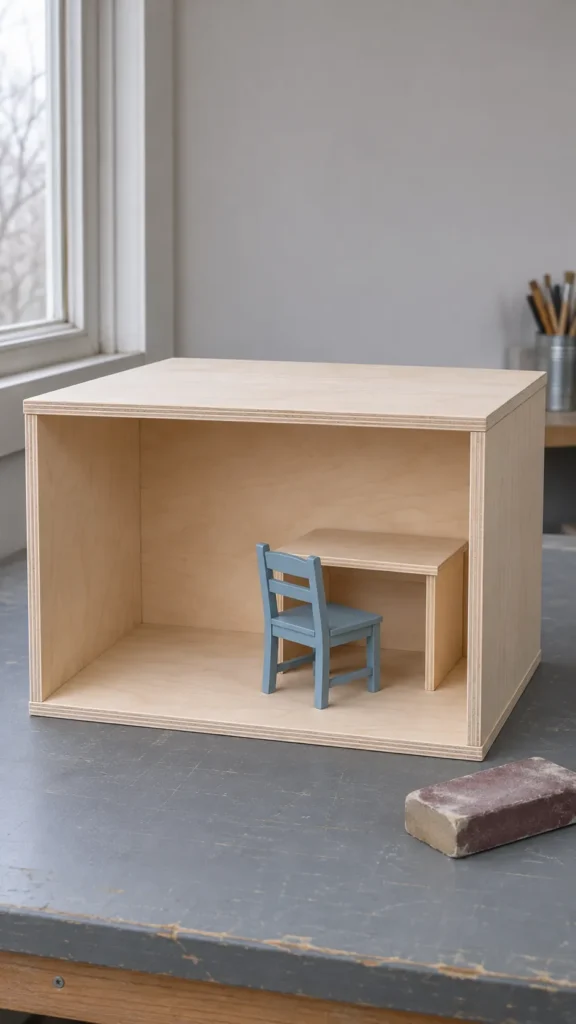
Start with five rectangles and an open front. This plywood shell slips onto a shelf, gives you room to reach the furniture, and lets you learn how to fit a square box before tackling a pitched roof or staircase. The finished shell is 360 mm wide, 250 mm deep and 262 mm high if the plywood measures 9 mm thick.
Set the size around the furniture
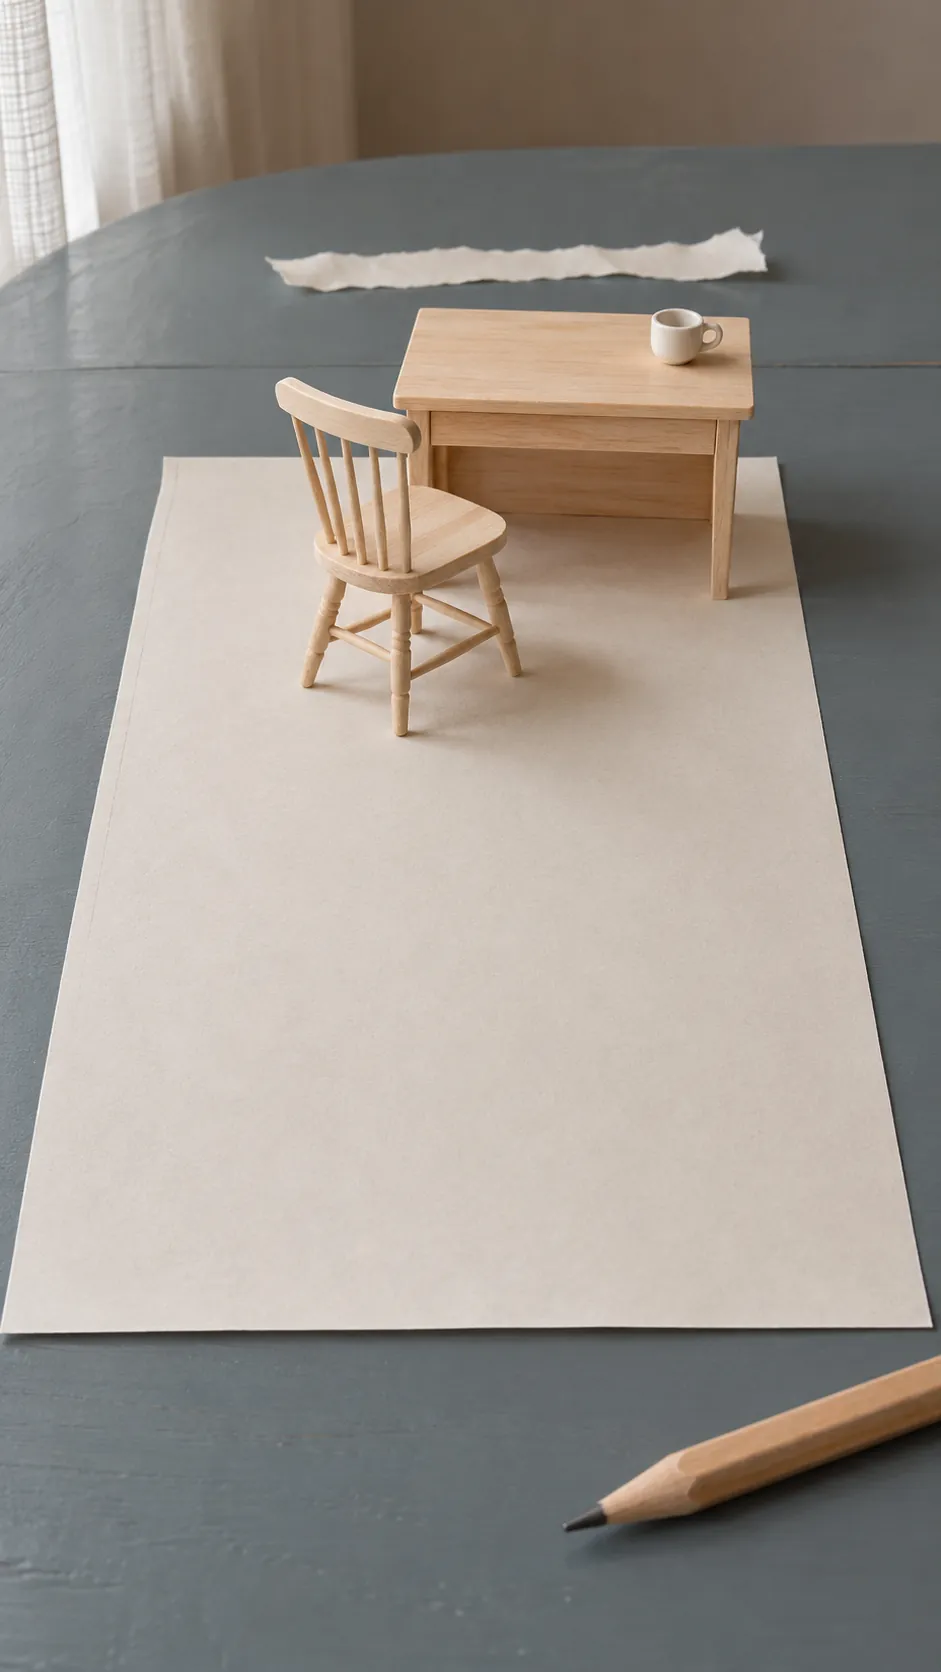
One inch of miniature height represents one foot in a 1:12 dollhouse. The 244 mm height inside this shell represents roughly 9 feet 7 inches at full size, so it works as one tall room. Lay your largest piece of furniture on a rectangle of paper 342 mm wide and 241 mm deep to check the usable floor. Put a second piece beside it and reach in from the front to see whether you can move either one without catching the other.
This plan leaves the ends and back solid. If you want a window, mark a small opening on a side panel and cut it while the panel is flat. Keep generous wood around the opening, and leave the corners and glue edges intact.
Choose flat plywood and check its thickness
Use smooth plywood with sound edges and few voids. Cabinet grade birch plywood is a good choice for a shelf display because the exposed veneer usually needs little filling. Sight along the edge of the sheet for bow or twist. A flat panel makes it easier to close the joints without bending the sides in with clamps.
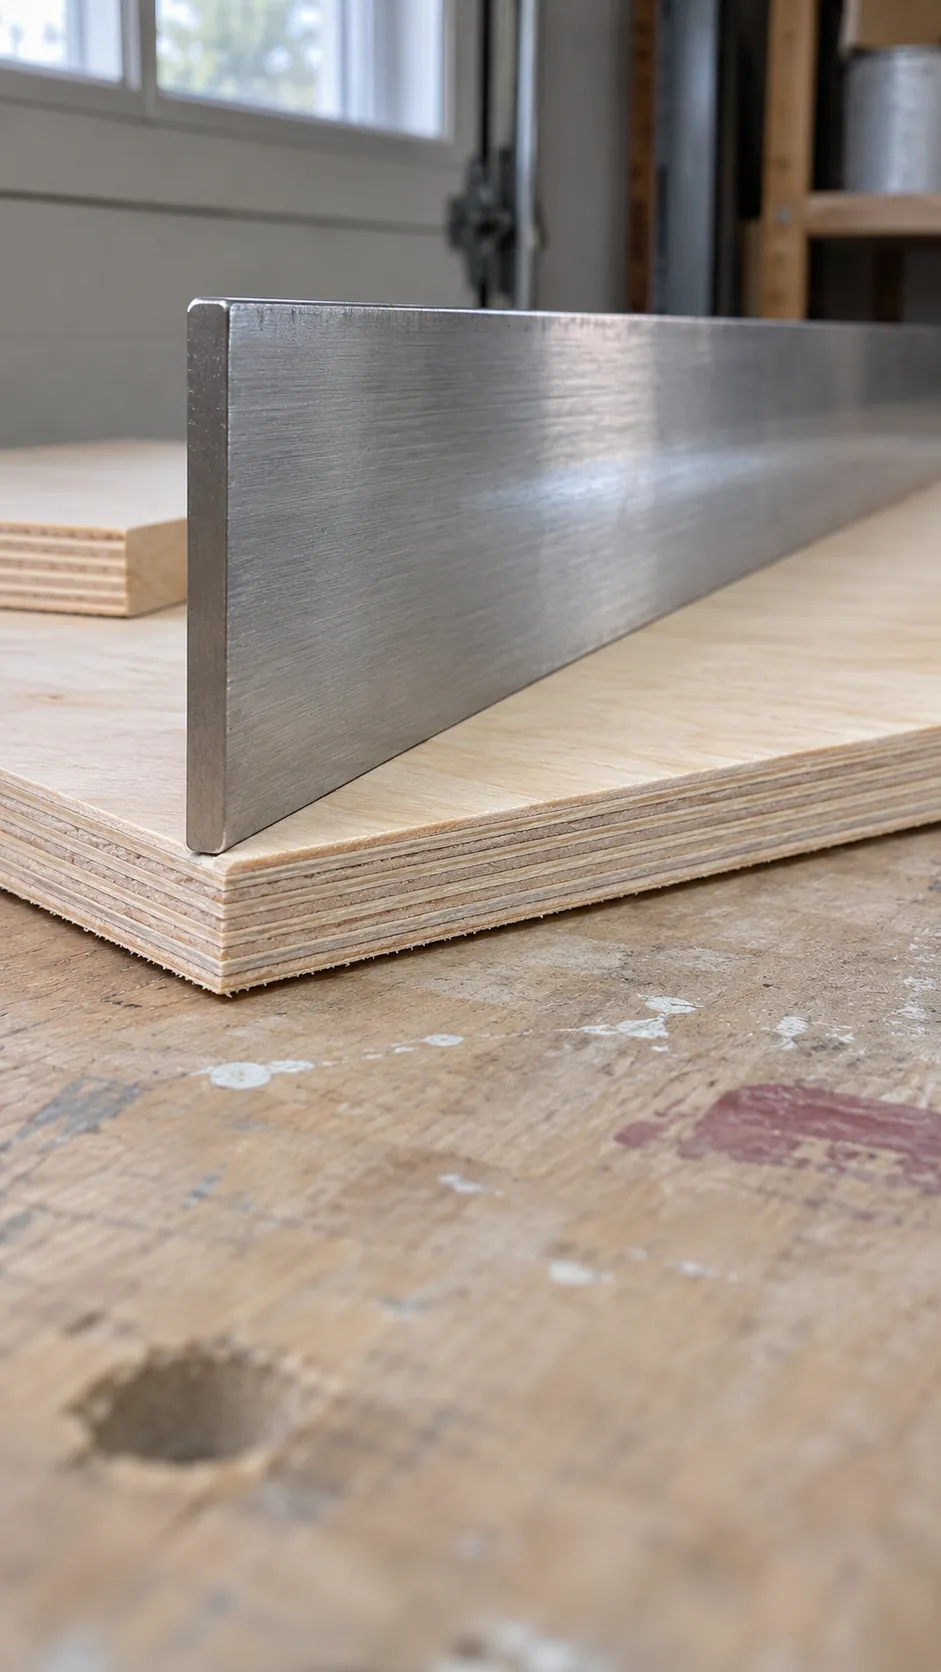
Measure the sheet you buy. The top and base in this plan go outside the walls, and the back goes between the sides. To keep the outside width at 360 mm, subtract twice the actual side thickness from 360 mm for the back width. The outside height is 244 mm plus the thickness of the base and top.
Cut the five shell panels
Using true 9 mm stock, cut two identical panels for the top and base, each 360 by 250 mm. Cut two side panels, each 250 mm deep by 244 mm high. Cut one back panel 342 mm wide by 244 mm high. The full depth of each side includes the thickness of the back.
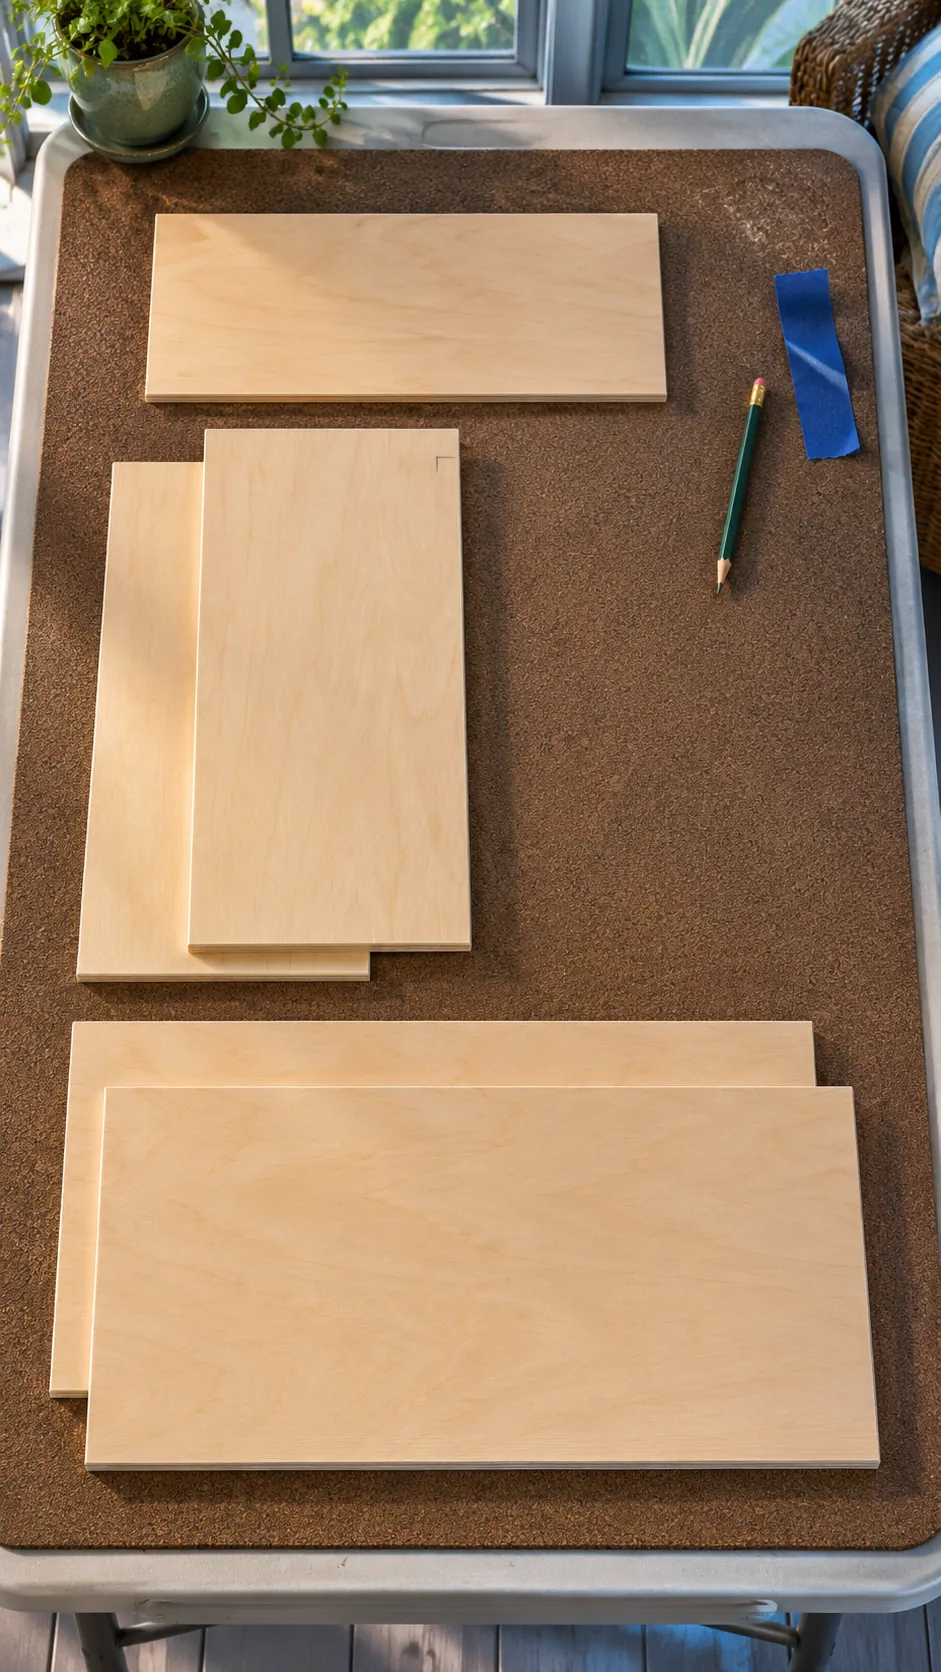
Mark which edges face the open front. Have a shop cut the rectangles if you lack a supported way to cut the sheet. For home cuts, support the panel on a stable sacrificial surface, clamp a straight guide, and use a saw suited to the stock. Try the setup on a scrap to check blade offset and tearout, and follow the saw maker’s directions for eye protection, dust control and blade clearance. Use a dull pencil mark on the waste side to keep the final dimension after the blade removes material.
Dry fit on a flat surface
Stand the sides on the base with their front edges flush. Slip the back between them, align it with the rear edge of the base, and set the top on the three panels. Check for rocking, a gap at the back or a top that overhangs one side. Put a square against the base and one side on the inside, then check the other side.
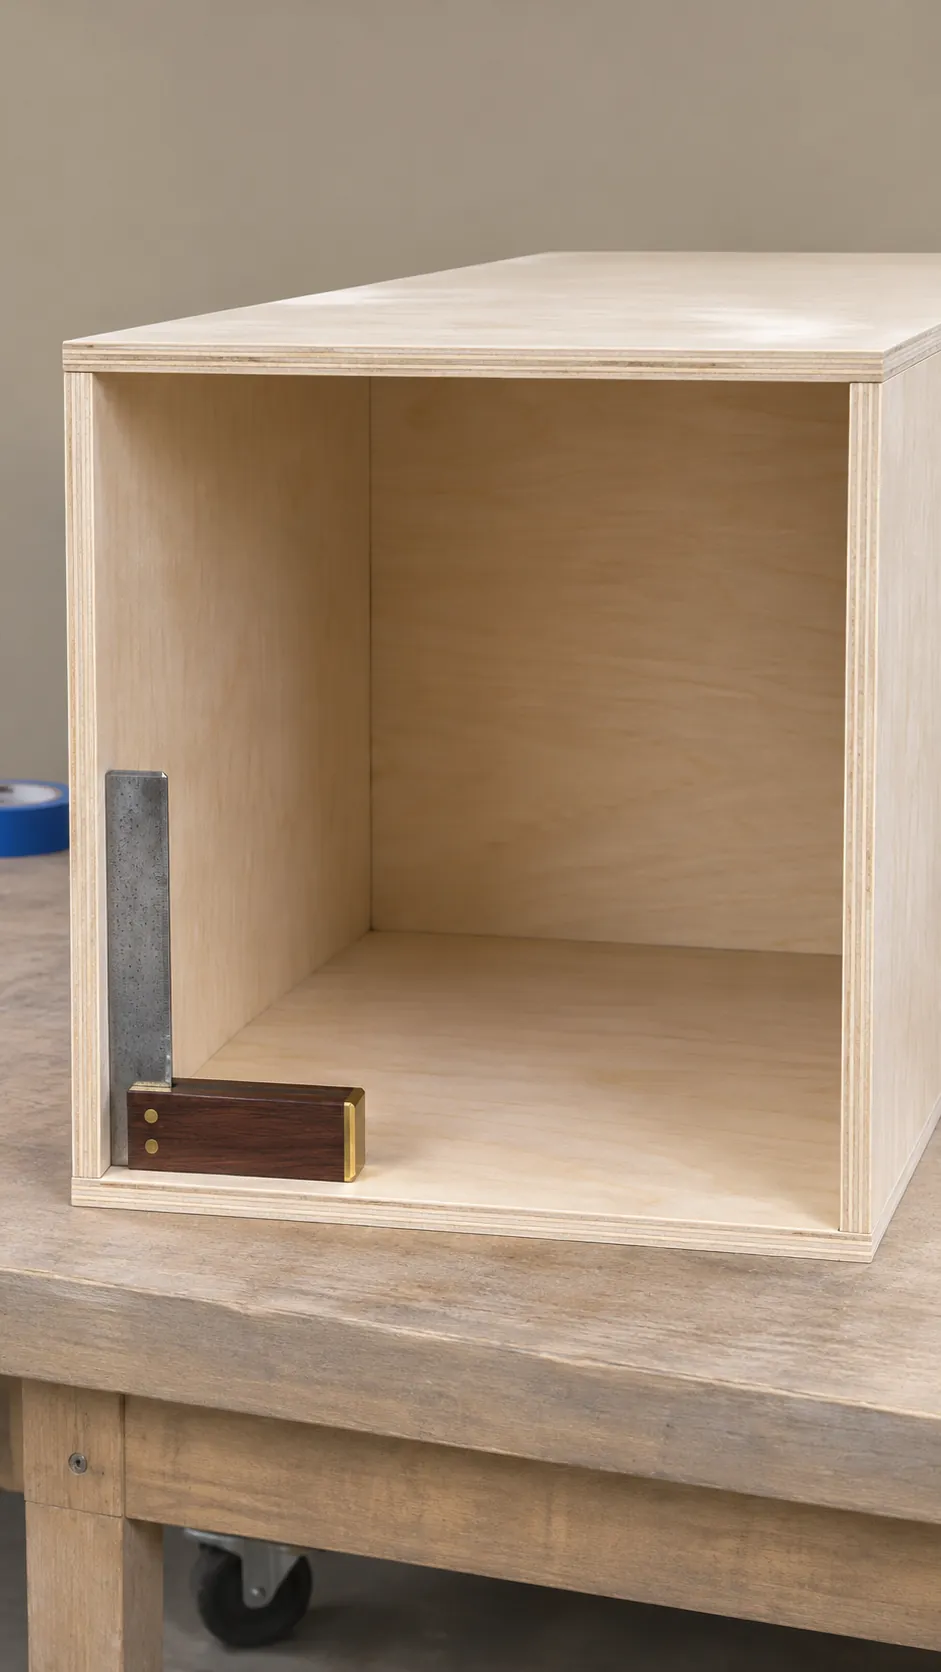
Measure the two diagonals across the open front from the same corresponding inside corners. They should agree within what you can reliably read with your measuring tool. If they differ, shift one top corner gently and measure again. If it takes force to close a gap on a flat bench, find the high edge and correct the cut before reaching for the glue.
Glue the shell and keep it square
Apply a thin even layer of wood glue to bare mating edges. Set the base, sides and back together, then place the top. Use scrap pads under clamp jaws and apply just enough pressure to close the joints. Recheck the front diagonals as you tighten because clamp pressure can pull one corner sideways.
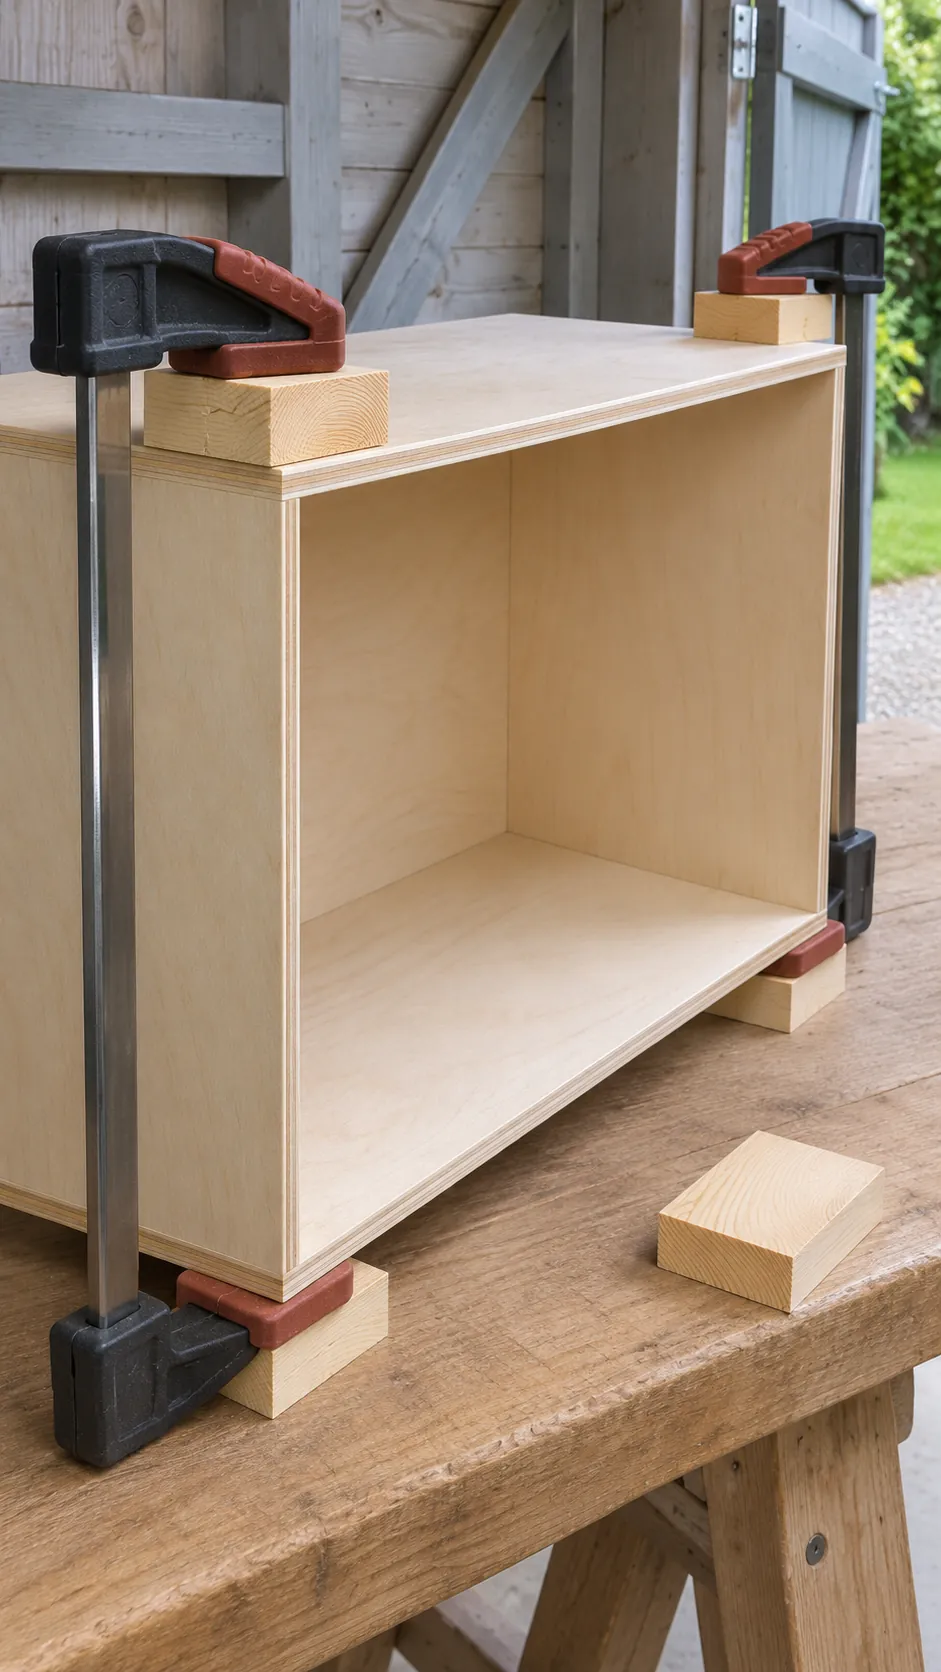
Remove squeeze out as directed by the glue maker, especially if the plywood will stay bare or take stain. Let the glue set and cure according to the label. For a house that will get moved often, glue small wood cleats inside the back corners to give each joint more surface area.
Sand and finish the open front
Ease exposed edges with a sanding block. Clean away the dust before priming or sealing, and test the finish on an offcut to see whether it raises the grain or darkens the face. If you want a painted interior, use a small foam roller for the flat walls and a brush at the corners. Leave the shell open until the finish has cured.
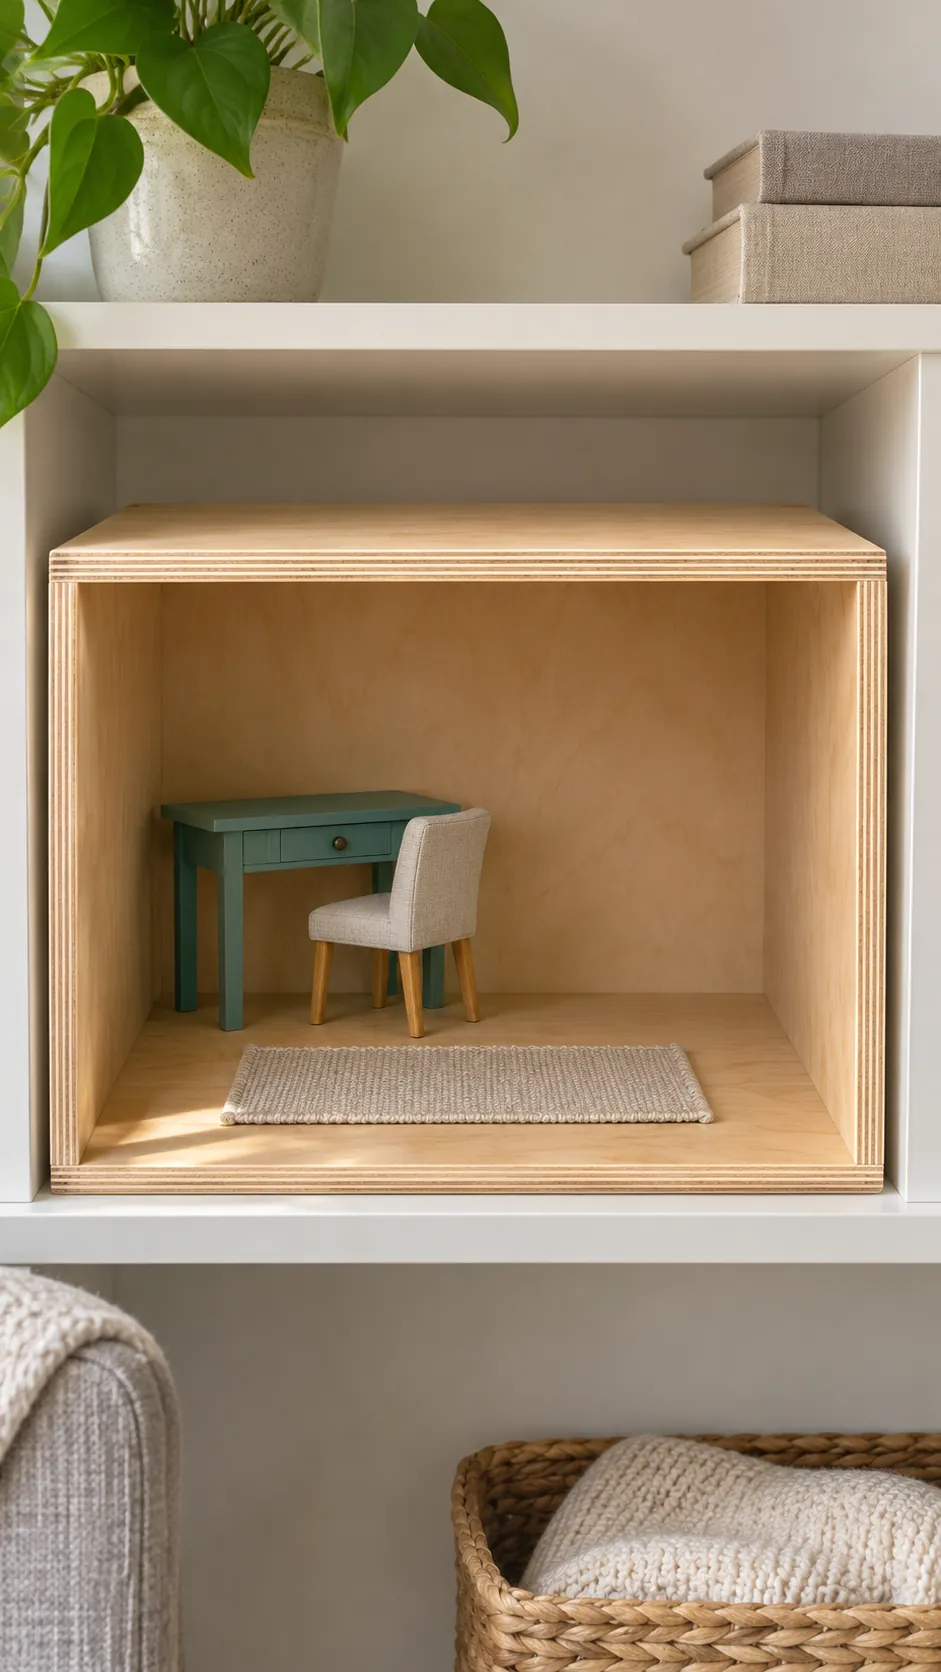
Decorate the shell as one room first. Bring back the pieces from the paper layout and check that you can reach the back without moving the whole setup. If you want two rooms later, an upright removable divider preserves more height than splitting this particular shell into two short stories.