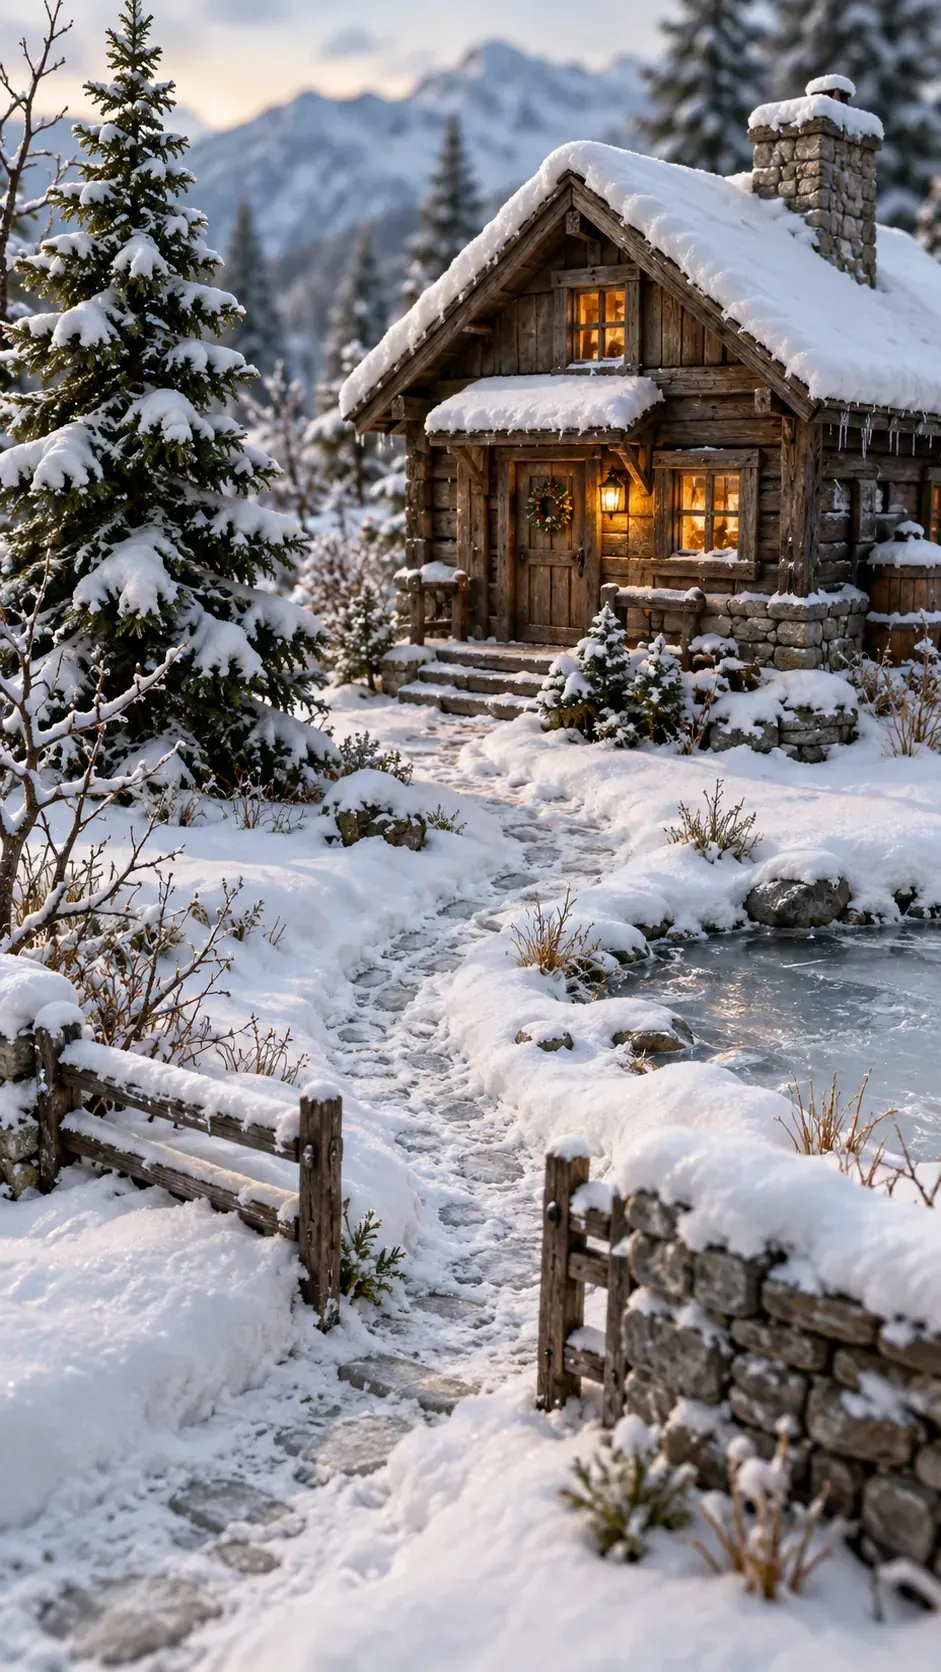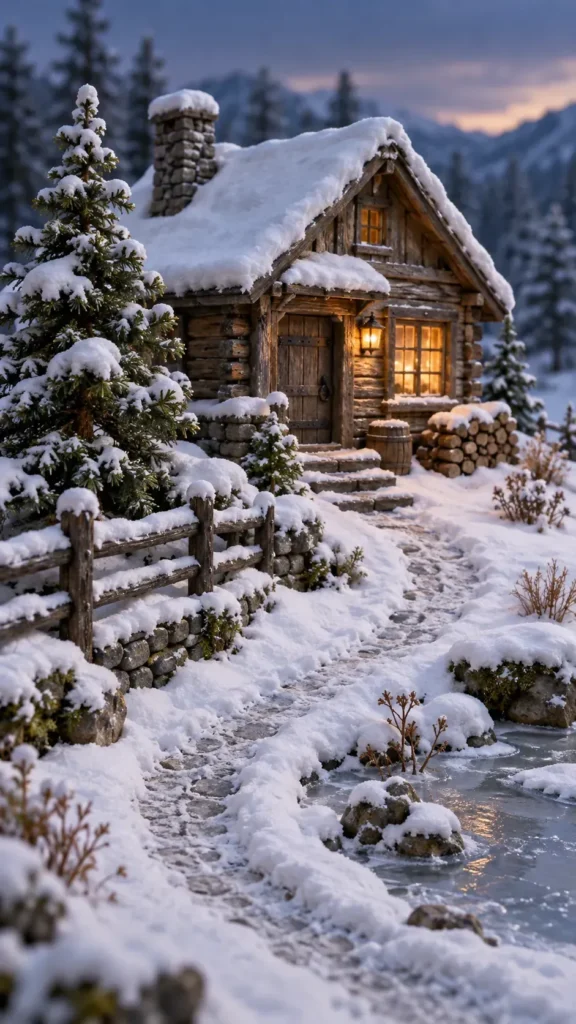
Loose glitter can make a convincing photograph, then turn into a lasting cleanup problem. A better snow surface builds volume first, adds a fixed white texture second, and uses sheen only where real ice would appear.
This method works for tiny snow scenes, a dollhouse winter landscape, and many one inch scale winter miniatures. Test every paste and medium on scrap material first, especially when the base includes painted wood, clear plastic, or delicate plants.
Choose a Rigid Base and Map the Snow
Loose snow products create the exact problem this method avoids: they shed during handling and collect in room corners. Start with a rigid base that will not flex, then mark the path, cabin footprint, fence line, and low ground before adding any white material. Keep the thickest snow away from moving doors and removable dollhouse parts.
Build Volume Before Adding the Snow Surface
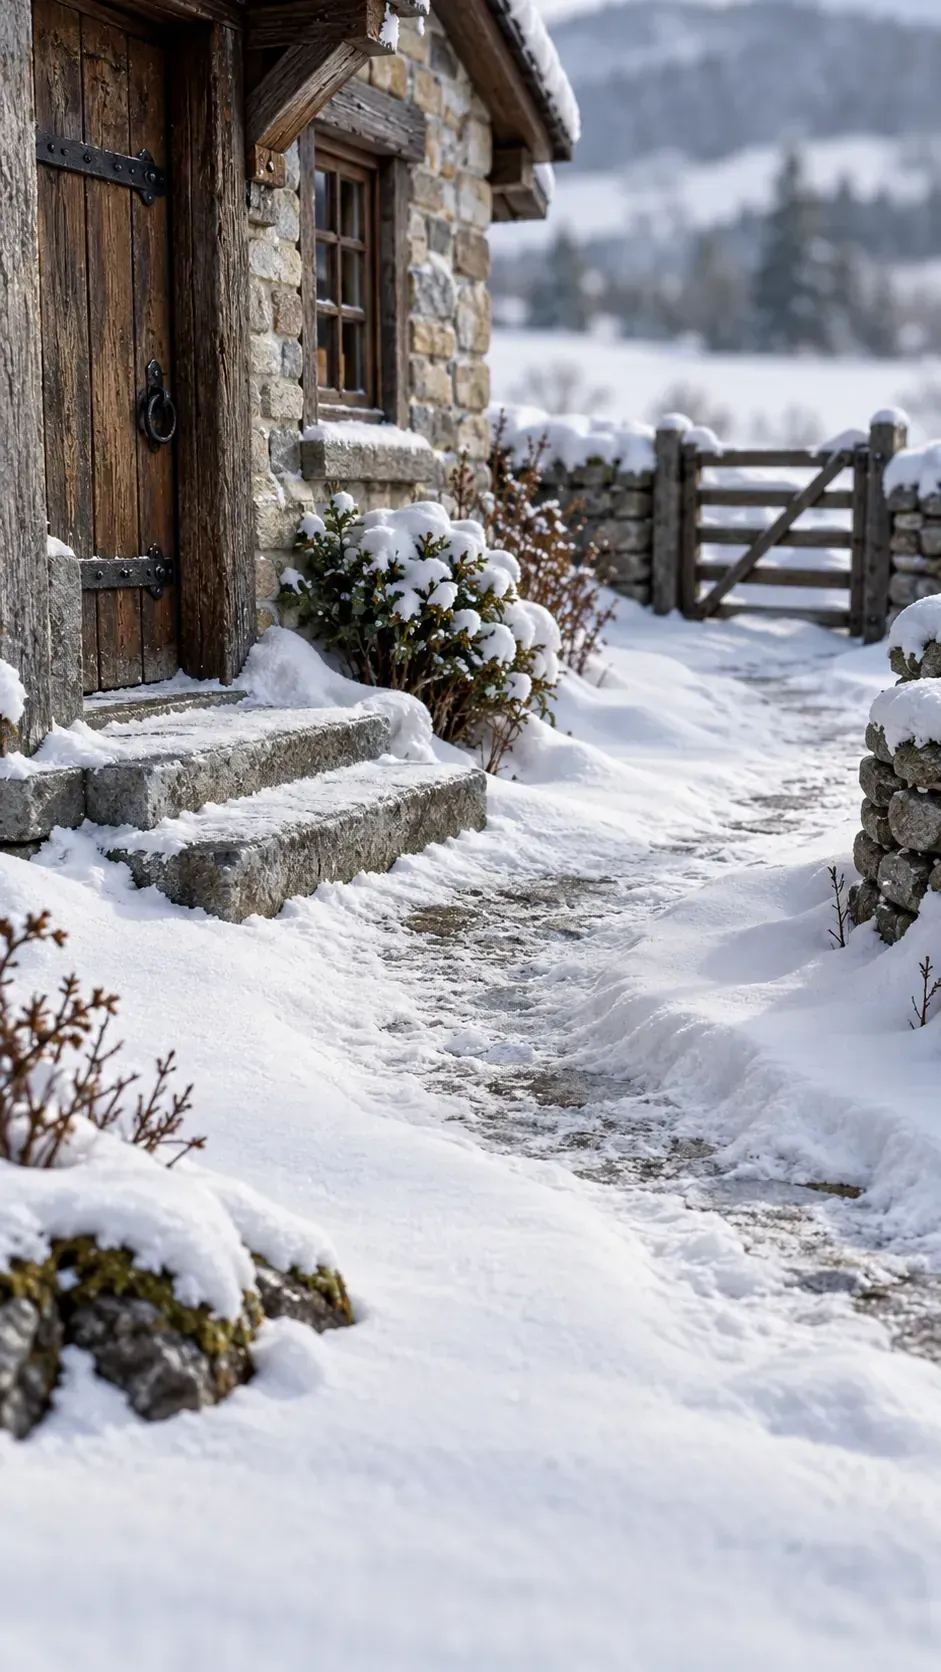
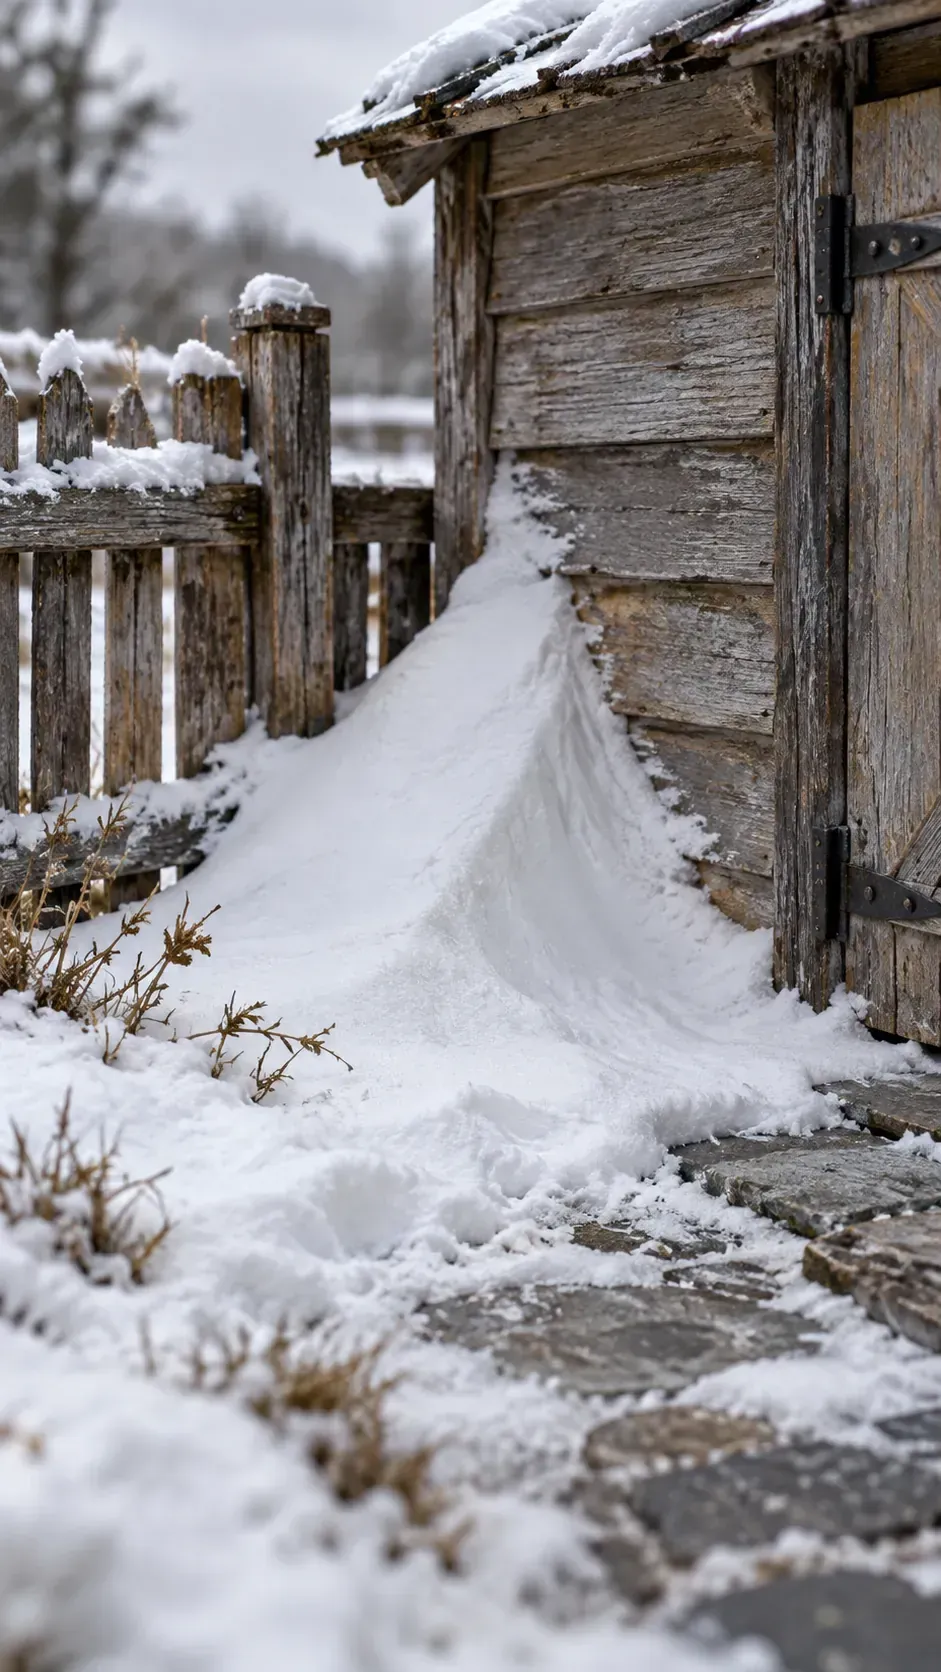
Large drifts need a lightweight core, because a deep mass of paste can crack and make the model unnecessarily heavy. Shape small forms from clean paper or foil, fix them securely, and cover every edge with a thin layer of sculpting paste. Smooth the windward side and leave a slightly sharper lip on the sheltered side so the volume reads as weather rather than frosting.
Use Cotton Only as a Sealed Texture
Cotton can create a soft snow effect, but loose fluffy clumps quickly look oversized in one inch scale. Tease a very thin layer, press it into matte medium, and seal the top so no fibers lift when touched. Use it only where soft accumulation makes sense, such as the base of an evergreen or a sheltered bank.
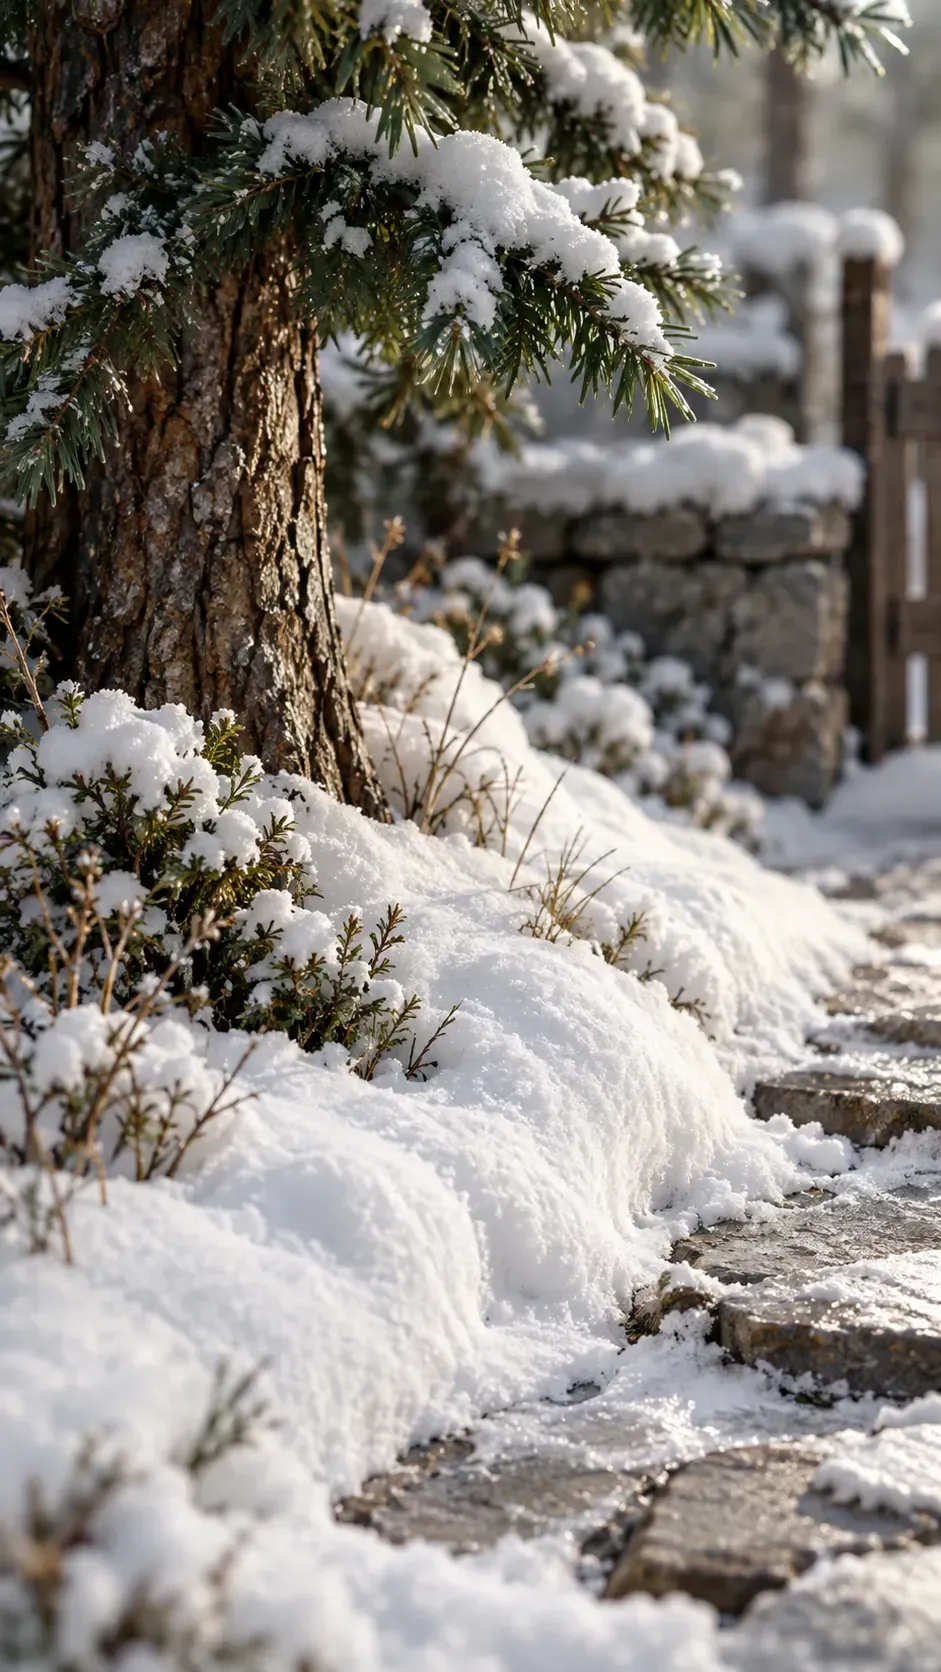
Press a Path While the Surface Is Soft
A perfect white surface feels flat unless it records use. Press shallow boot marks into the paste before it cures, keeping the stride and print size consistent with the dollhouse scale. Soften the edges with a clean tool and let the path become slightly darker and flatter near a doorway.
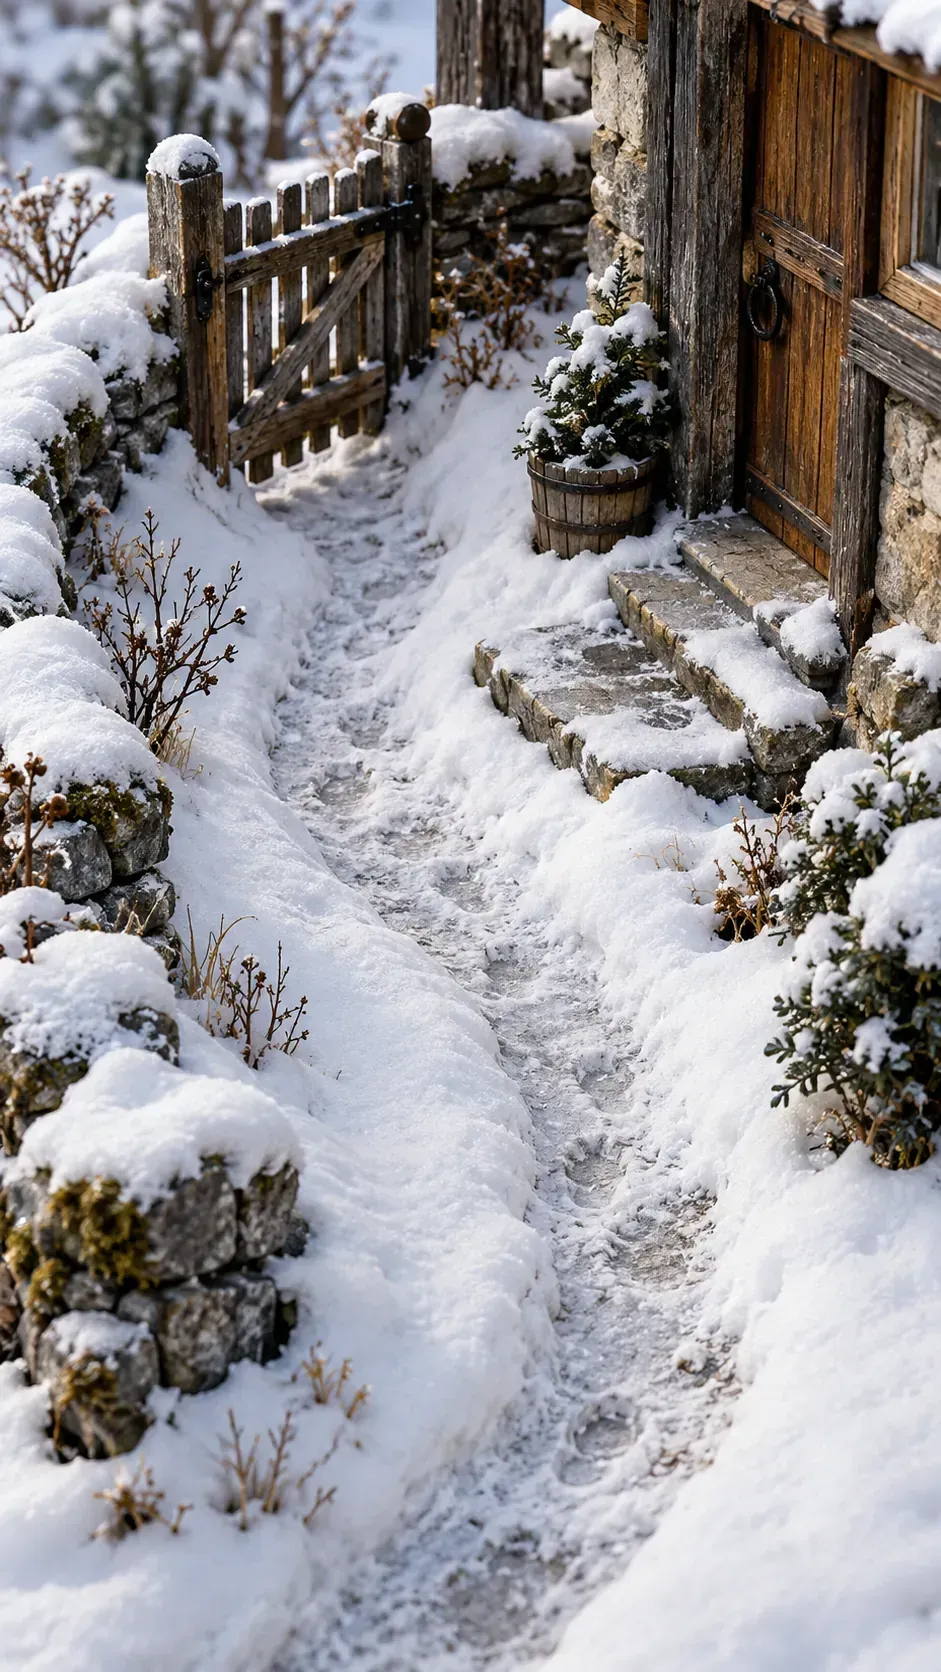
Add Ice Without Adding Sparkle
A tiny frozen puddle adds contrast because its sheen differs from the surrounding matte snow. Use a shallow recess and a small amount of clear resin, then cloud the outer edge with a trace of white medium. Keep the reflective area restrained, since a broad glossy surface can make the whole landscape look wet.
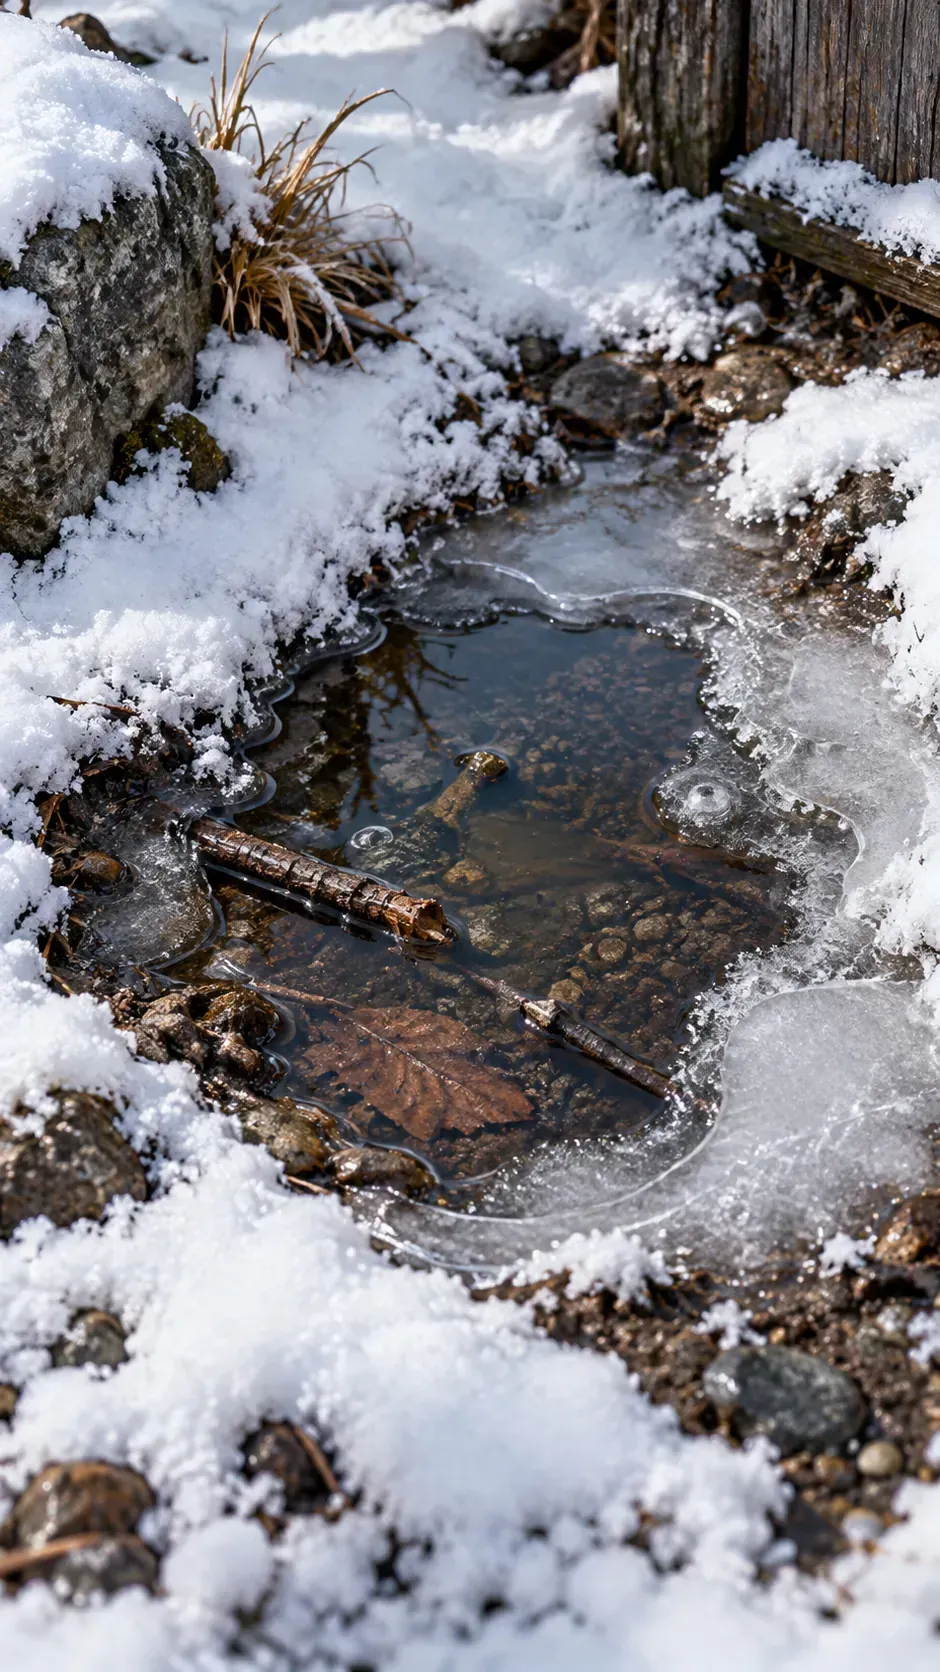
Seal the Scene and Check Every Edge
Let every layer cure fully before moving the scene. Turn the base gently over a clean sheet and tap it once; any falling material shows an edge that still needs medium or paste. Finish by checking paths, thresholds, branches, and roof edges, then store the scene under a cover so dust does not become part of the snow texture.