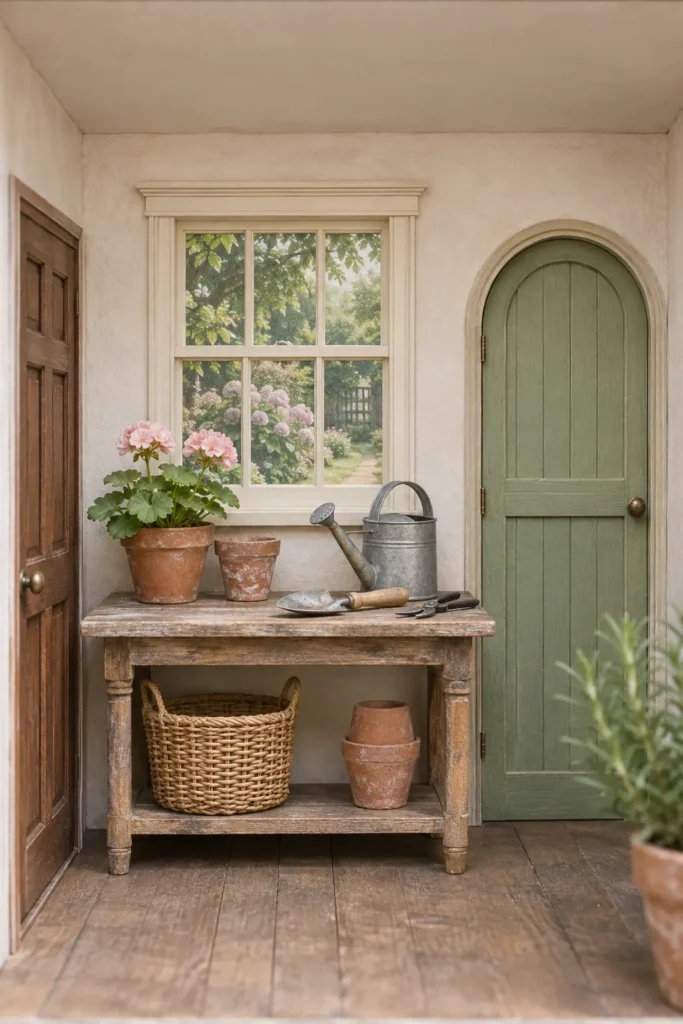
Paper windows and doors can make a shallow room box feel larger, but they fail when the viewing angle exposes their flat edges. The useful question is not whether paper looks real in isolation. It is whether the scene controls the viewer’s angle and gives the printed detail enough physical context.
Download the window and door sheet
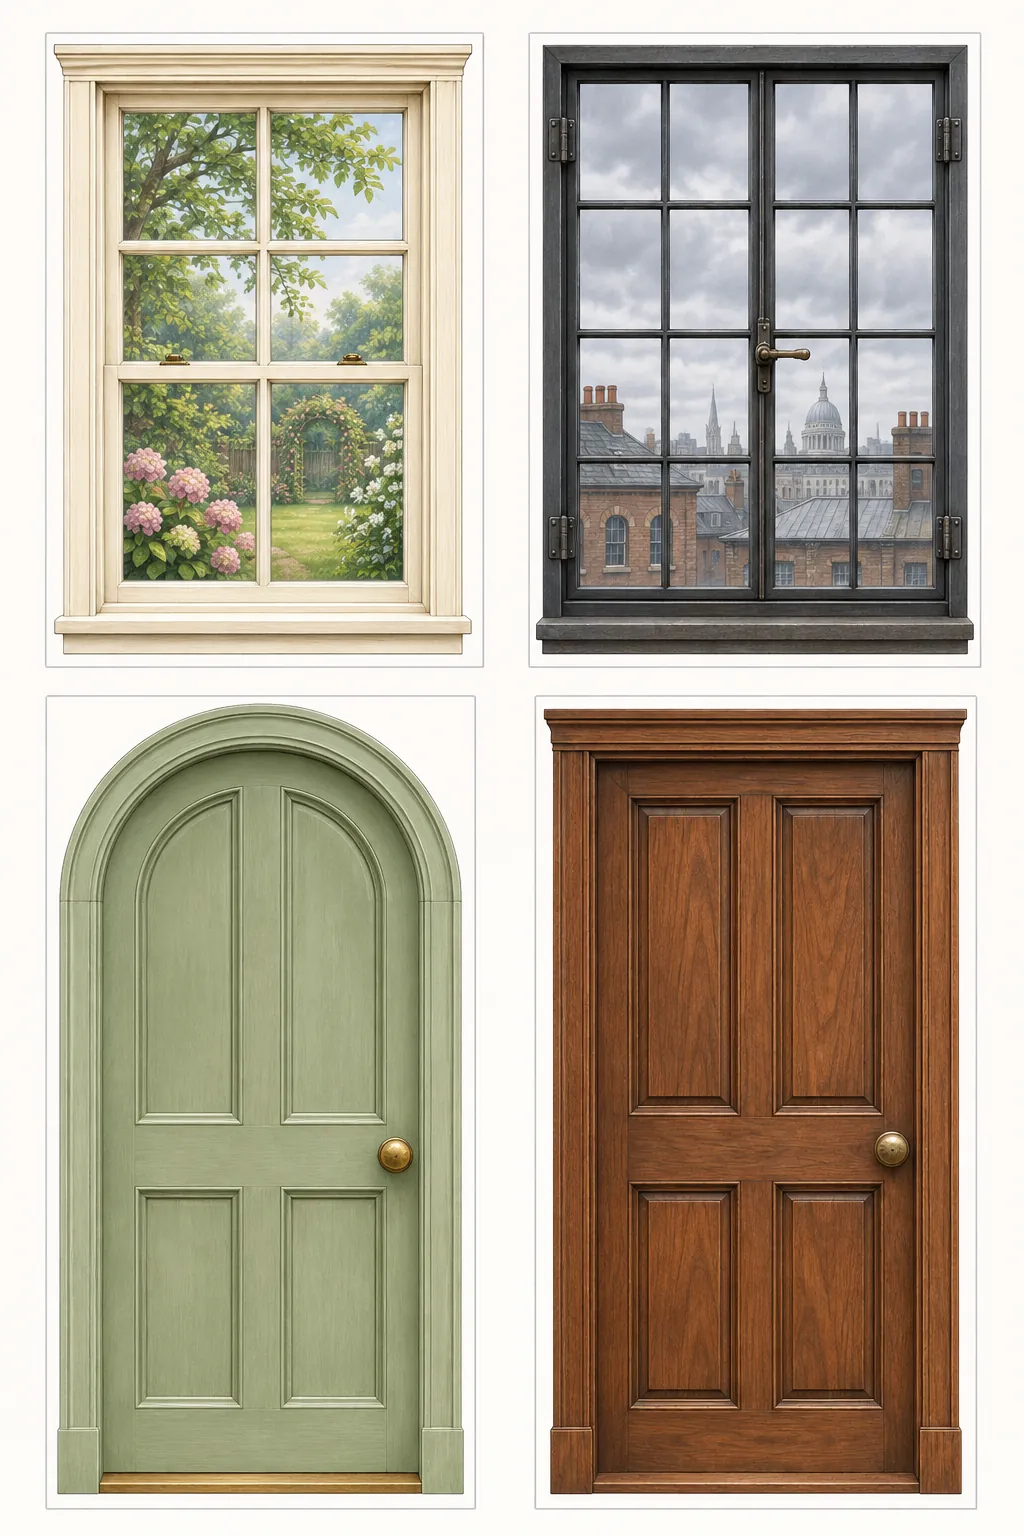
Download high-resolution printable
The sheet includes two windows and two closed doors. Each element is complete and has its own cutting margin. Open the full size preview or button, save the image, and make a plain paper test before using your better stock.
Use paper on controlled back walls
A flat opening works best on the back wall of a room box, behind furniture, or in a scene viewed mostly from the front. The printed garden or city view can extend the setting without requiring extra physical depth. Align the feature carefully because tilted frames reveal the illusion faster than flatness does.
Mount the print on thin card when the wall needs a slight frame shadow. Add narrow strips around the casing and place a real sill beneath a window. These small layers help the eye connect the flat image with three dimensional furniture and props.
Avoid paper where the edge is exposed
Do not rely on a flat door when it must open, cast a deep shadow, or appear from several side angles. A window beside the open front of a room box also needs more depth because viewers can see its profile. Build these openings from thin wood, card layers, or a purchased frame instead.
Clear glazing is another reason to use a constructed window. Printed reflections can suggest glass from one viewpoint, but they do not react when the light or camera moves. Choose paper for scenic depth and built parts for physical interaction.
Match scale and perspective before gluing
Compare the printed door with a miniature figure and the room ceiling. The knob should sit at a believable height and the casing should not overwhelm nearby trim. For one twenty fourth scale, start at fifty percent of the size used for one twelfth scale.
View the loose print through the same camera angle or display opening the finished scene will use. If the perspective feels wrong, change the placement rather than forcing the feature into the room. Once the test works, mount it smoothly with a thin even adhesive layer and press it flat while drying.