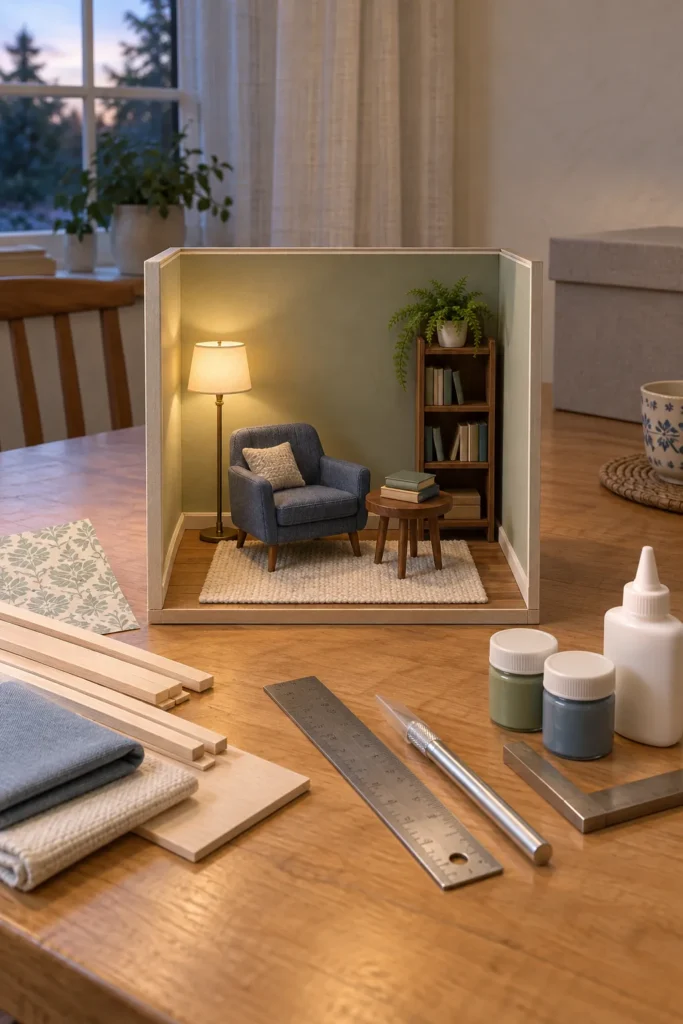
A first miniature project can become overwhelming when every possible room, tool, and detail competes for attention. A room box solves that problem. It gives you one floor, three walls, one clear scale, and enough space to practice the skills that matter.
This plan is sized for a focused weekend, but drying time still controls the pace. Finish the shell and surfaces on the first day. Use the second day for furniture, lighting, styling, and small corrections. If something needs another night to cure, protect the work instead of forcing the final step.
Choose one simple room story
Pick a room you understand from daily life. A reading nook, tiny studio, breakfast corner, or plant room needs only a few recognizable pieces. Give the room one purpose and one focal object. That decision prevents a beginner dollhouse project from turning into a collection of unrelated miniatures.
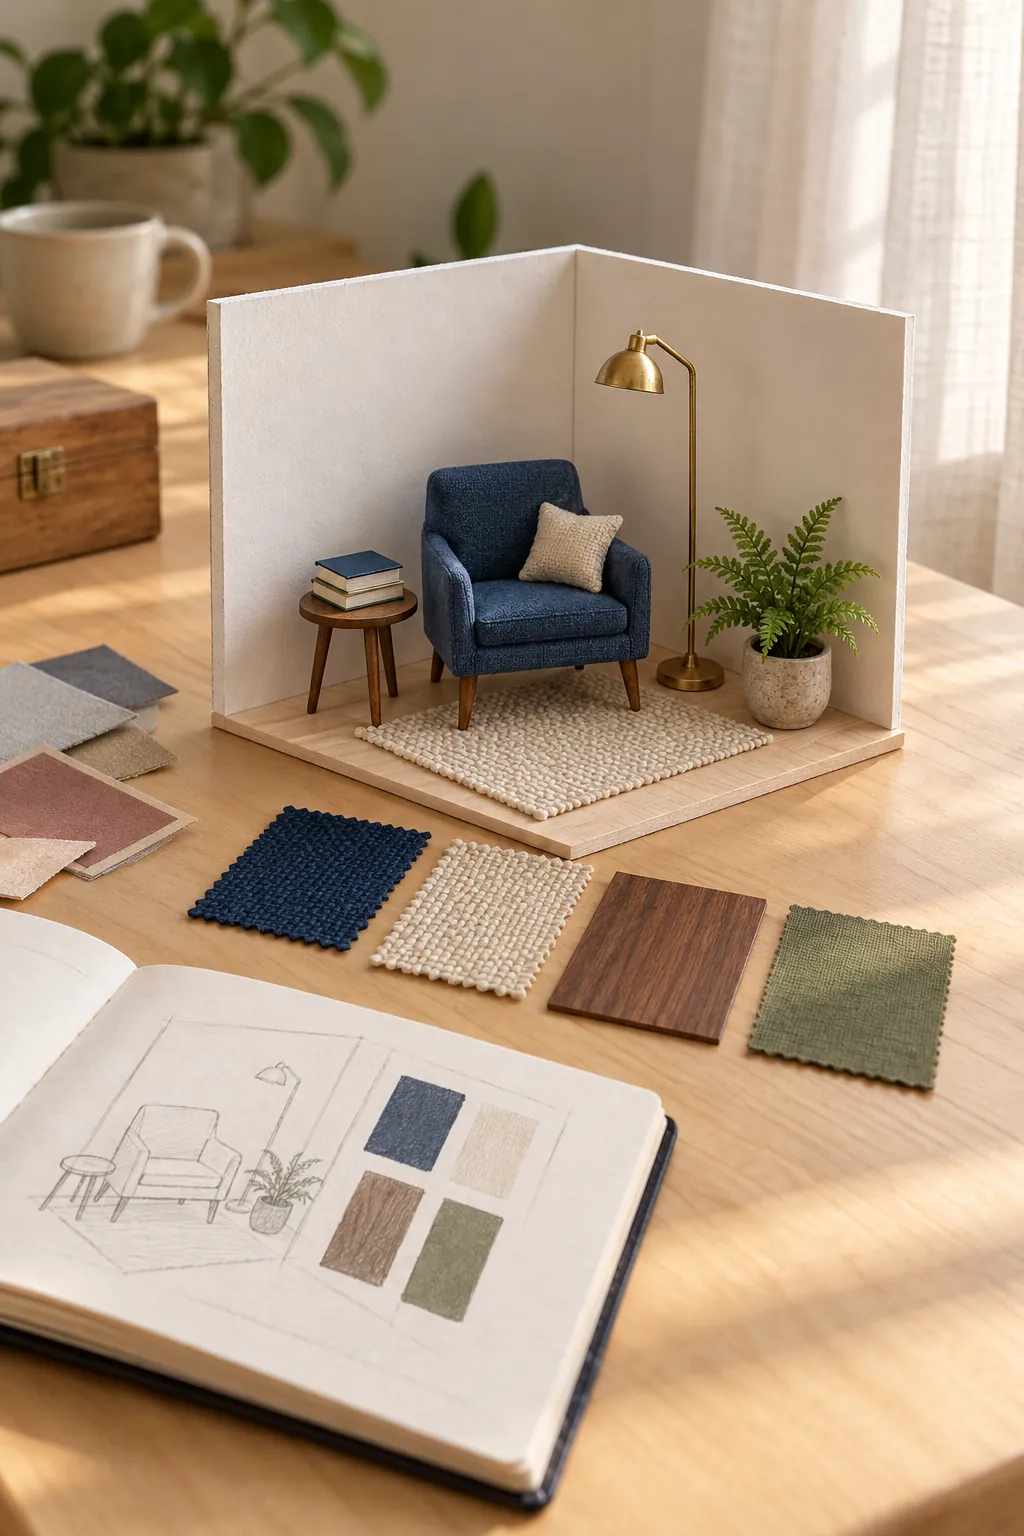
Choose a palette of three main colors and one small accent. Decide whether the room feels bright, cozy, rustic, modern, or traditional. Write those choices down before shopping or cutting. They become a quick test for every material and accessory.
Set the scale before measuring
A common 1:12 scale means one inch in the miniature represents one foot in the full room. It gives beginners many furniture and accessory choices. A 1:24 room uses half the linear dimensions and needs much smaller pieces. Do not mix scales because a slightly wrong chair or door can make the whole scene feel uncertain.
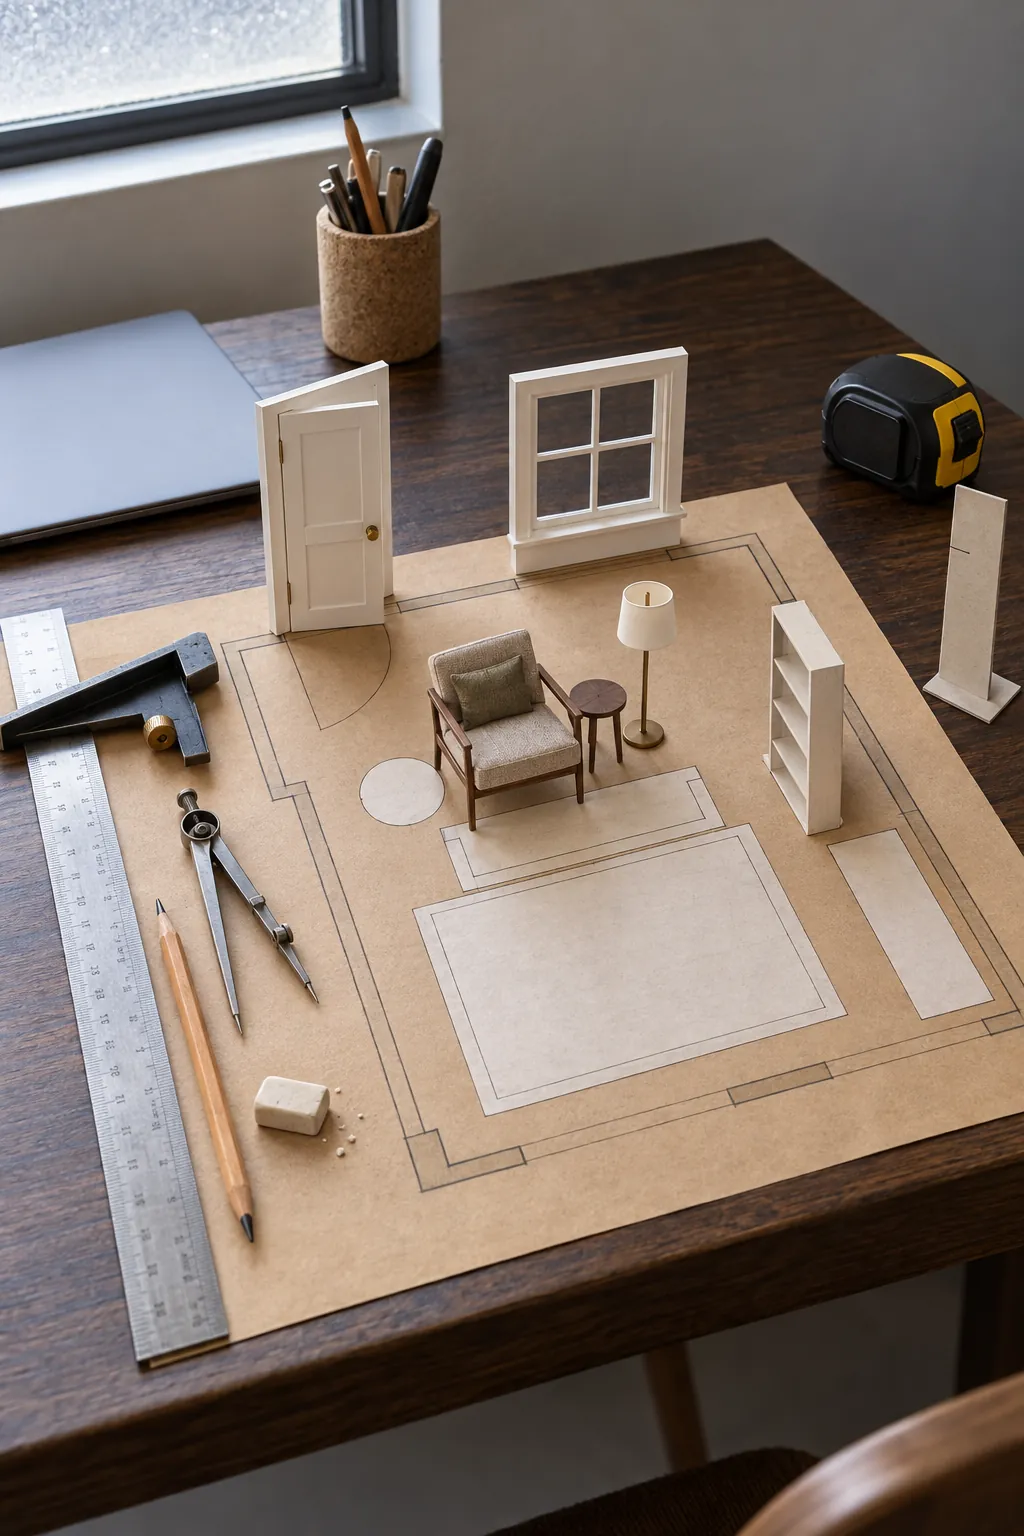
For an easy miniature room box in 1:12 scale, an interior about 12 inches wide, 10 inches high, and 10 inches deep gives useful space without becoming heavy. Adjust the size to the material you have, then measure every wall from the same interior reference. Dry fit the furniture footprints on paper before fixing the dimensions.
Gather a short list of materials
Use mat board, book board, foam board, or thin plywood for the shell. Match the cutting method to the material. You also need a cutting mat, metal ruler, sharp craft knife, square, pencil, suitable glue, painter tape, fine sandpaper, brushes, and paint. A basic box for tools keeps the table clear.
Add one wall finish, one floor finish, thin strips for trim, and the materials for two or three furniture pieces. Cheap card and paper are excellent for practice because they reveal proportion and construction errors without wasting expensive stock. Replace a practice piece only when you understand what the next version needs.
Build a square shell
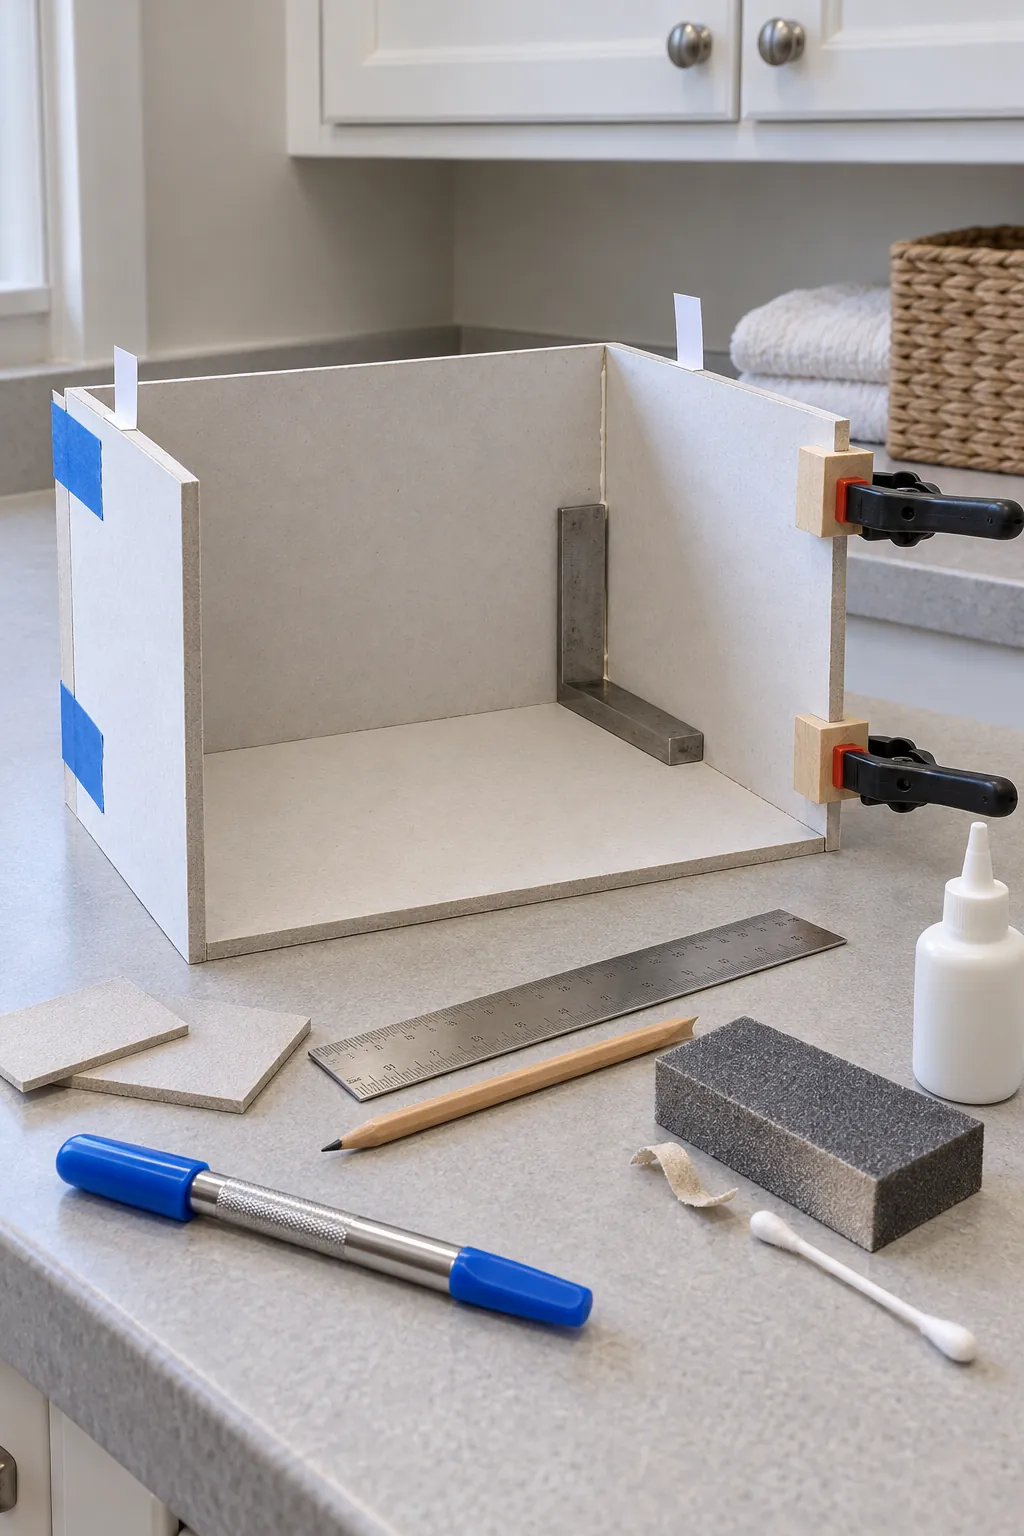
Cut the back wall, two side walls, and floor with repeated light passes rather than one heavy cut. Mark the finished side of every piece so glue does not land on the visible face. Test the parts with painter tape, check each corner with a square, and confirm that the open front is not twisted.
Glue one wall at a time and support it until the joint holds. Remove squeeze out before it dries. If the shell is slightly out of square, correct it while the adhesive remains workable. A straight shell makes every later task easier, from laying the floor to fitting shelves.
Finish walls and floor in the right order
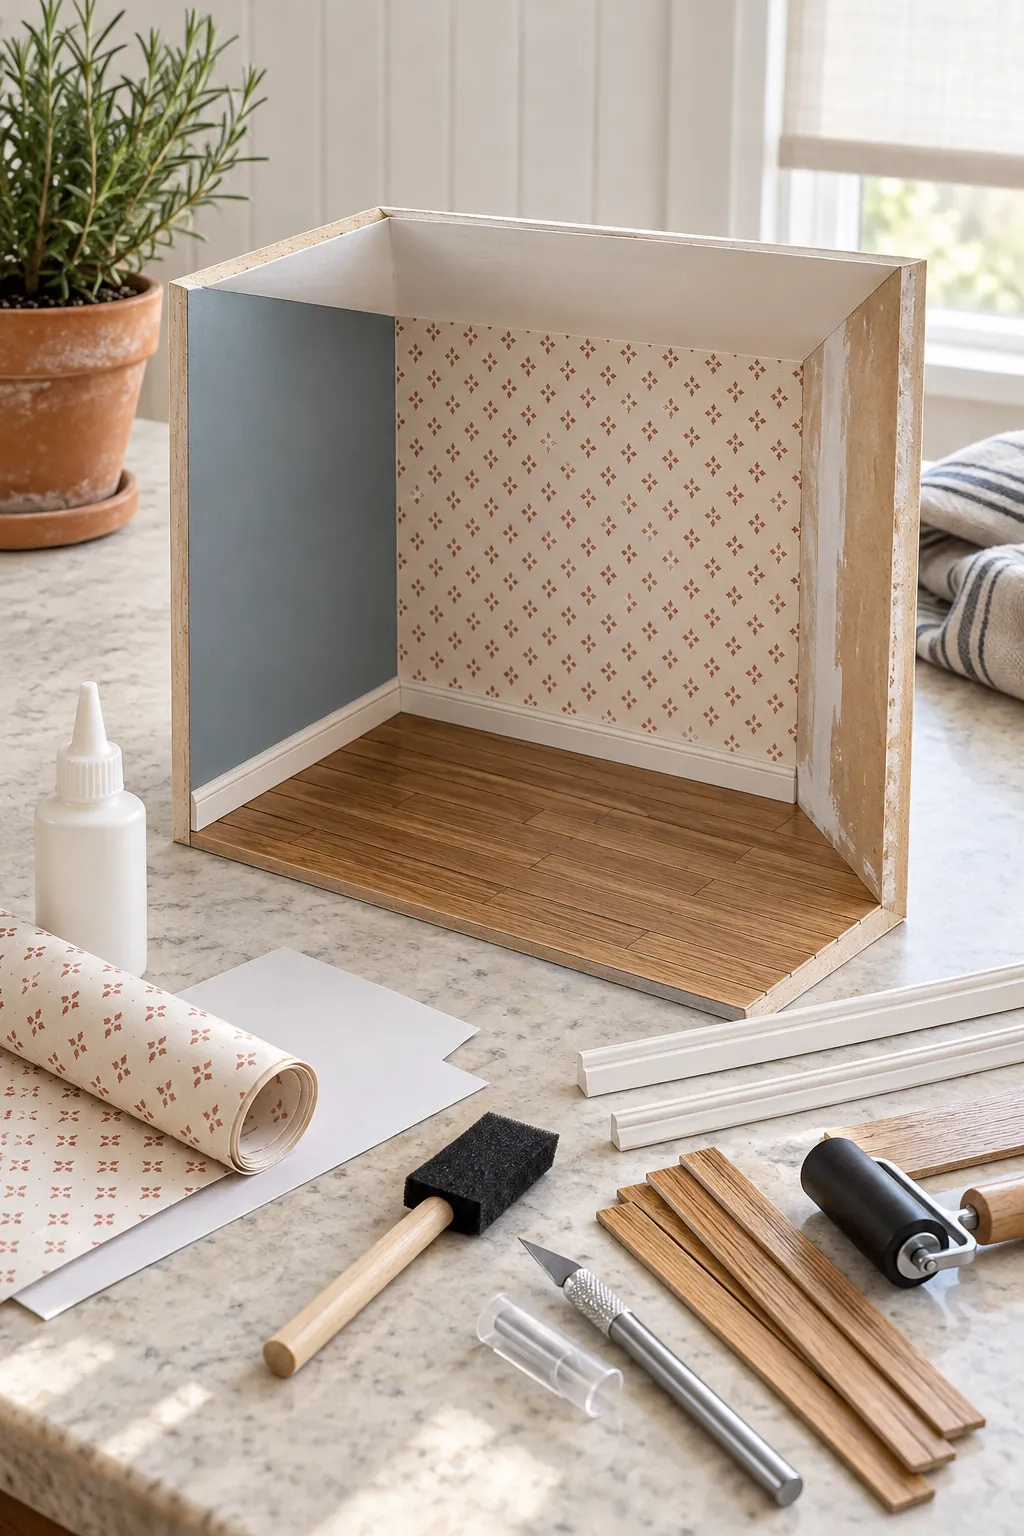
Paint the ceiling and any exposed outer edges first. Test wallpaper or painted paper on scrap before attaching it. Cut wall coverings slightly large, fit them carefully, then trim with a fresh blade. Keep adhesive thin and even so the paper does not buckle.
Install the floor after the walls are clean and dry. A printed wood pattern, narrow craft sticks, or paper tile can all work. Add baseboards last to hide the floor edge and create a clean junction. Let every wet layer dry before pressing furniture into the room.
Make only the furniture the room needs
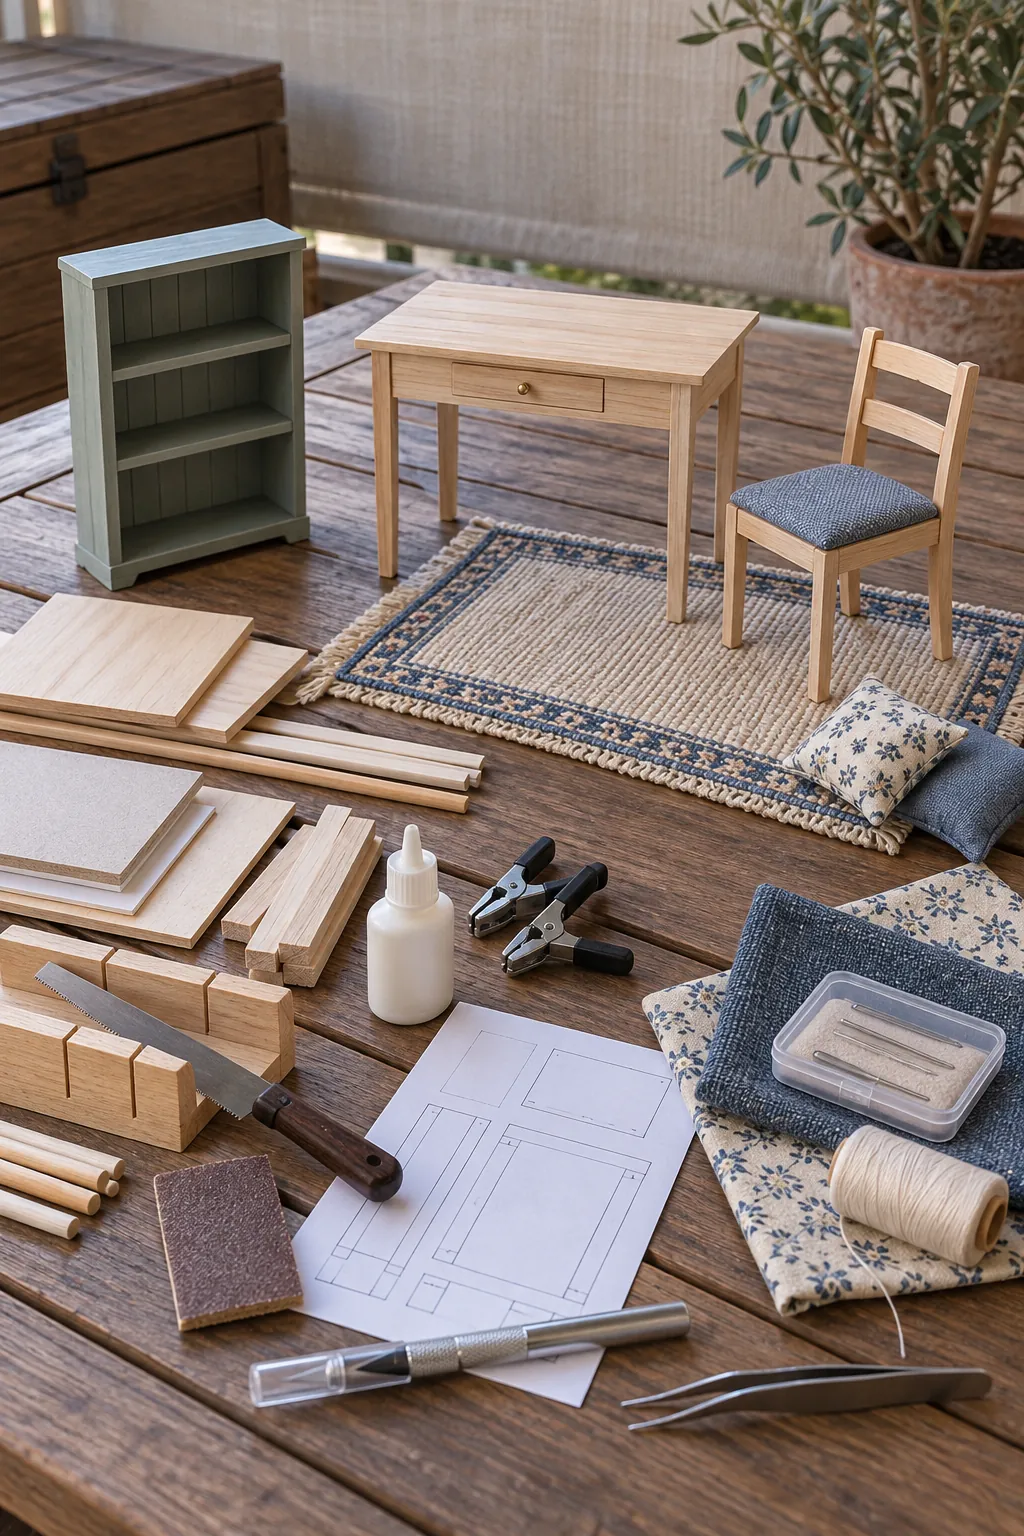
Start with the largest piece because it controls the layout. A desk, bed, sofa, or table creates the room identity. Add one seat or storage piece and one soft element such as a rug or cushion. Leave open floor around them so the miniature scene can breathe.
Card, basswood, fabric scraps, beads, and clean found objects can become convincing furniture. Make a paper pattern before cutting better material. Check the height and depth against a full size reference converted to your miniature room scale. Tiny details cannot rescue a piece with the wrong proportions.
Add one controlled light source
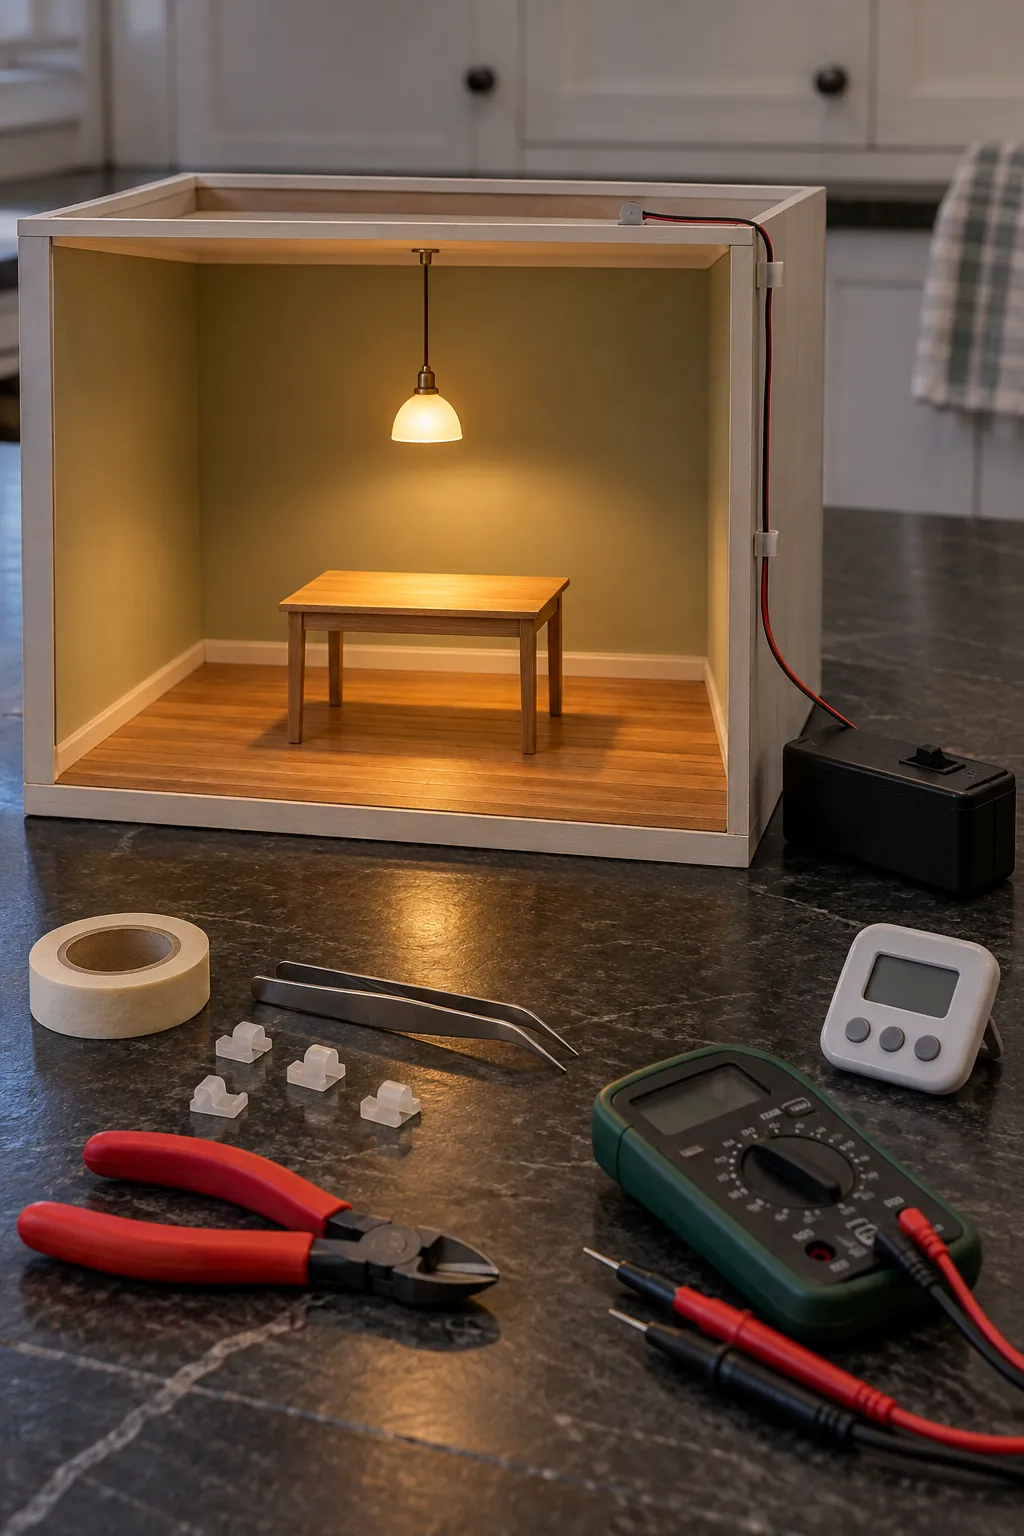
A small battery light can give the room depth and make the project feel complete. Plan the wire path and battery access before attaching the final wall finish. Keep the power source outside the room or inside an accessible hidden compartment. Never trap a switch behind glued furniture.
Test the light for several minutes before installation. Secure the wire without crushing it, and keep glue away from electrical contacts. One warm lamp is enough for a first miniature room tutorial. More fixtures add holes, wires, and troubleshooting that can wait for a later build.
Style the room and stop at finished
Place the large furniture first, then the lamp and soft items. Add only a few small objects that support the room story. Check the scene from the front, from a low angle, and in a phone photograph. Move pieces when they block the focal point or create a crowded line.
Your first room box does not need perfect corners or dozens of accessories. It needs a stable shell, consistent scale, clean surfaces, and a clear purpose. Record what you would change next time, then let this project remain complete. Finishing one room teaches more than planning an entire house that never reaches the table.