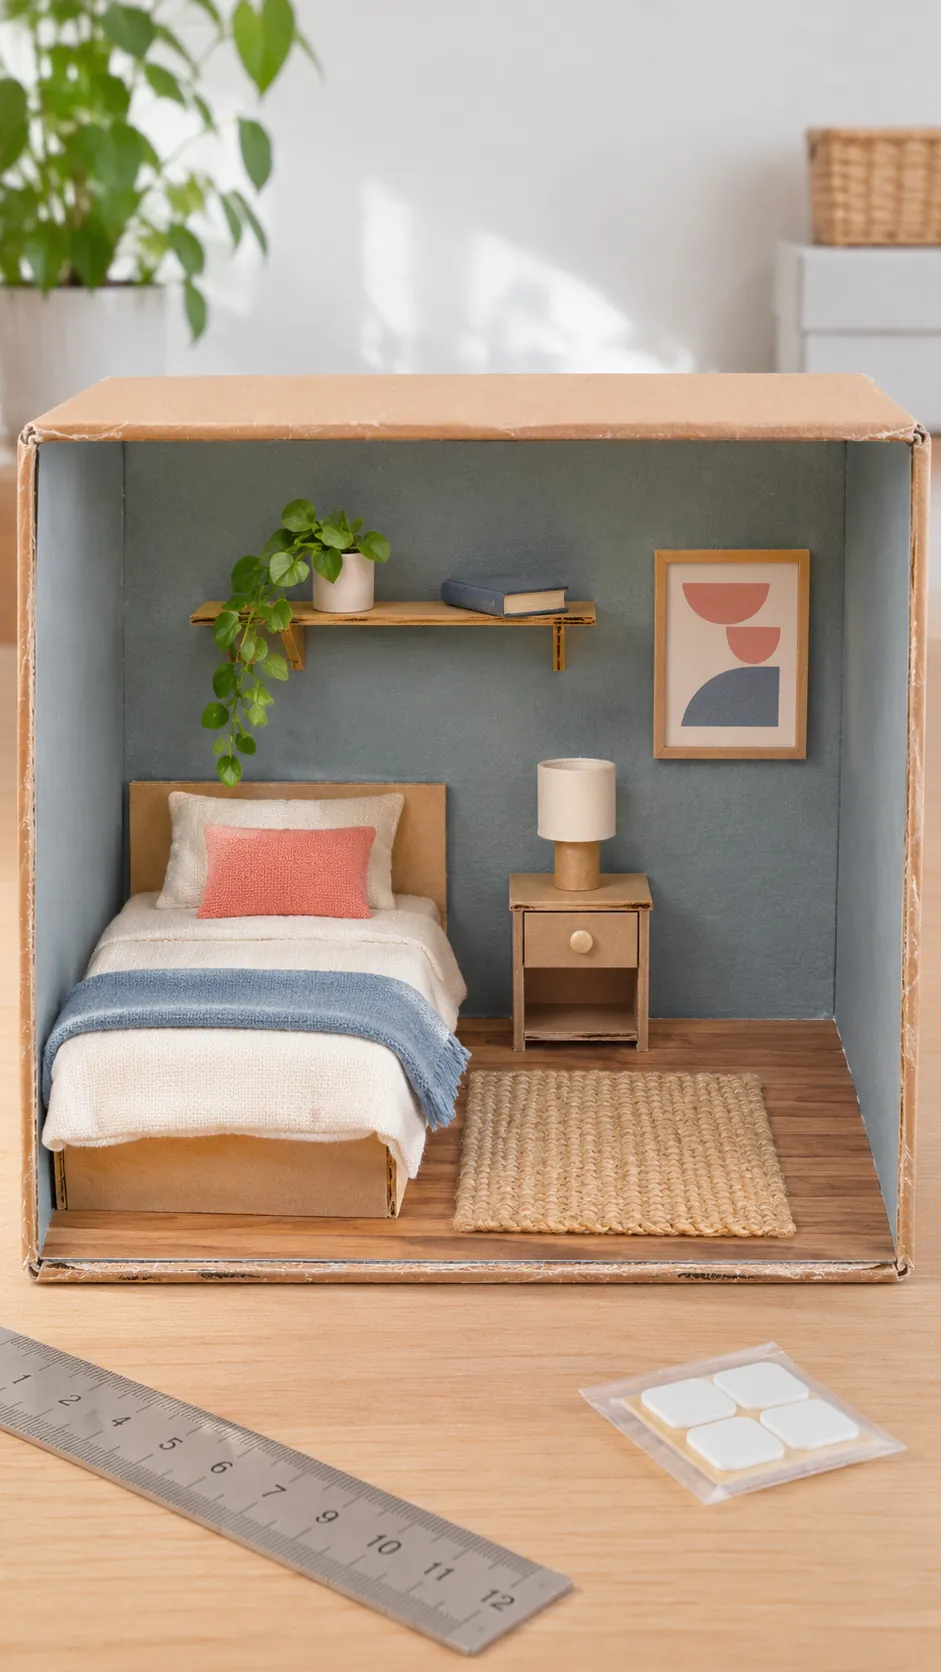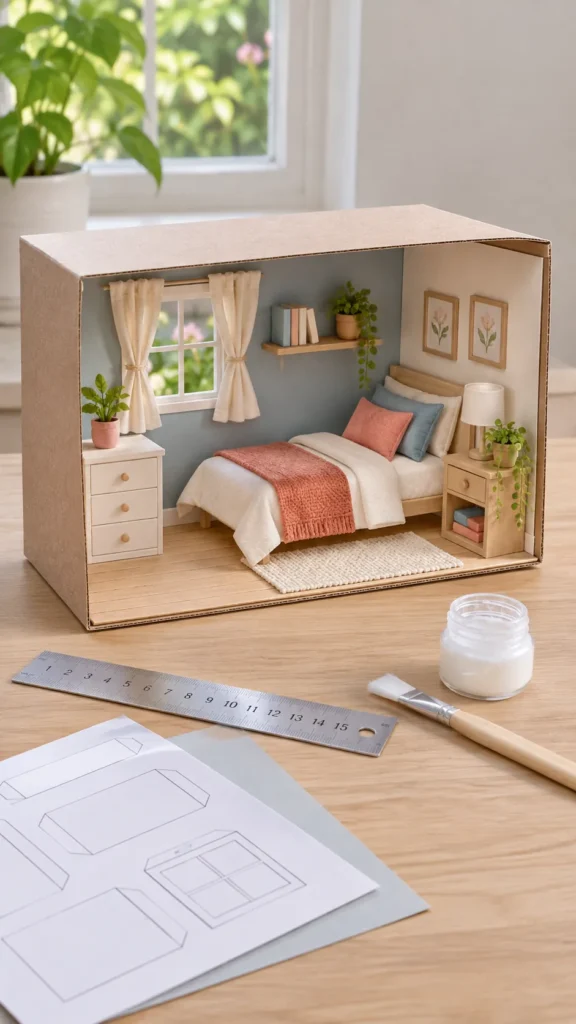
A shoebox gives you a ready made room, but its thin walls can warp and its familiar proportions can make scale mistakes easy to see. The project becomes much simpler when you decide the room size first, reinforce the cardboard before decorating, and test every piece while it is still easy to move.
This beginner method uses common materials and keeps the open side accessible. Search snippets from miniature communities repeatedly point toward the same useful ideas: establish a floor size, scale everything to that area, hide exposed cardboard edges, and add small details only after the structure works.
Choose a room scale and purpose
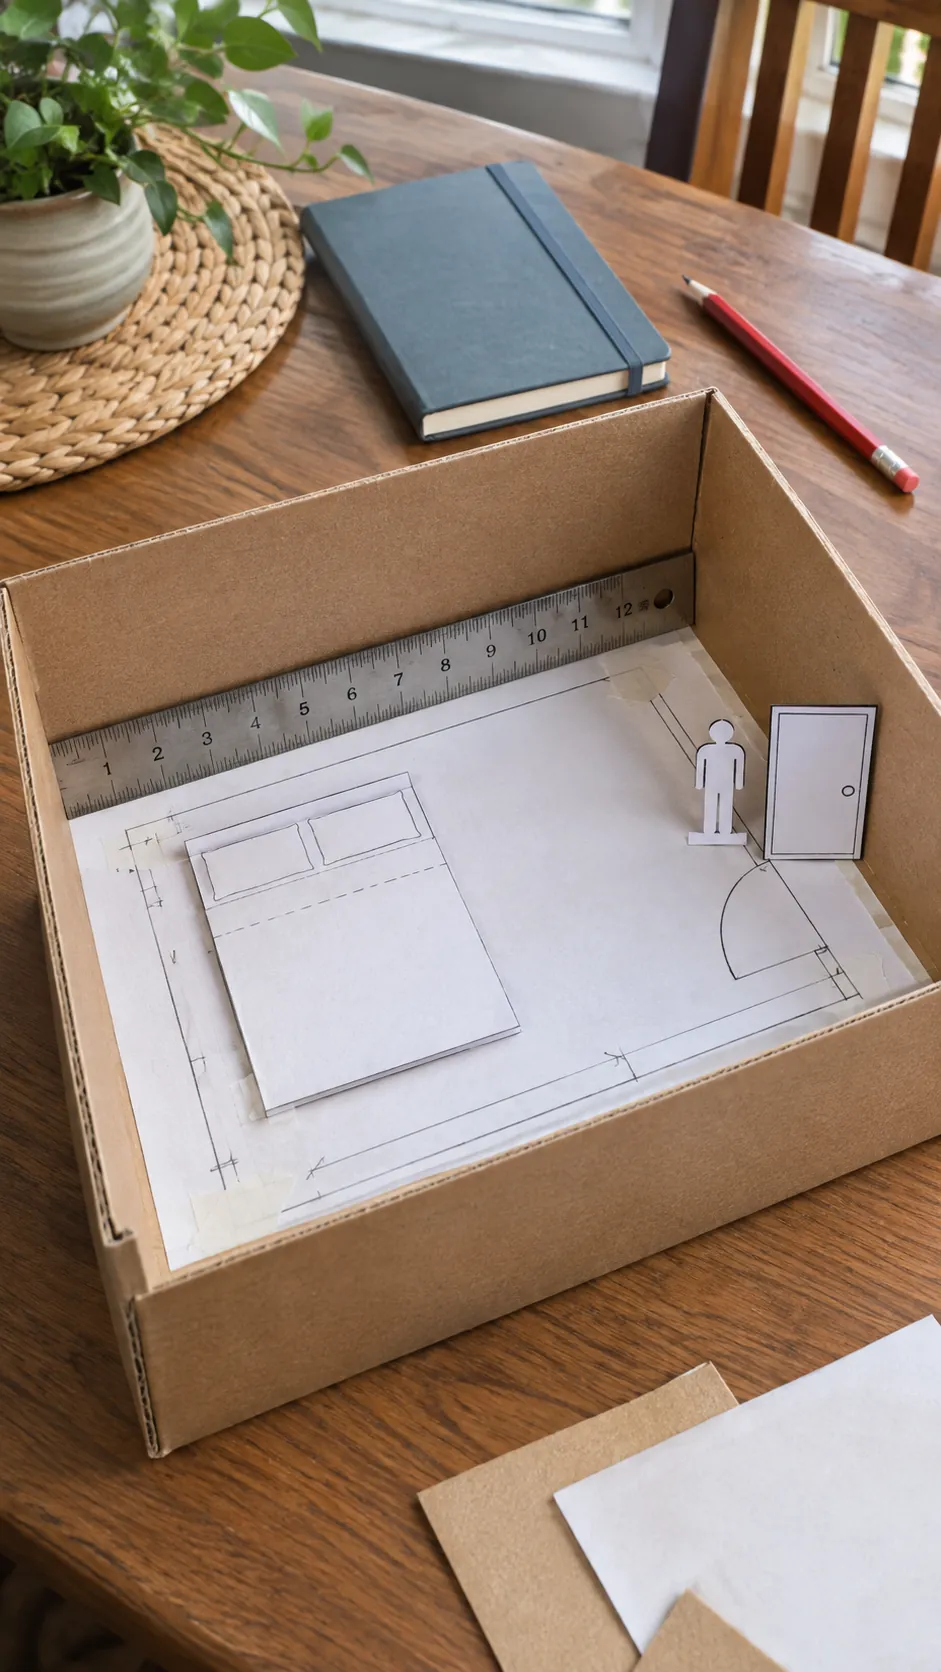
Decide whether the box will become a bedroom, living room, shop, or another single scene. Measure the inside width, depth, and height, then choose a scale that leaves useful floor space. One twelfth scale furniture can overwhelm a small shoe box, while one twenty fourth scale often gives a beginner more room to arrange a complete scene.
Draw the floor outline on paper and test the largest object first. A bed, sofa, or shop counter sets the practical limit. Keep one scale for doors, windows, furniture, and accessories. A deliberate simplified detail looks better than a mixture of unrelated sizes.
Strengthen the box before covering it
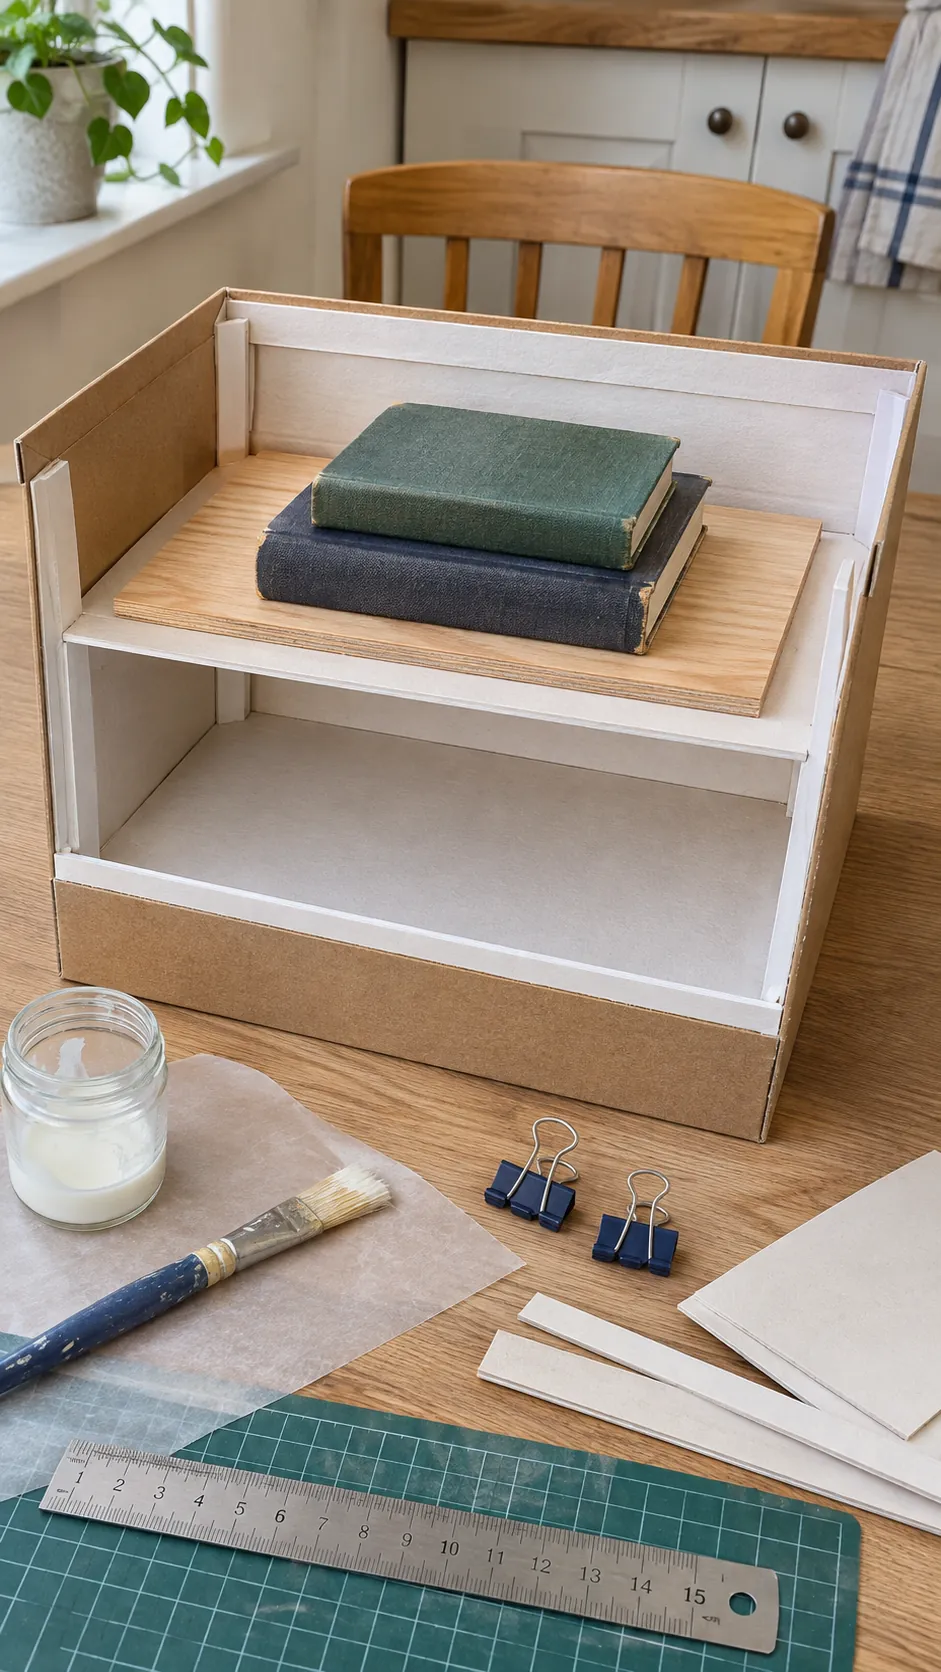
Remove the lid unless you want it as a removable roof or base. Glue a second layer of clean card to the outside floor and back wall, with the corrugation or paper grain running across the original direction. Place the box under a flat board with light weight while the adhesive dries so the panels remain straight.
Add narrow card braces inside the front edges and corners. These strips stop the opening from spreading and later act like trim. Use a thin, even coat of suitable paper adhesive. Too much wet glue causes waves that paint cannot hide.
Cut openings with safe clean edges
Mark windows and doors from the inside after the reinforcement is dry. Check their height against a paper figure or furniture piece in your chosen scale. Place the box on a cutting mat and make several light passes with a sharp craft knife instead of forcing one deep cut.
An adult should handle the knife when children join the project. Frame each opening with folded paper or thin craft wood to cover the raw cardboard layers. The trim improves appearance, strengthens the cut edge, and gives window plastic a clean surface for attachment.
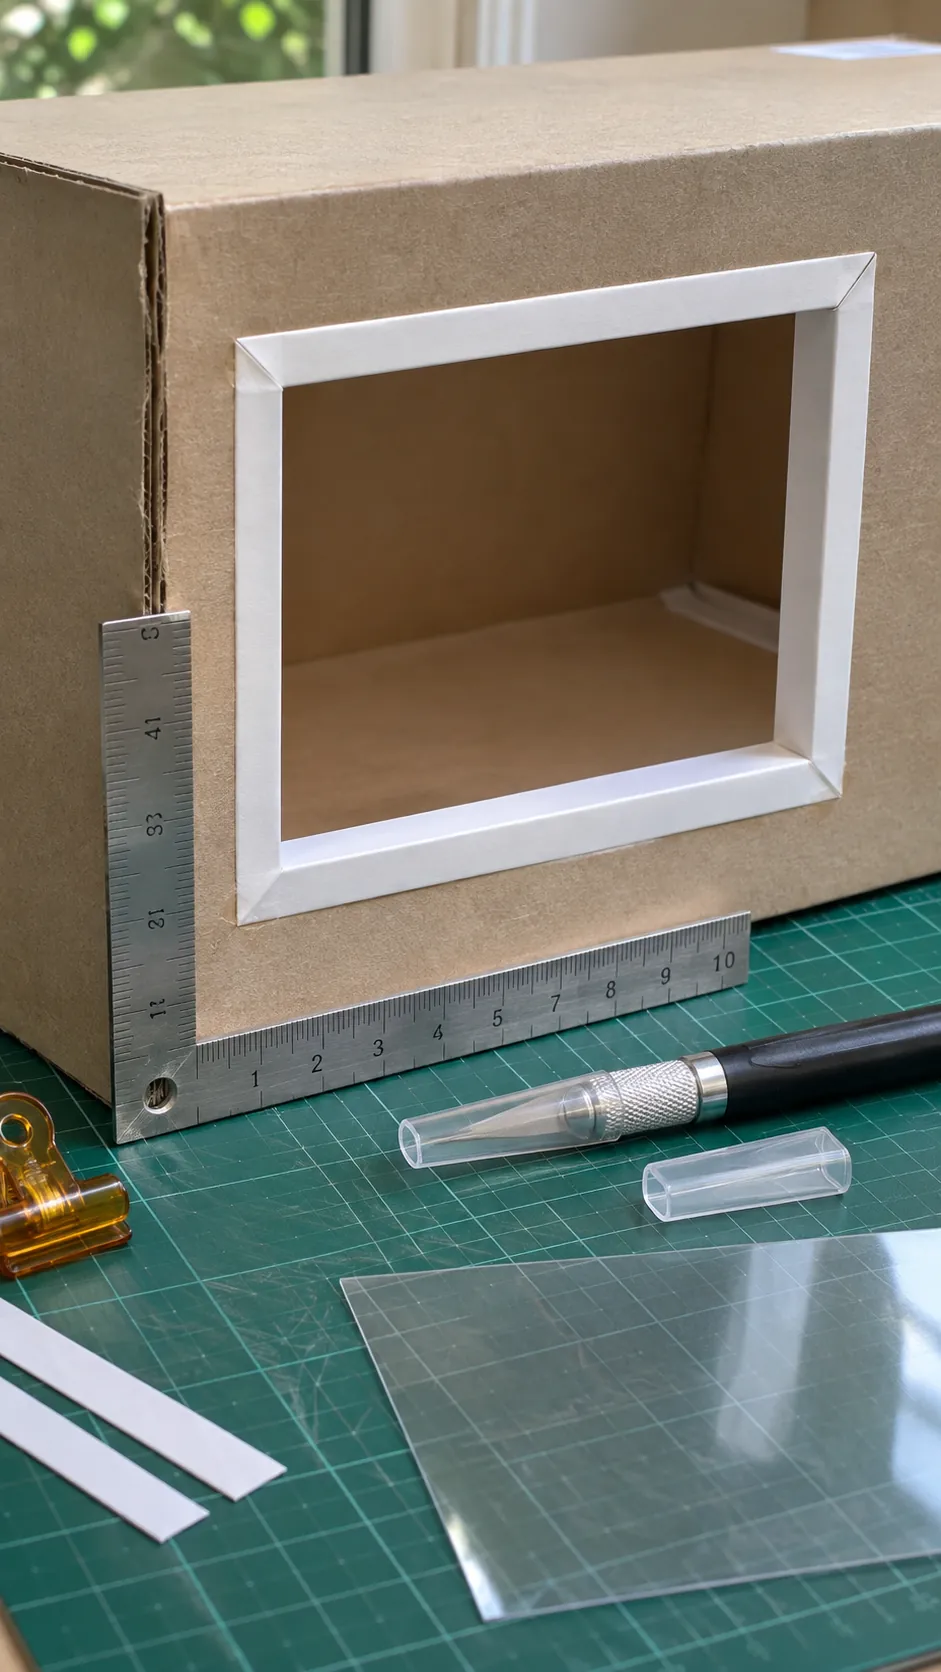
Finish the walls and floor in layers
Cover the walls with smooth paper before adding paint or a pattern. Work from the center outward and press gently with a clean card. For a painted finish, apply several thin coats and let each coat dry. For wallpaper, cut one test panel first so the pattern remains level at the corners.
Create floorboards from narrow card strips, coffee stirrers, or printed paper. Begin at the open front so the first line is straight. A simple baseboard made from card covers the floor seam and makes the room feel finished. Keep every layer thin because heavy materials can pull the box out of square.
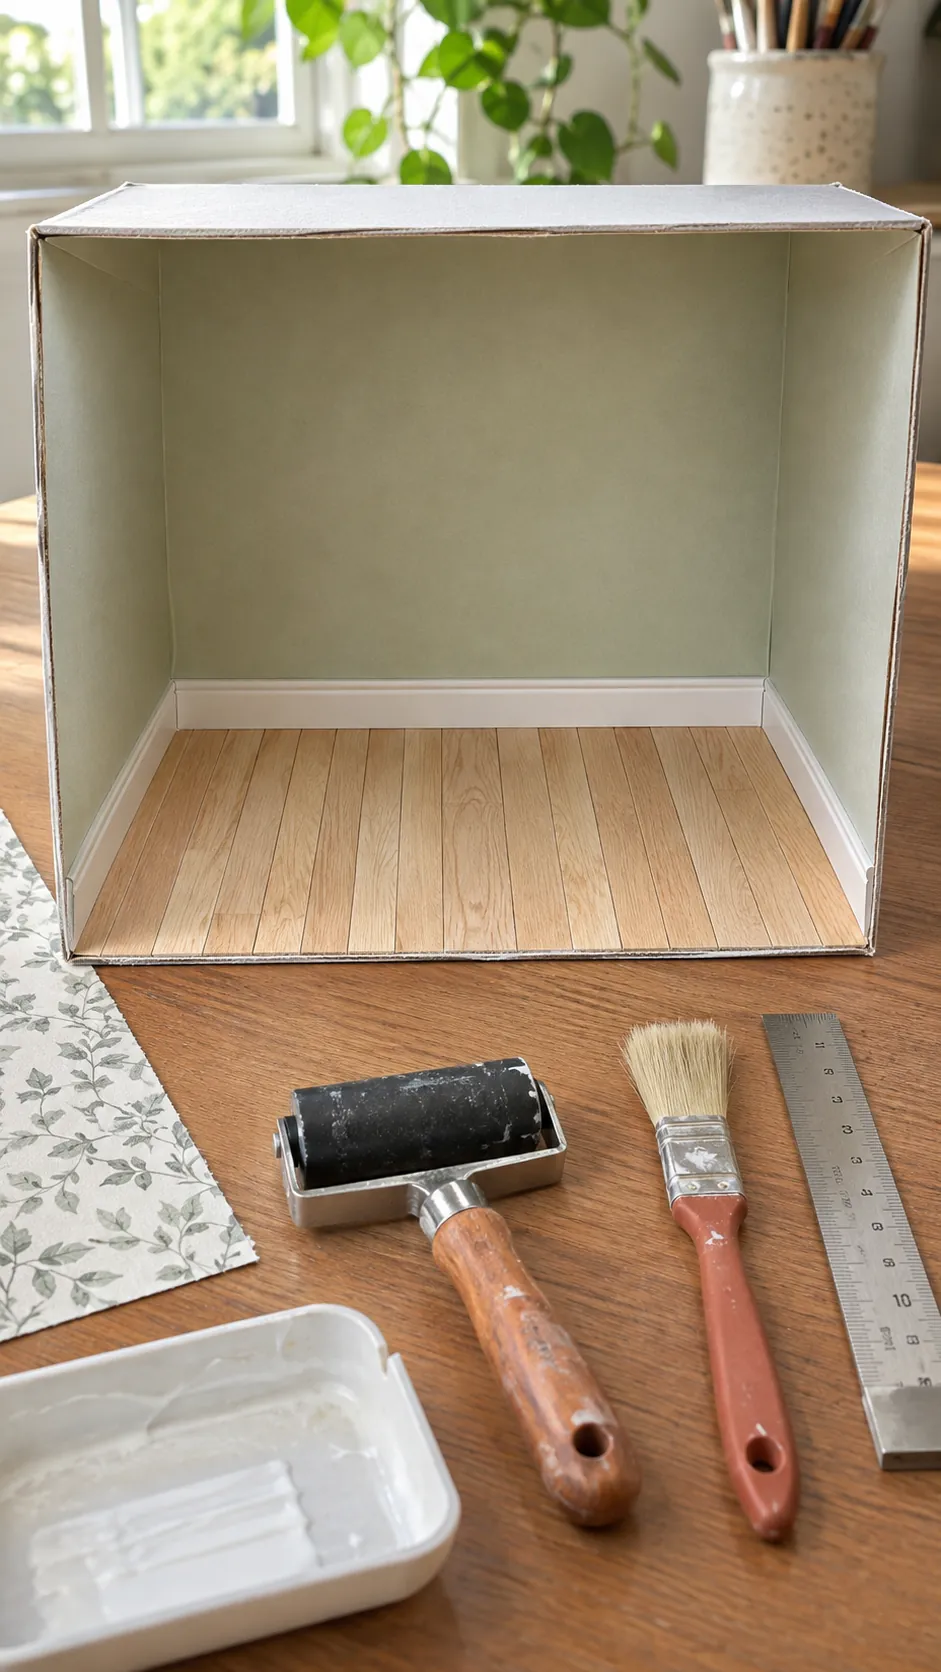
Build simple furniture from card
Start with one rectangular piece such as a bed, bench, table, or bookcase. Make a paper footprint and check it in the room before cutting thicker material. Laminate two or three card layers for strength, then cover the exposed edges with narrow paper strips before painting.
Keep the first furniture group small. A clear focal piece and two supporting objects usually read better than a crowded collection. Scraps can become shelves, picture frames, or a headboard. Community advice also supports adapting a craft you already know, such as sewing or paper work, at miniature scale.
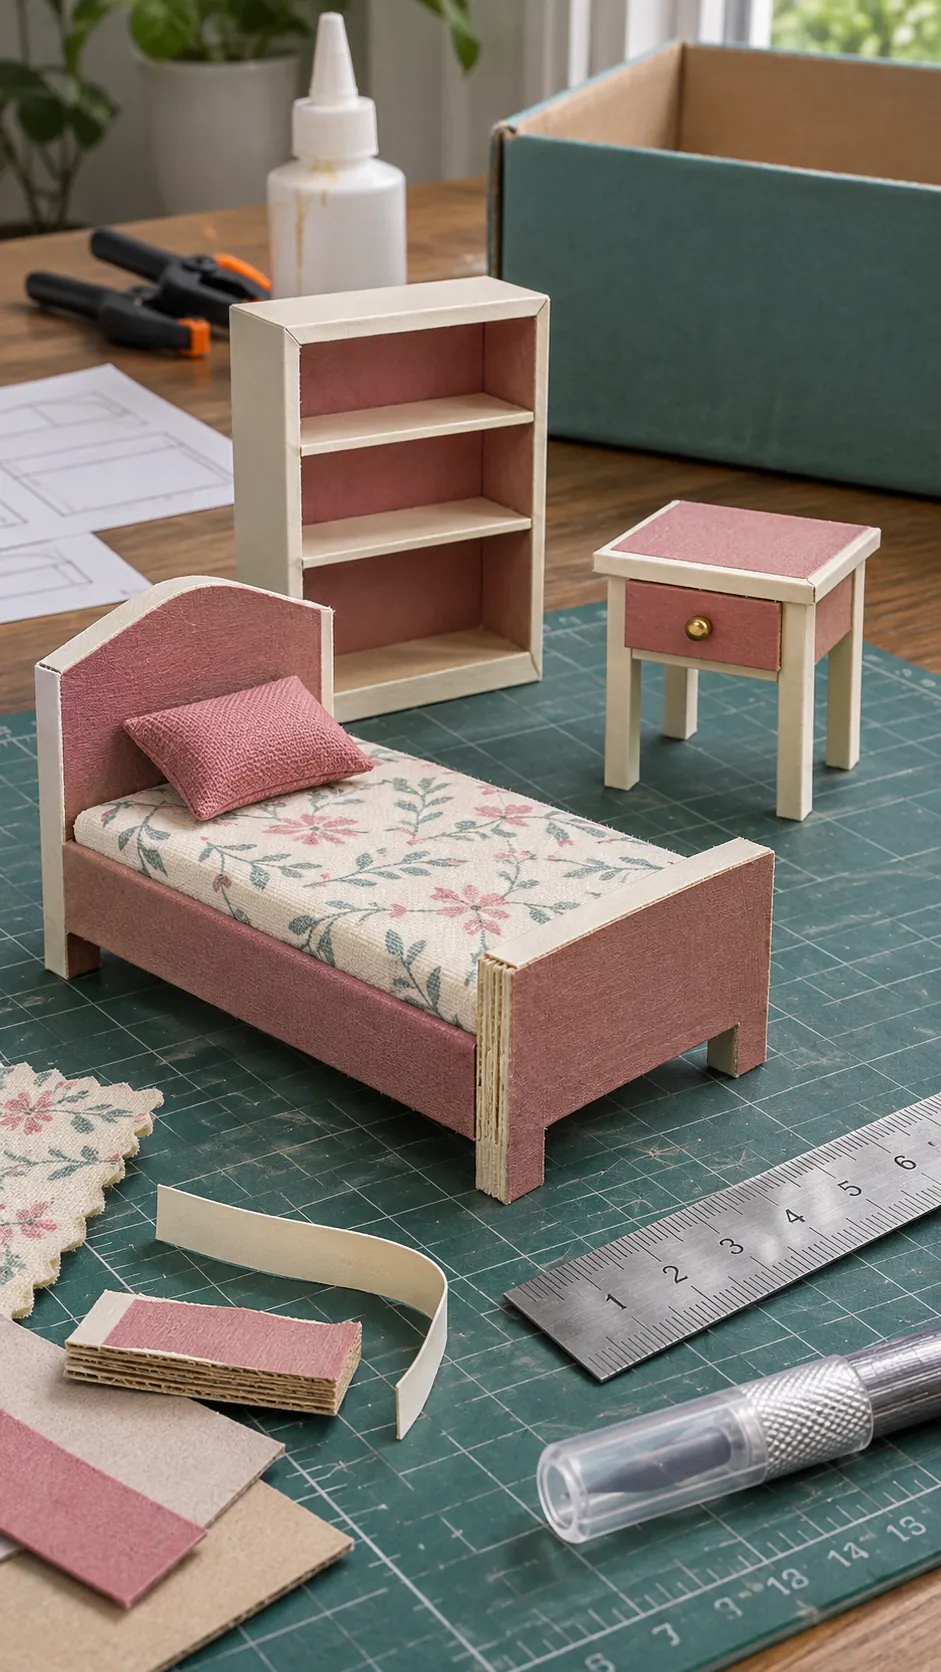
Arrange, light, and finish the scene
Set every object in place without glue and view the room from the open side. Leave a clear route through the scene and make sure the largest item does not hide the window or doorway. Photograph two arrangements, then choose the one with the strongest focal point and most useful empty space.
Add small details last. A fabric cushion, a tiny book, a plant, or one framed picture can make simple cardboard furniture feel intentional. Use a battery light only if its wire and switch can remain accessible. Secure the final pieces with small amounts of removable adhesive so the room can change as your skills grow.