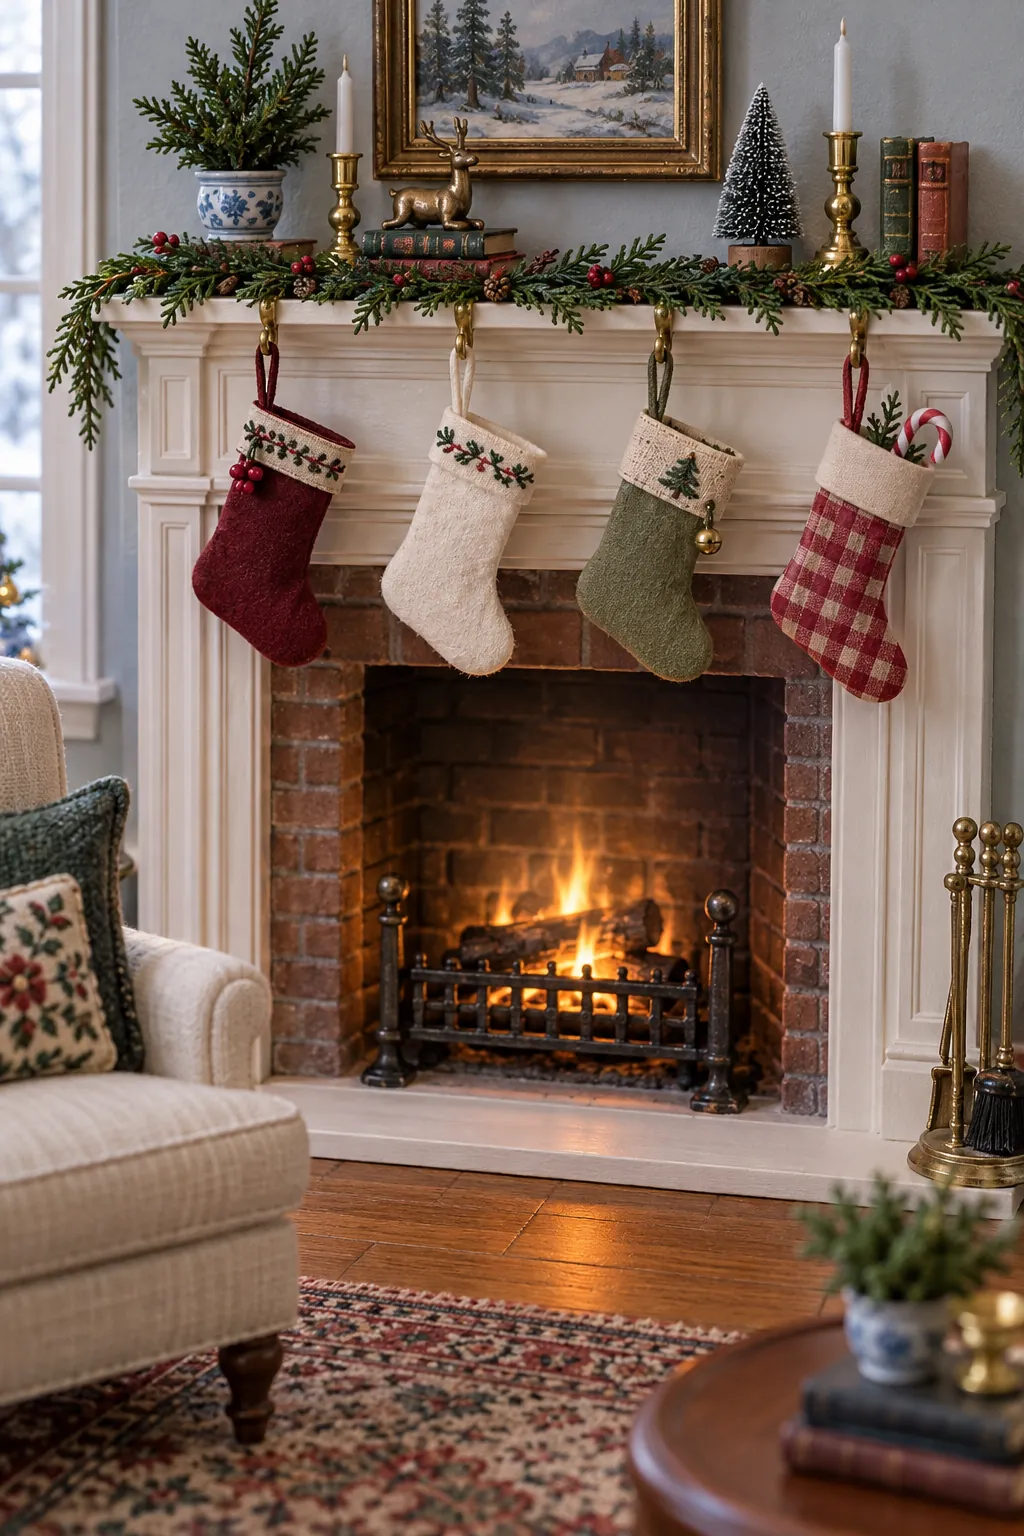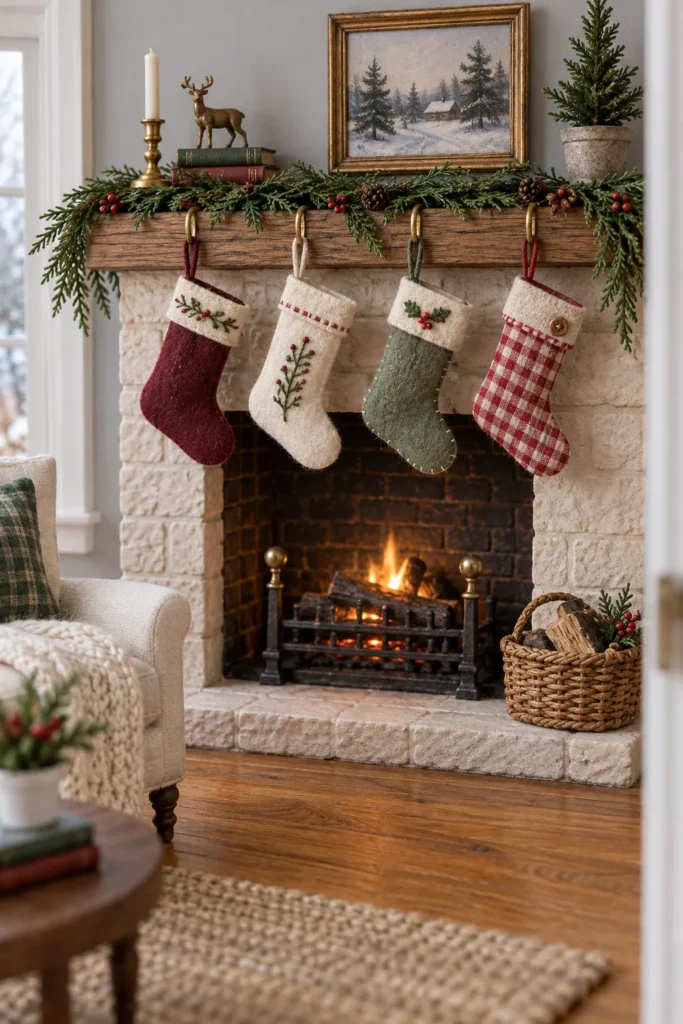
A dollhouse stocking needs to look soft while surviving handling, and those goals can conflict at tiny scale. Thick felt, long stitches, and large hanging loops make the shape look like a toy rather than a miniature textile. You can solve the problem with either careful hand sewing or a narrow line of flexible fabric adhesive.
Size the Stocking for the Fireplace
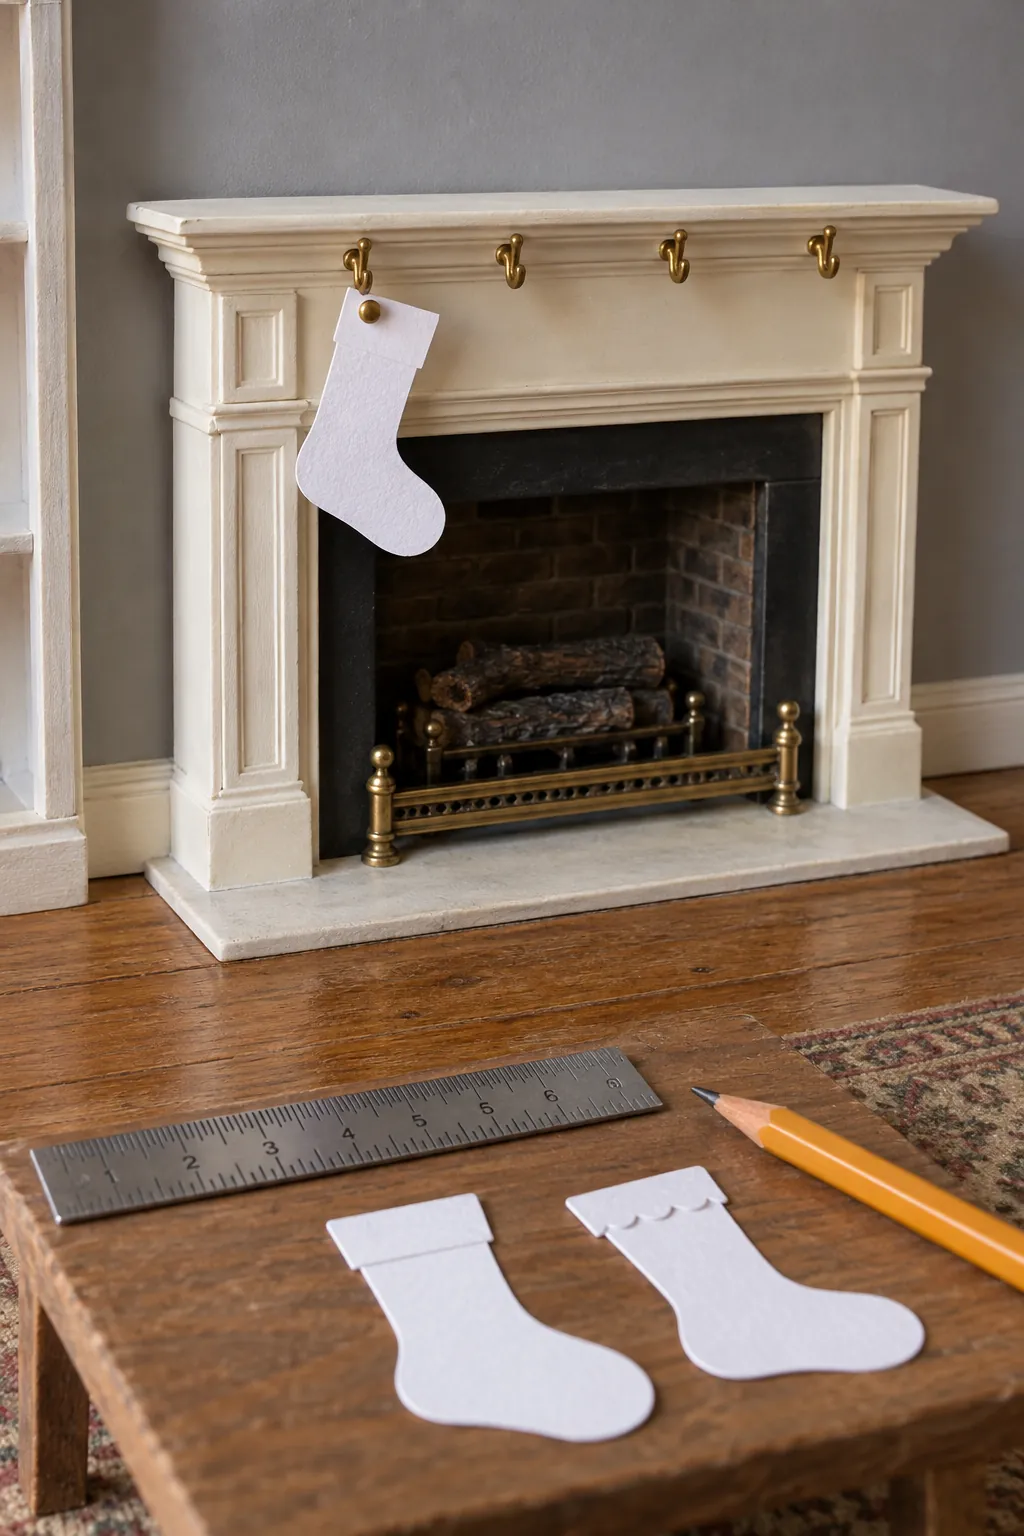
Measure the clear drop below the mantel before drawing the stocking shape. A finished stocking should hang above the firebox opening and leave space between neighboring pieces. Cut a paper test shape and view it from the open front of the dollhouse before choosing fabric.
Keep the toe short and the ankle narrow so the silhouette stays recognizable. Add only a very small seam margin around the paper shape. Mark one template for the body and a separate shallow rectangle for the cuff.
Choose Thin Felt or Tightly Woven Fabric
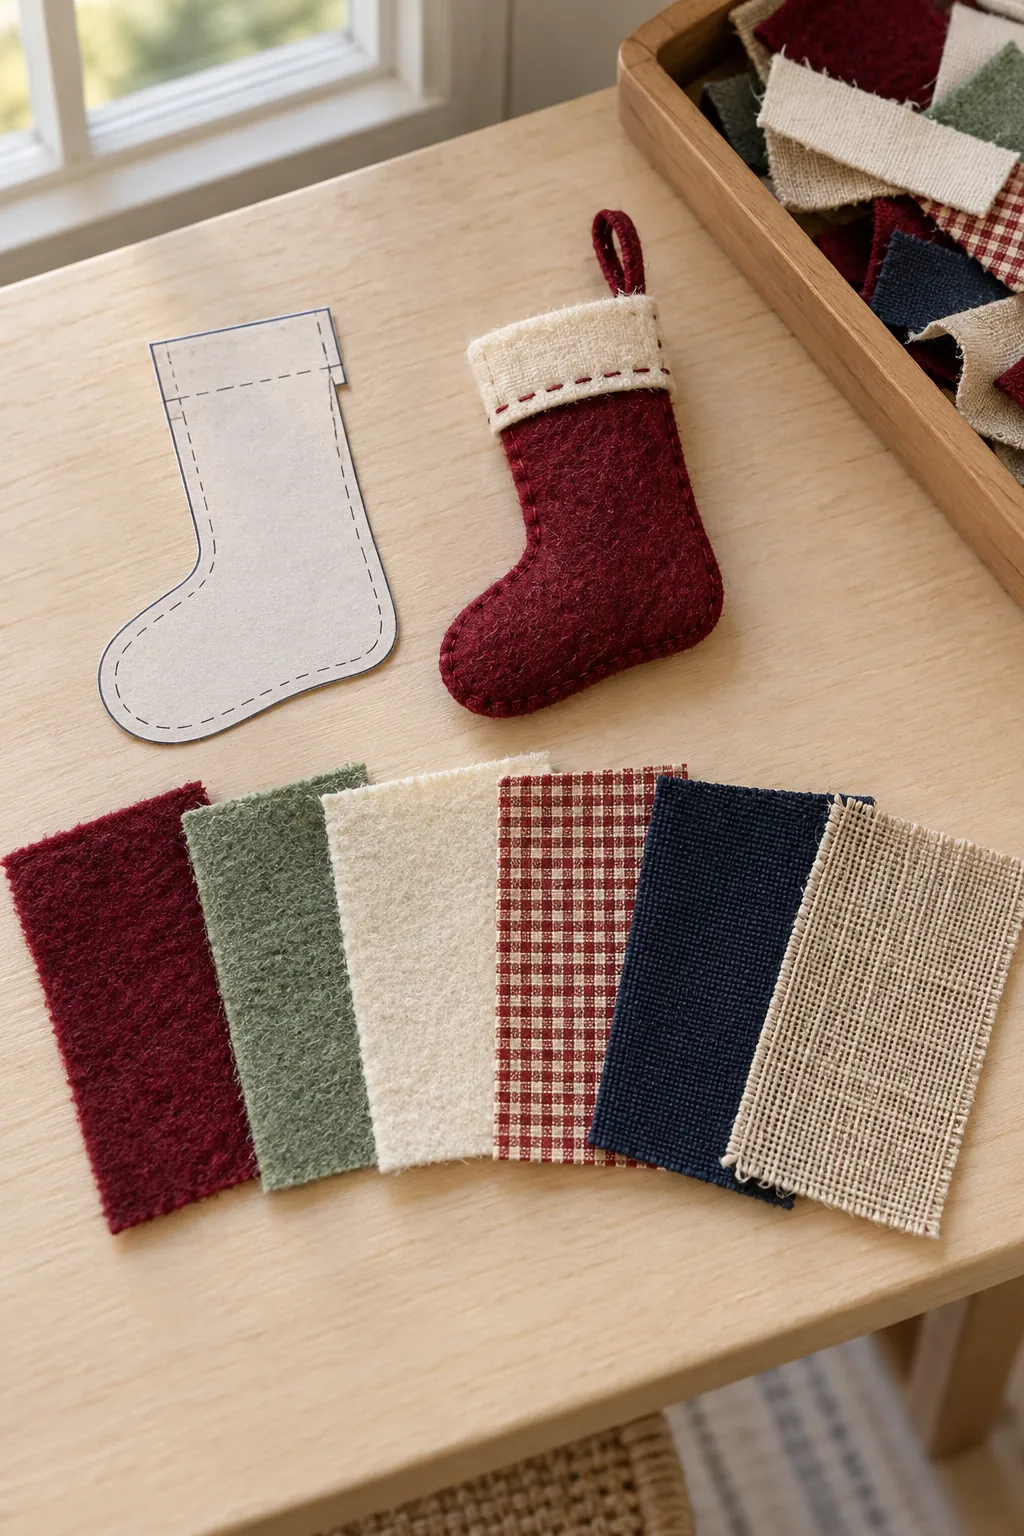
Thin wool blend felt is forgiving because its cut edges do not unravel. Fine cotton works too, but it needs a sealed or turned edge that can add bulk. Hold two layers together against the mantel to check that the material still bends naturally.
Small solid colors are easiest to combine with miniature trim. If you use a print, choose one motif that fits entirely within the stocking body. Test glue and marking tools on an offcut because pale felt can show dark stains.
Hand Sew a Flexible Stocking
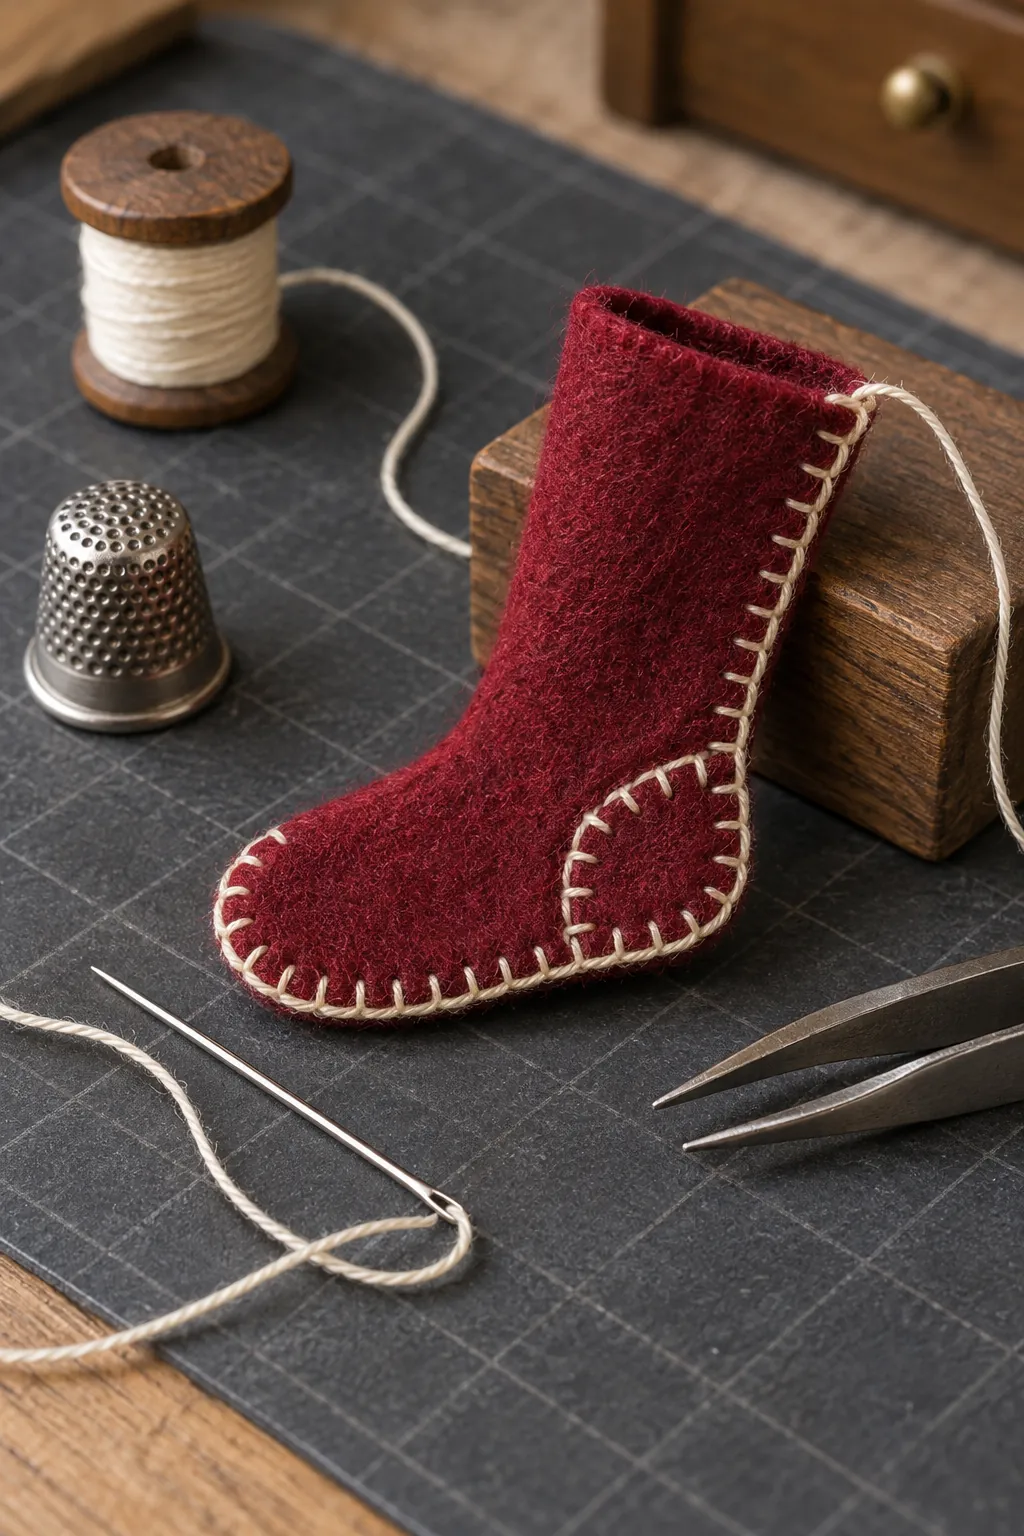
Place two matching body pieces together and sew around the outer edge with fine thread. Use short, even stitches and leave the top open. A blanket stitch can become a decorative border, while a tiny running stitch creates a quieter edge.
Do not pull the thread so tightly that the felt puckers. Turn a woven fabric stocking carefully with blunt tweezers, but leave felt with an exposed decorative seam when turning would create too much bulk. Tie the final knot on the back and hide the thread end between layers.
Build a Clean No Sew Stocking
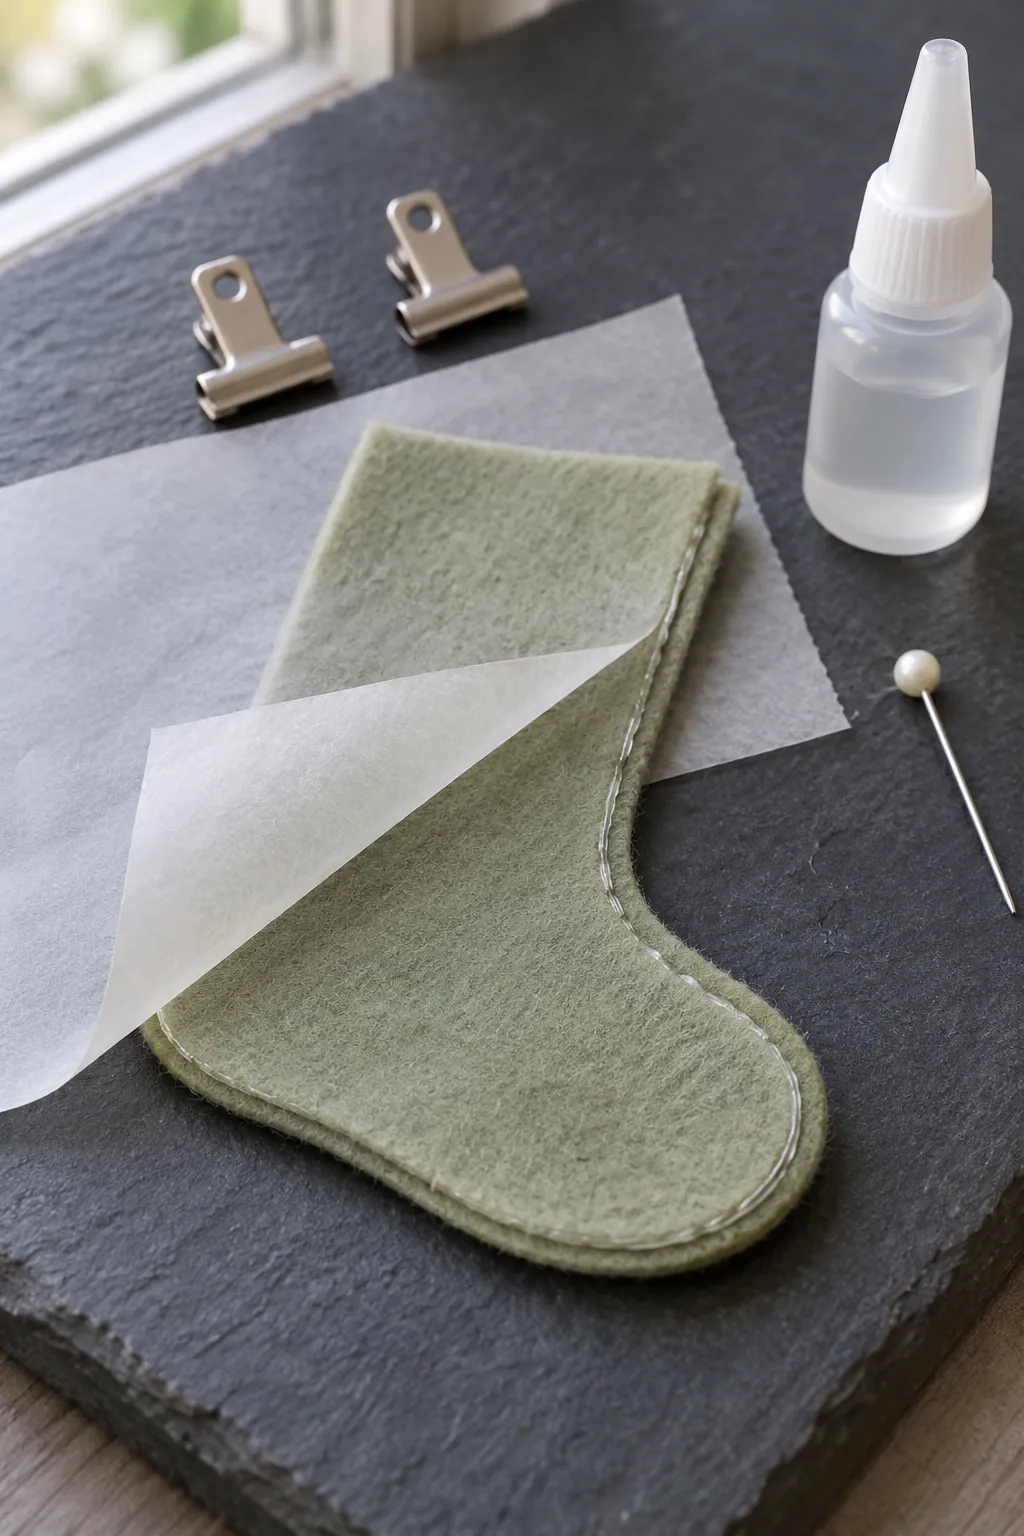
Apply flexible fabric adhesive with a fine pin or narrow applicator instead of squeezing from the bottle. Keep the adhesive line close to the edge and leave the top opening clear. Press both layers together under baking paper until the bond begins to set.
Use less adhesive around the toe curve so the edge remains soft. Trim any uneven area only after the bond is fully dry. If you want the stocking to hold a tiny gift, widen the upper body slightly rather than forcing the opening apart later.
Add a Cuff and Small Hanging Loop
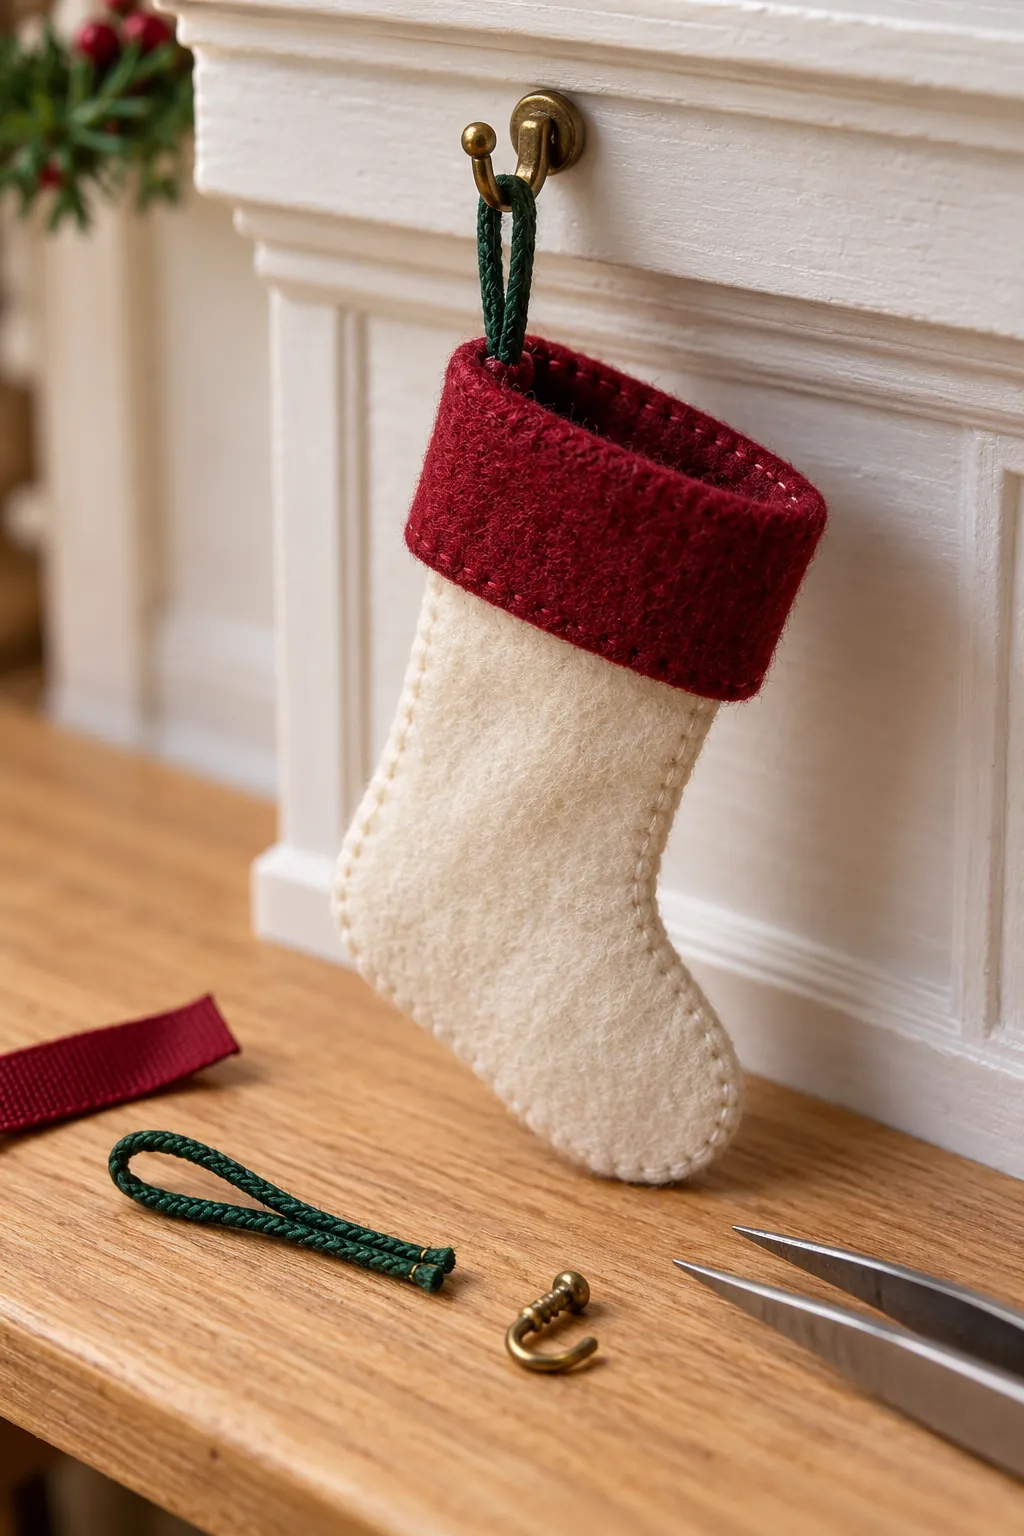
Wrap a narrow strip of contrasting felt around the top edge to form the cuff. Join it at the back where the seam is least visible. Keep the cuff shallow because a deep band can shorten the whole stocking shape.
Make the hanging loop from fine cord, narrow ribbon, or doubled thread. Fix both ends inside the back corner before attaching the cuff. Test the loop on the actual mantel hook so it hangs straight and does not twist the stocking sideways.
Decorate and Hang the Finished Set
Add one small detail to each stocking, such as a bead, stitched initial, narrow bow, or paper candy cane. Keep embellishments away from the lower toe so the stocking hangs without turning. Repeat a limited color palette across the set while changing one detail on each piece.
Space the finished stockings evenly across fine hooks under the mantel shelf. Check that every piece clears the firebox and any faux flame effect. Store the set flat after the holiday so the cuffs, loops, and soft body shapes remain neat for the next display.