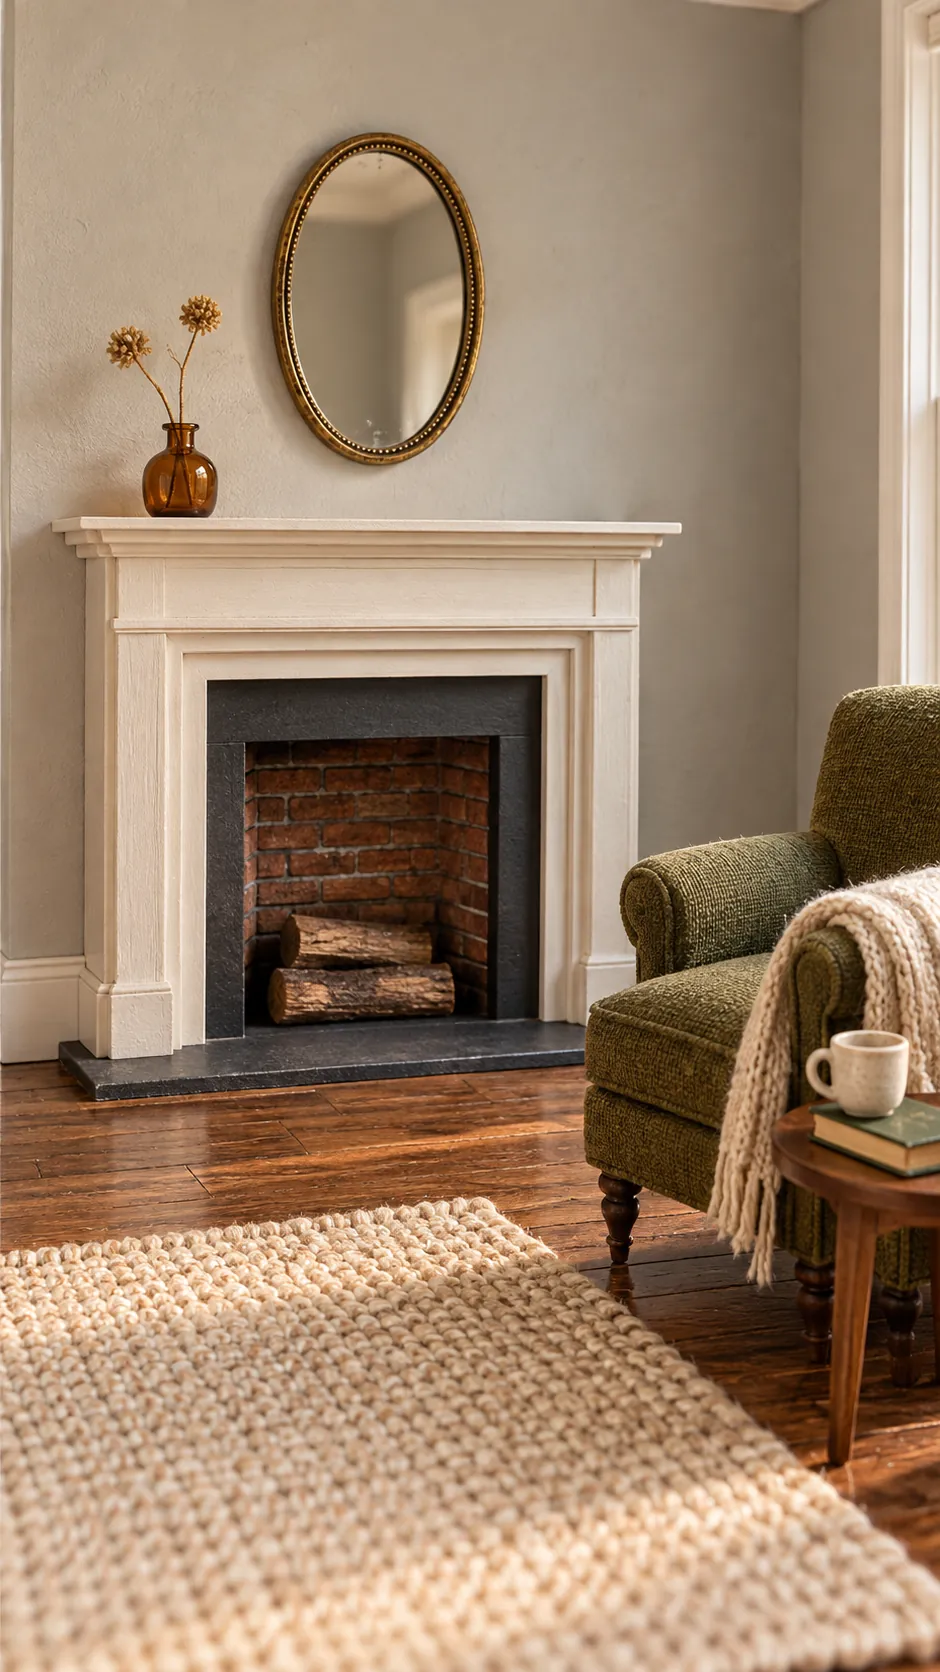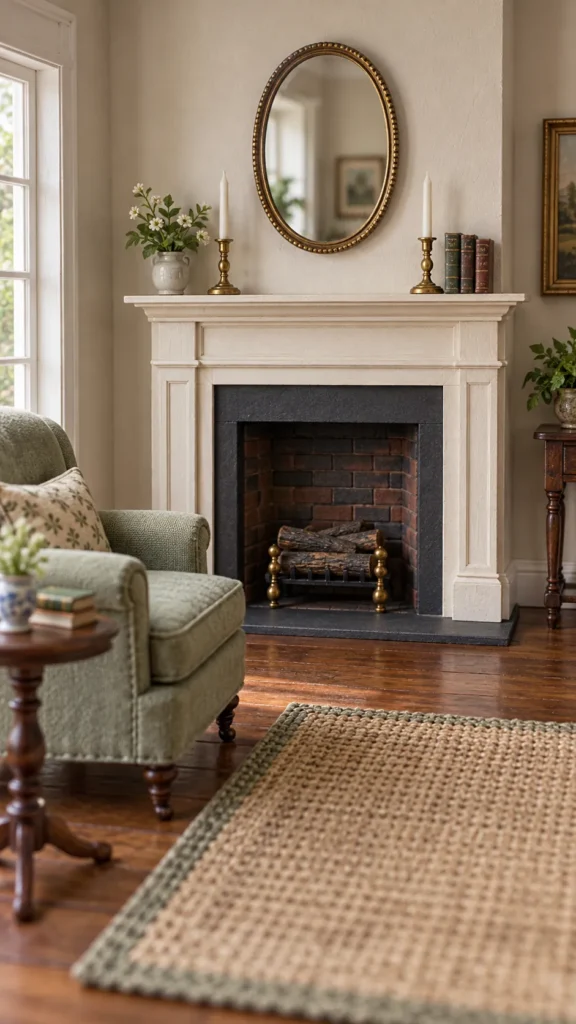
A miniature fireplace can look convincing even when the structure starts as inexpensive foam board. The difficult part is not the cutting. It is keeping the opening square, the layers flat, and the painted finish believable at dollhouse scale.
This method uses stacked pieces instead of complicated carving. It also keeps wet products light, which reduces warping and protects the exposed foam. The finished surround works well in a one twelfth scale dollhouse living room, but you can adapt every measurement to another scale.
Plan the size before cutting
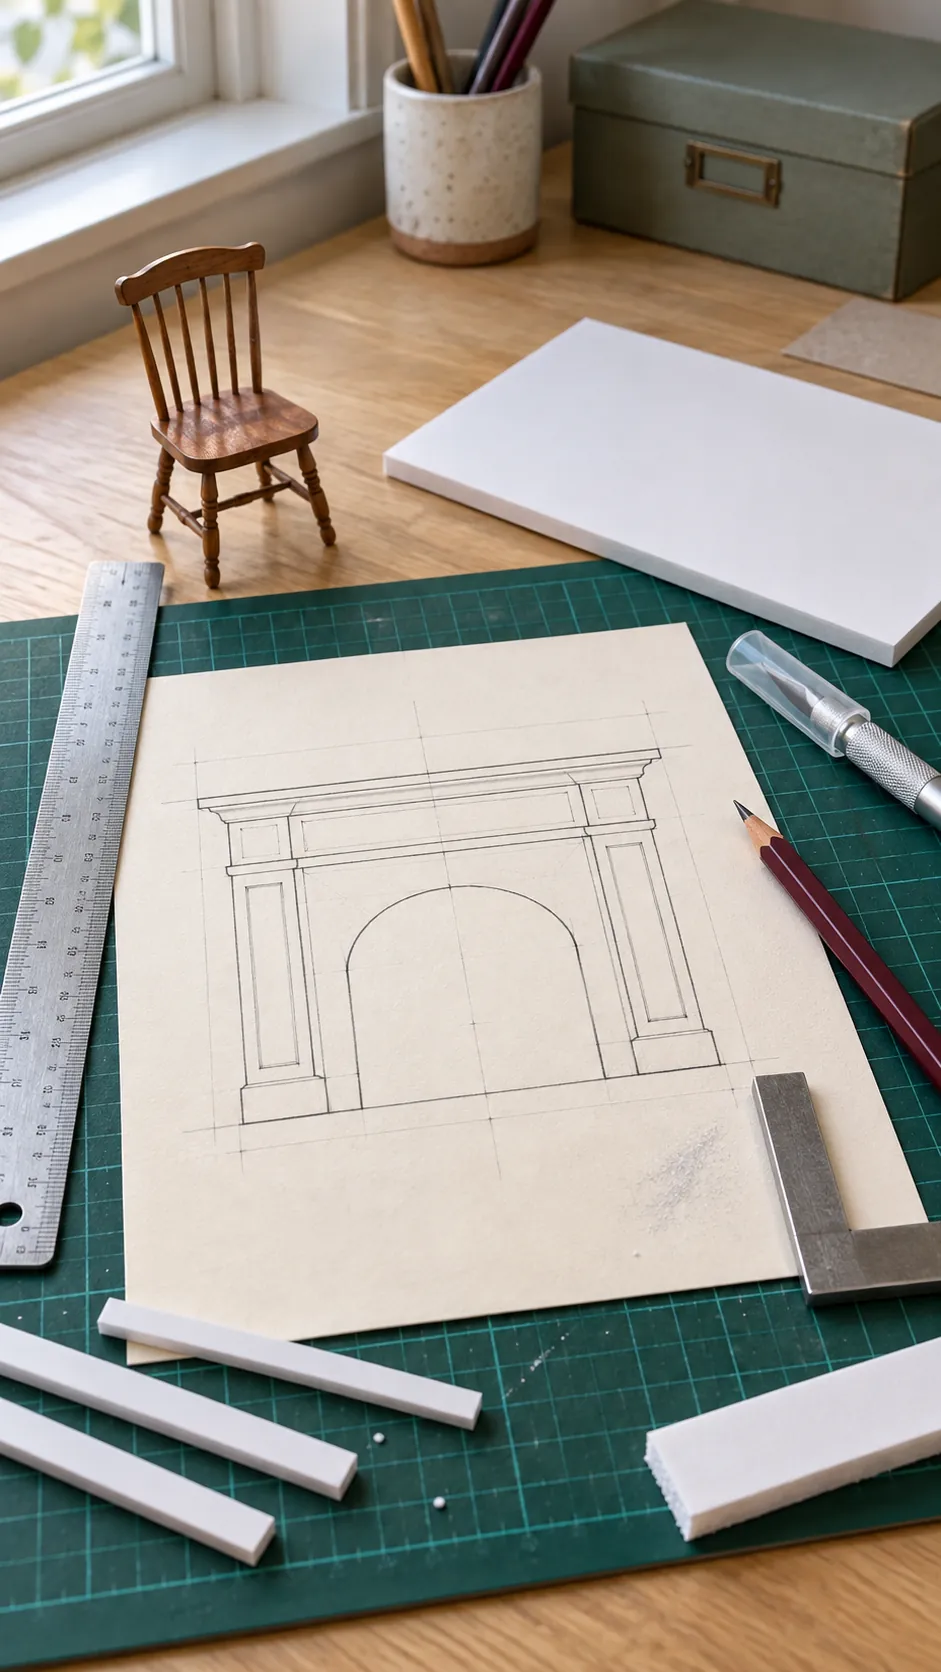
Measure the wall where the fireplace will sit, then compare the opening with a nearby chair, table, or doll. For one twelfth scale, a finished surround about six inches wide and five inches high usually feels substantial without taking over a small room. Treat those numbers as a starting point because room proportions matter more than a rigid formula.
Draw the outer rectangle and firebox opening on plain paper first. Fold the drawing vertically to check that both sides align, then transfer the outline to foam board. A paper pattern lets you correct a narrow mantel or crooked opening before a blade touches the material.
Gather simple tools and safe finishes
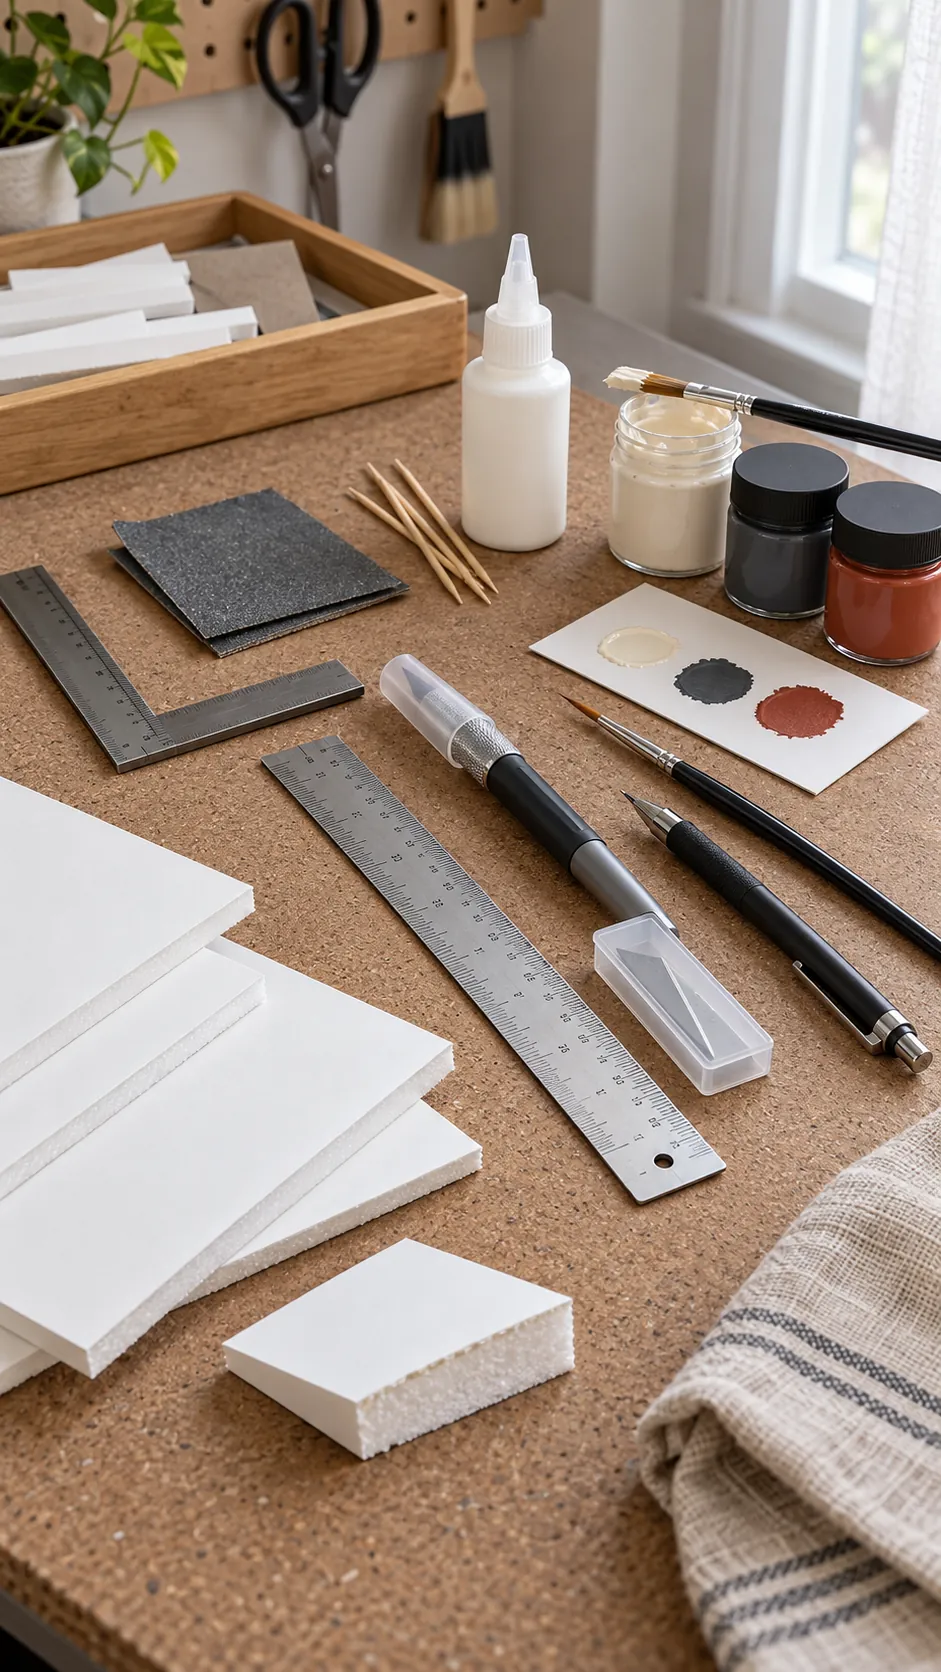
You need foam board, a metal ruler, a sharp craft knife, a cutting mat, a pencil, and a slow setting tacky craft glue. Keep a toothpick or fine brush nearby for controlled glue application. A fresh blade is important because a dull edge tears the paper facing and compresses the foam core.
Use water based acrylic craft paint for the finish. Solvent products can attack exposed foam, and a heavy wet coat can encourage thin pieces to bow. If you want spray paint, seal every exposed edge completely first and test the full paint system on a scrap, but hand applied acrylic gives you more control for this small project.
Cut the surround in clean layers
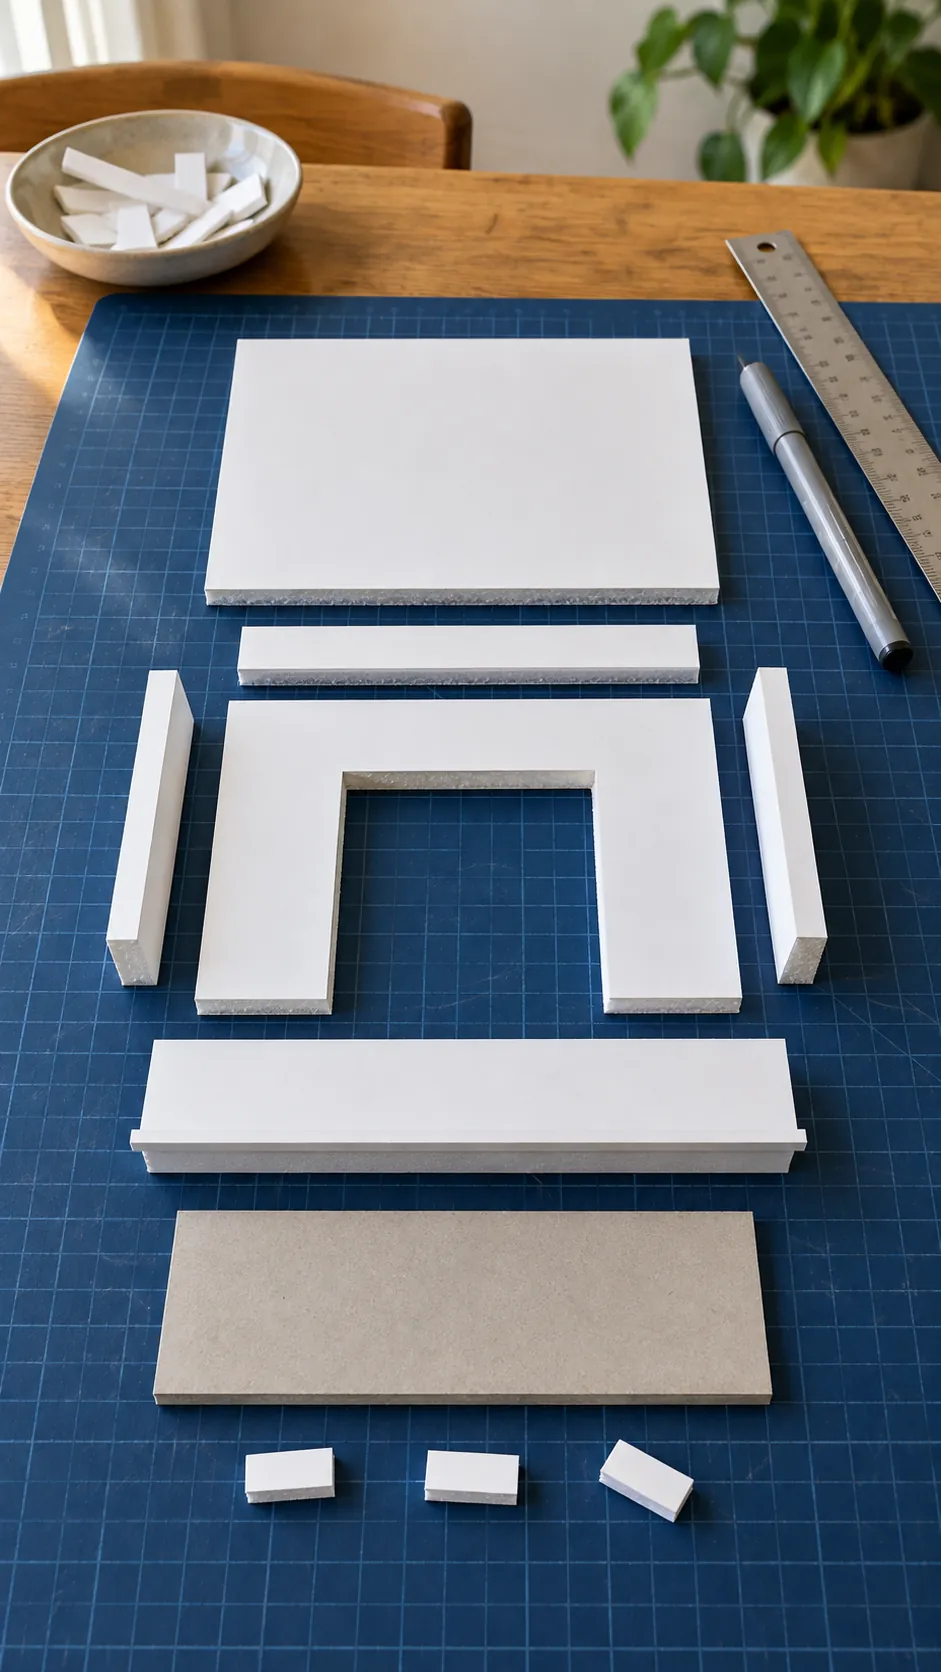
Cut a solid back panel first, then cut a matching front panel with the firebox opening removed. Make several light passes against the metal ruler rather than forcing the knife through in one stroke. Turn the board when necessary so your hand stays in a comfortable position and the blade remains vertical.
Build depth with narrow strips around the opening and beneath the mantel shelf. This layered construction hides much of the foam core and creates shadow lines that read as miniature molding. Dry fit every piece on the paper pattern, and mark the back lightly so you remember its position.
Glue the body without causing warps
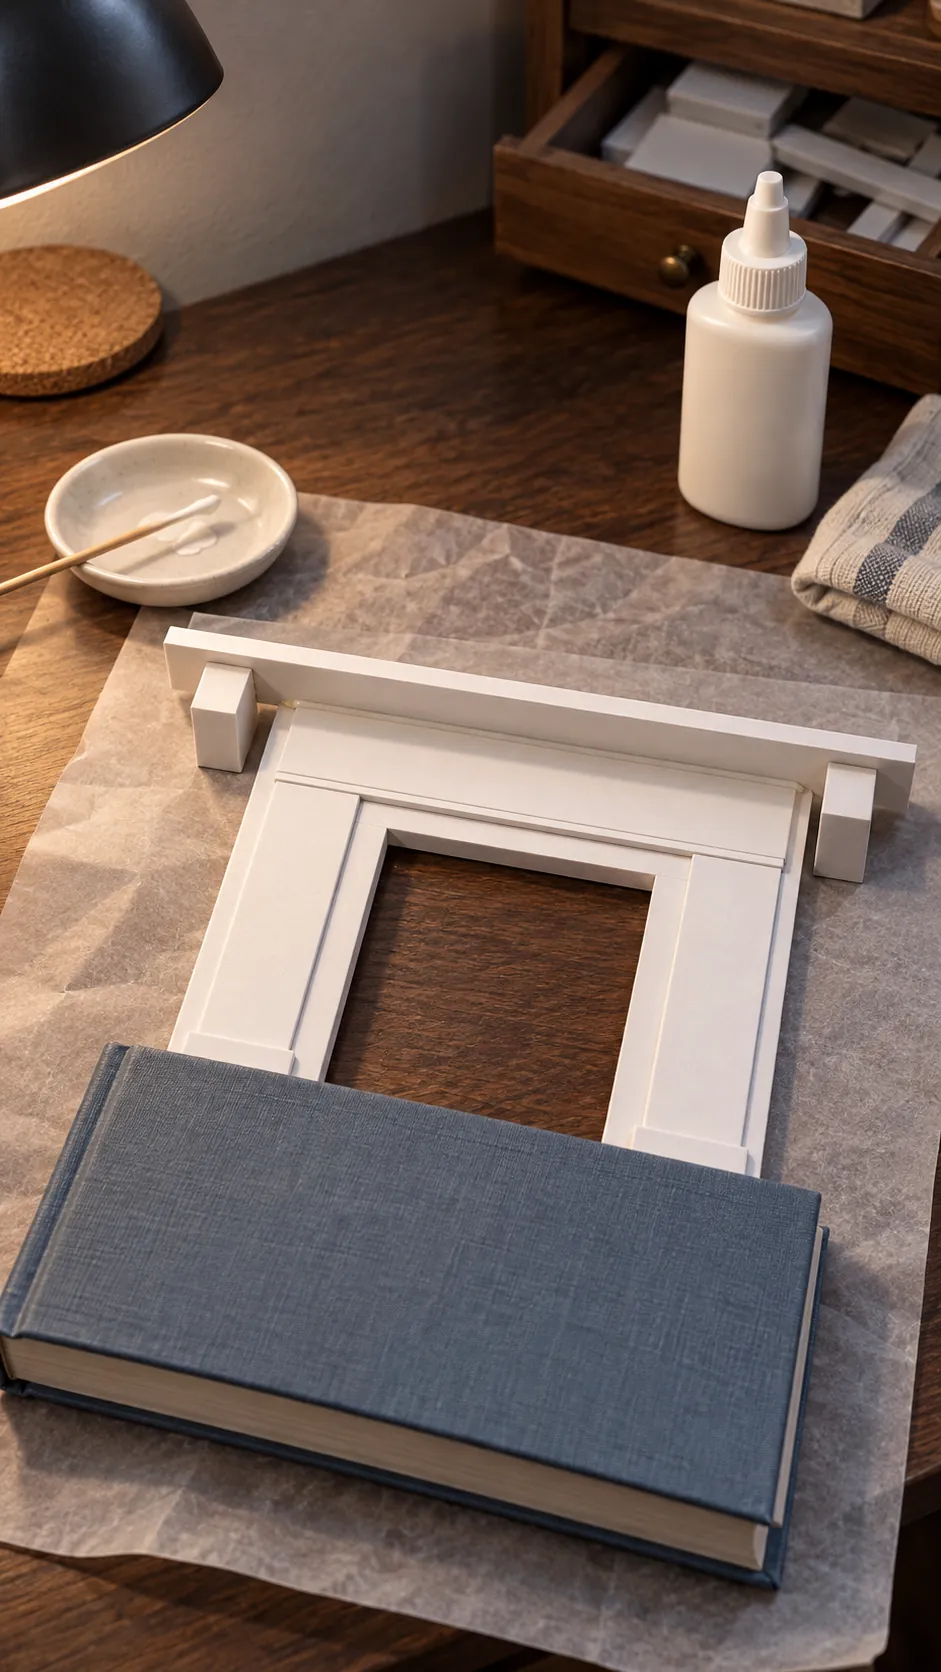
Spread a thin, even film of tacky glue with a toothpick instead of squeezing thick beads onto the board. Align the lower corners first, press the layers together, and wipe away visible squeeze out at once. The slower setting glue gives you a short adjustment window if a piece shifts.
Place the assembly between clean sheets of baking paper and rest a flat book on top while it dries. Use only enough weight to hold the layers flat because heavy pressure can dent the surface. Let the body dry fully before adding the projecting mantel shelf, then support that shelf with tiny temporary blocks until its joint firms up.
Add believable brick and firebox detail
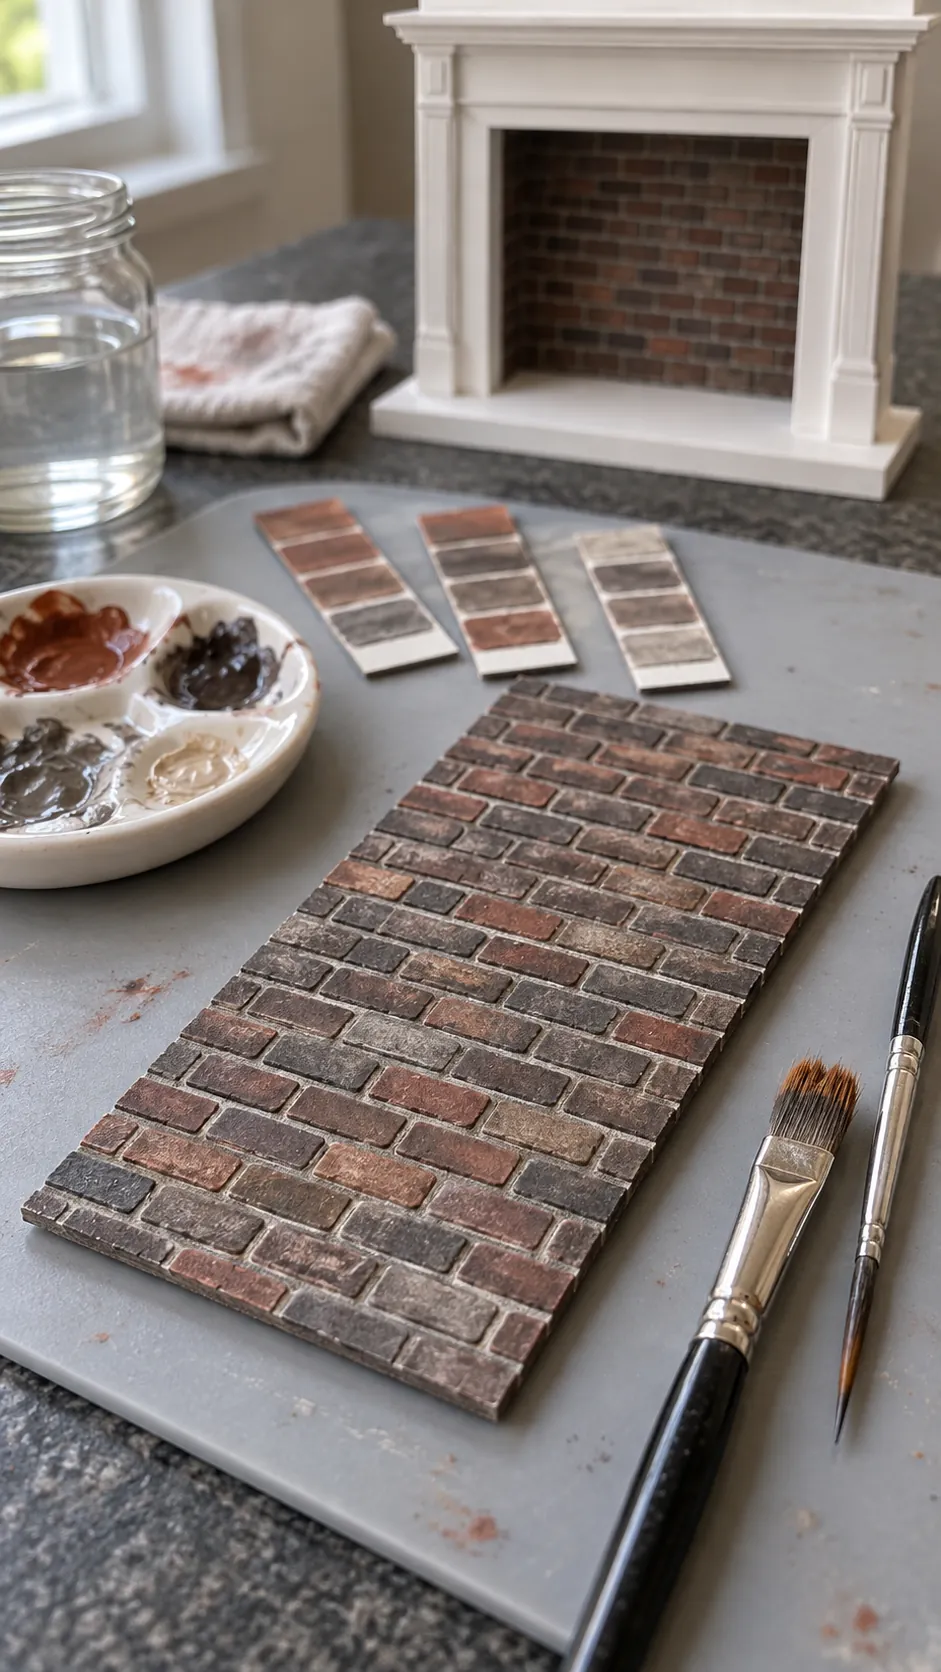
For a faux brick miniature, cut a thin card insert that fits inside the firebox rather than scoring deep lines into the structural foam. Draw staggered brick courses with a pencil and metal ruler. Press the mortar lines gently with a blunt tool so the texture stays fine enough for the scale.
Paint the insert a dark charcoal base, then touch individual bricks with muted rust, brown, and soft gray. A light dry brushing across the raised areas reveals the pattern without making every brick identical. Keep the deepest area nearly black so the opening has visual depth after the insert is installed.
Paint and install the finished fireplace
Seal exposed foam edges with a very thin coat of tacky glue, lightweight filler, or an acrylic safe primer. Sand only the filled areas with a fine abrasive, using almost no pressure. Apply several light acrylic coats and let each one dry before the next so moisture does not build up in the board.
Test the finished fireplace against the dollhouse wall before fixing it permanently. A small mirror, framed print, or pair of tiny candlesticks can balance the mantel without crowding it. For a removable installation, use a small amount of museum wax or another miniature safe temporary adhesive, which lets you change the room later.