
Miniature presents look most convincing when the paper pattern stays small and every fold remains crisp. Thick card can overwhelm a tiny box, while a weak template can collapse as soon as ribbon is added. The two resource sheets below provide coordinated box nets and wrapping patterns for a one twelfth scale Christmas display.
Download the Gift Box Template Sheet
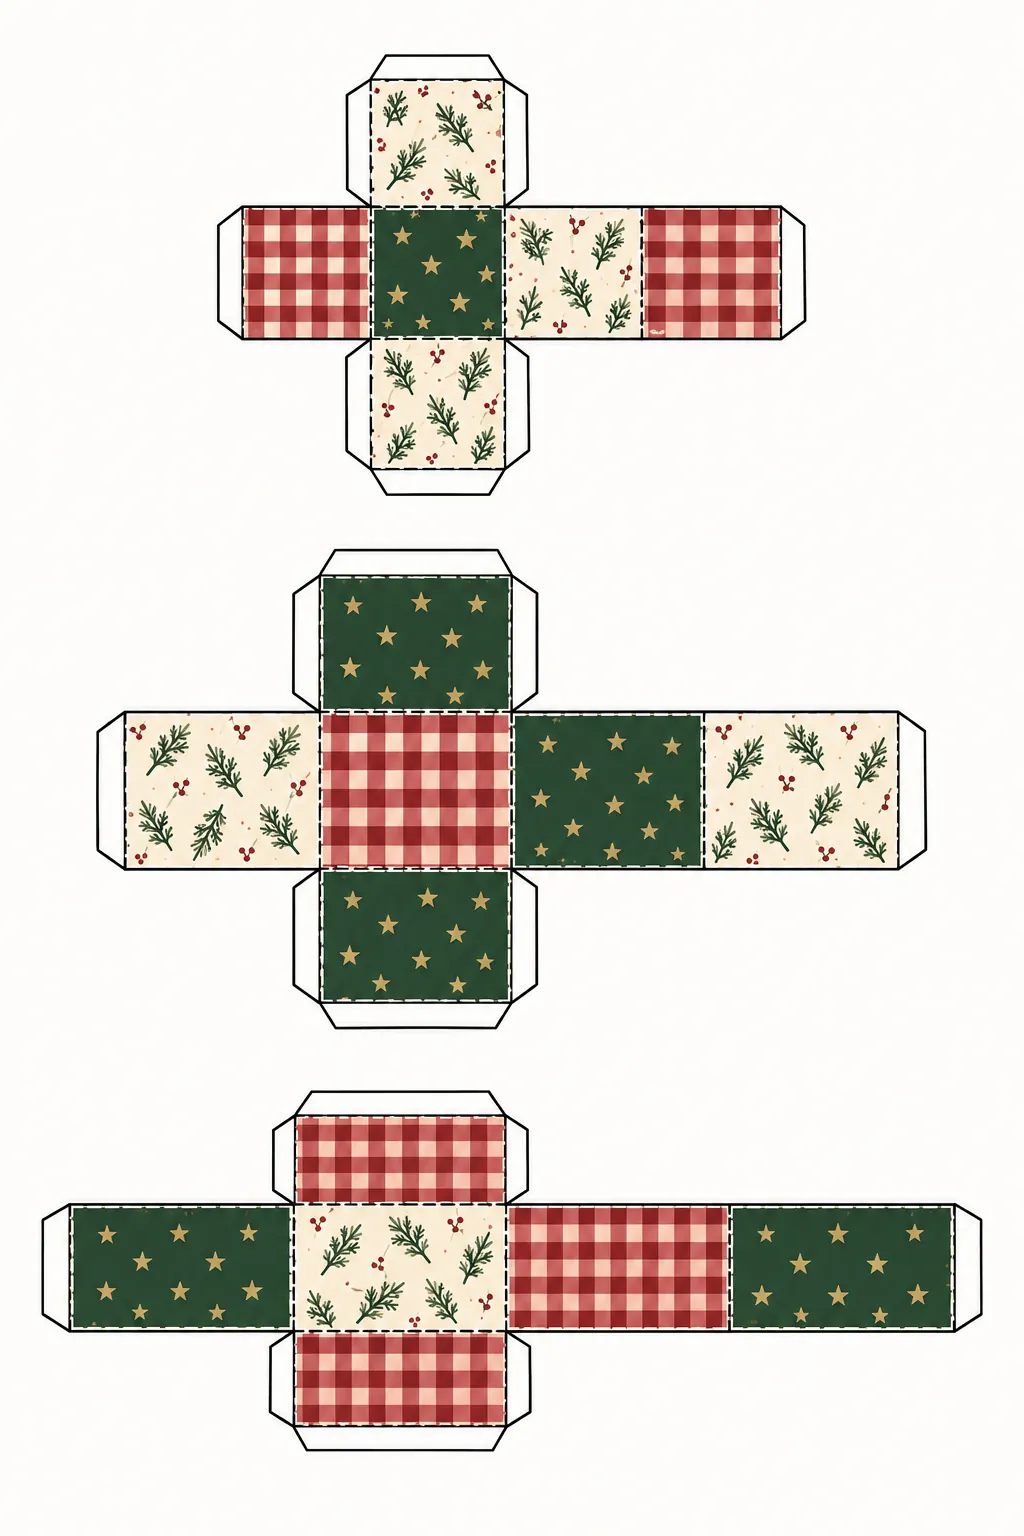
This page contains three complete box nets in small, medium, and long rectangular proportions. Solid outer lines show where to cut, while lighter inner lines show where to score and fold. Each net includes practical glue tabs that fit inside the finished box.
Click the preview or use the button to open the full size image in a new tab, then save it from there. Print the saved image without automatic enlargement if you want to preserve the intended proportions. Make a plain paper test before using your best card.
Download high-resolution printable
Download the Wrapping Paper Sheet
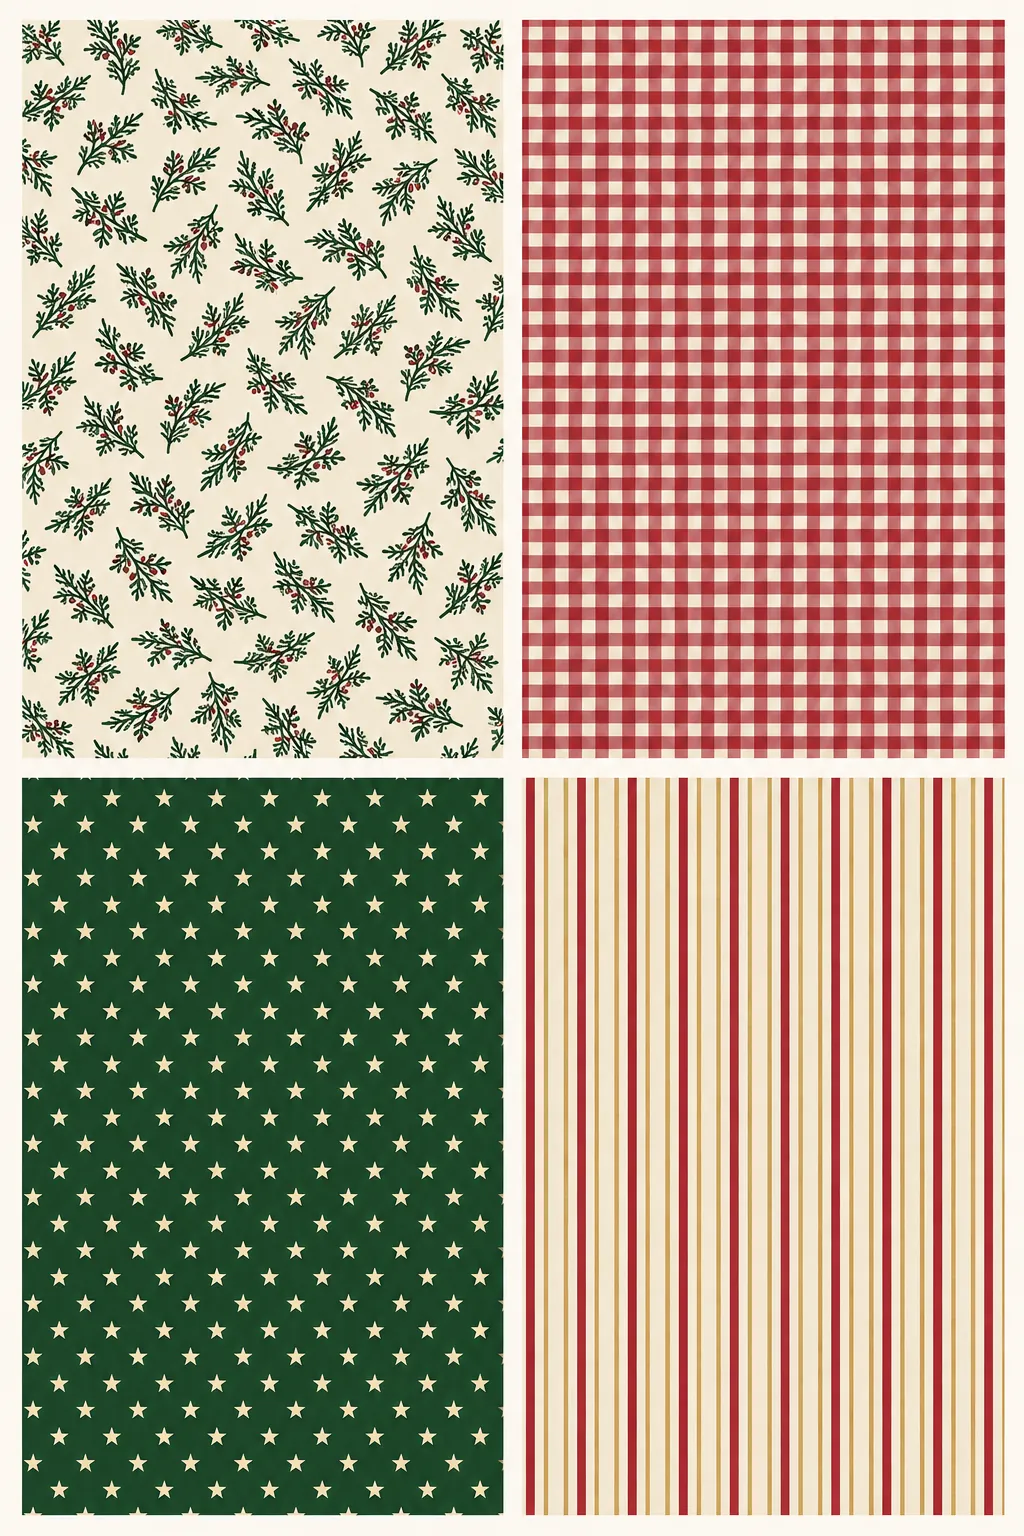
The second page provides four coordinated rectangles with cedar sprigs, tiny stars, red checks, and simple cream stripes. Every motif is scaled for small parcels rather than full size gifts. The palette lets you mix papers while keeping the finished display visually connected.
Open the full size image with the preview or button before saving it. Use ordinary smooth paper for wrapping because heavy card resists small folds. Cut only the rectangle you need so the remaining patterns stay flat and clean.
Download high-resolution printable
Choose Paper and Print at Full Size
Use smooth white paper for wrapping and light card for the box nets. Printer settings vary, so confirm the preview keeps the complete page inside the printable area. Turn off any automatic option that expands the image beyond the page edges.
Let ink dry before cutting, especially on coated paper. A fresh craft blade and metal ruler give the straightest edges, while small scissors are easier around tabs. Protect the table with a cutting mat and keep fingers away from the blade path.
Cut, Score, and Assemble the Boxes
Cut along each outer outline and leave every tab attached. Score the lighter fold lines with a blunt tool and ruler, then crease all folds before adding adhesive. Dry fitting the net reveals which tabs sit inside and prevents glue from reaching the visible faces.
Apply a tiny amount of paper adhesive to one tab at a time. Hold the corners square with tweezers until the bond grips. Place a small wood block inside a larger box while the final side dries if you need support.
Wrap and Style the Miniature Presents
Cut a wrapping rectangle only slightly larger than the box so folded layers do not become thick. Crease the long sides first, close the ends with narrow folds, and secure the paper with minute adhesive dots. Fine thread, narrow ribbon, or twisted paper cord gives a better scale than standard gift ribbon.
Mix box sizes and patterns rather than stacking identical parcels. Repeat one color in a mantel garland, tree skirt, or stocking to connect the gifts with the room. Keep the finished paper presents dry and store spare flat sheets between clean pages for later projects.