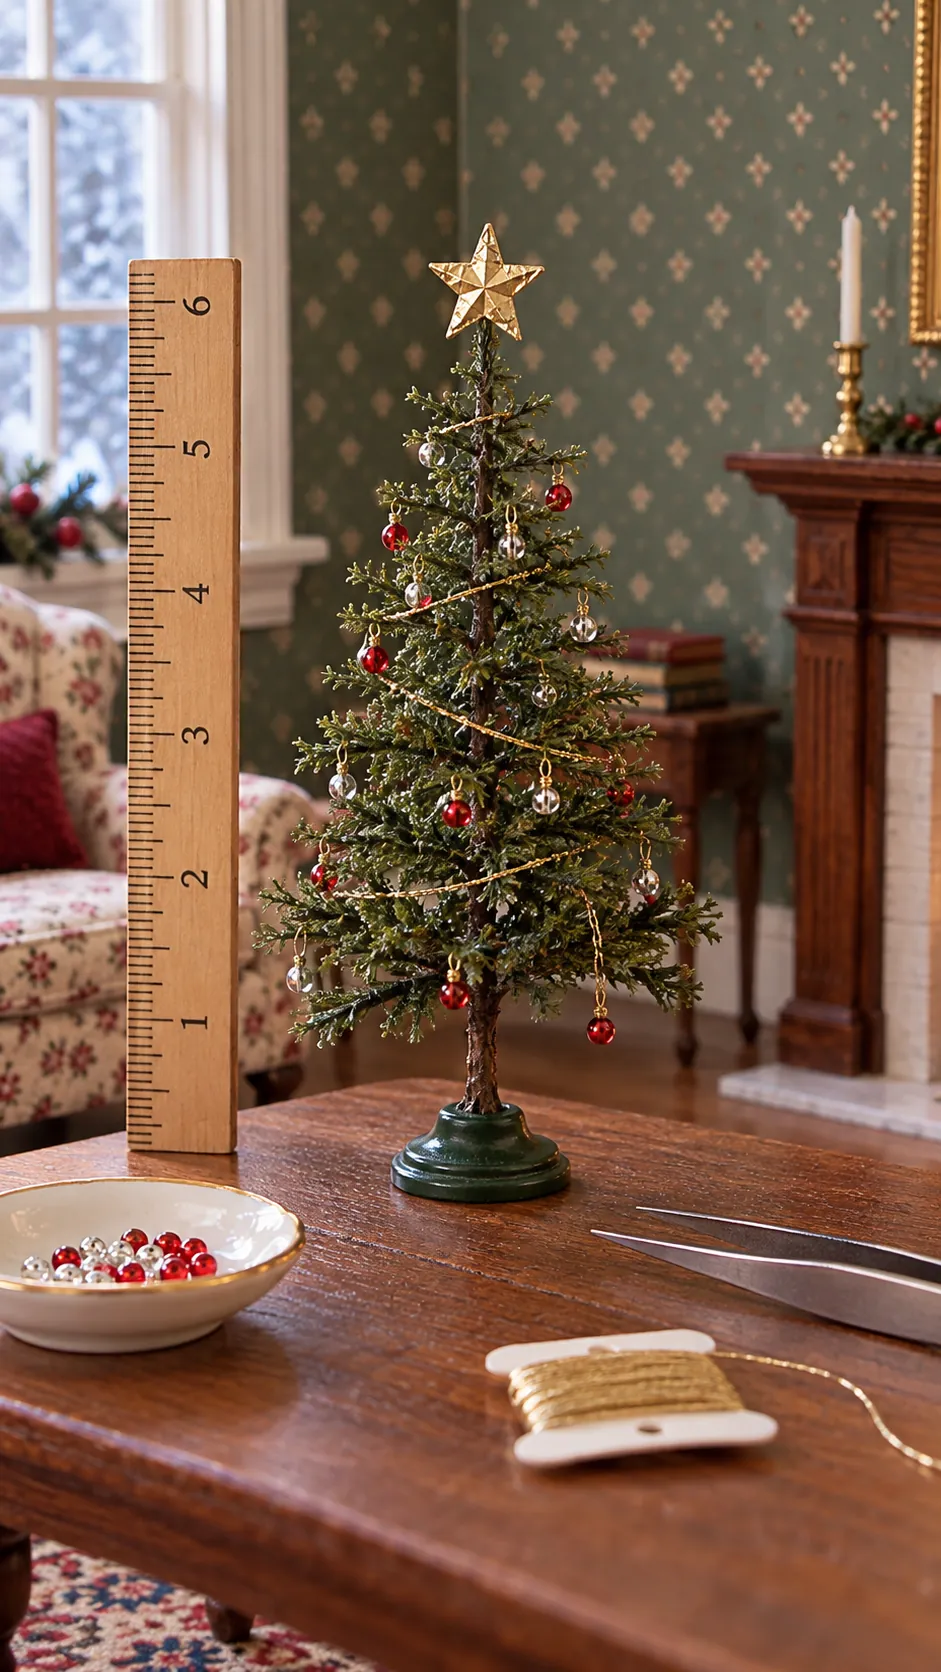
A convincing miniature tree depends less on expensive materials than on proportion. The common failure is a thick trunk with crowded branches and ornaments that belong on a much larger model. This method gives you a simple way to control height, fullness, and decoration before glue makes any choice permanent.
Plan the Finished Height and Shape
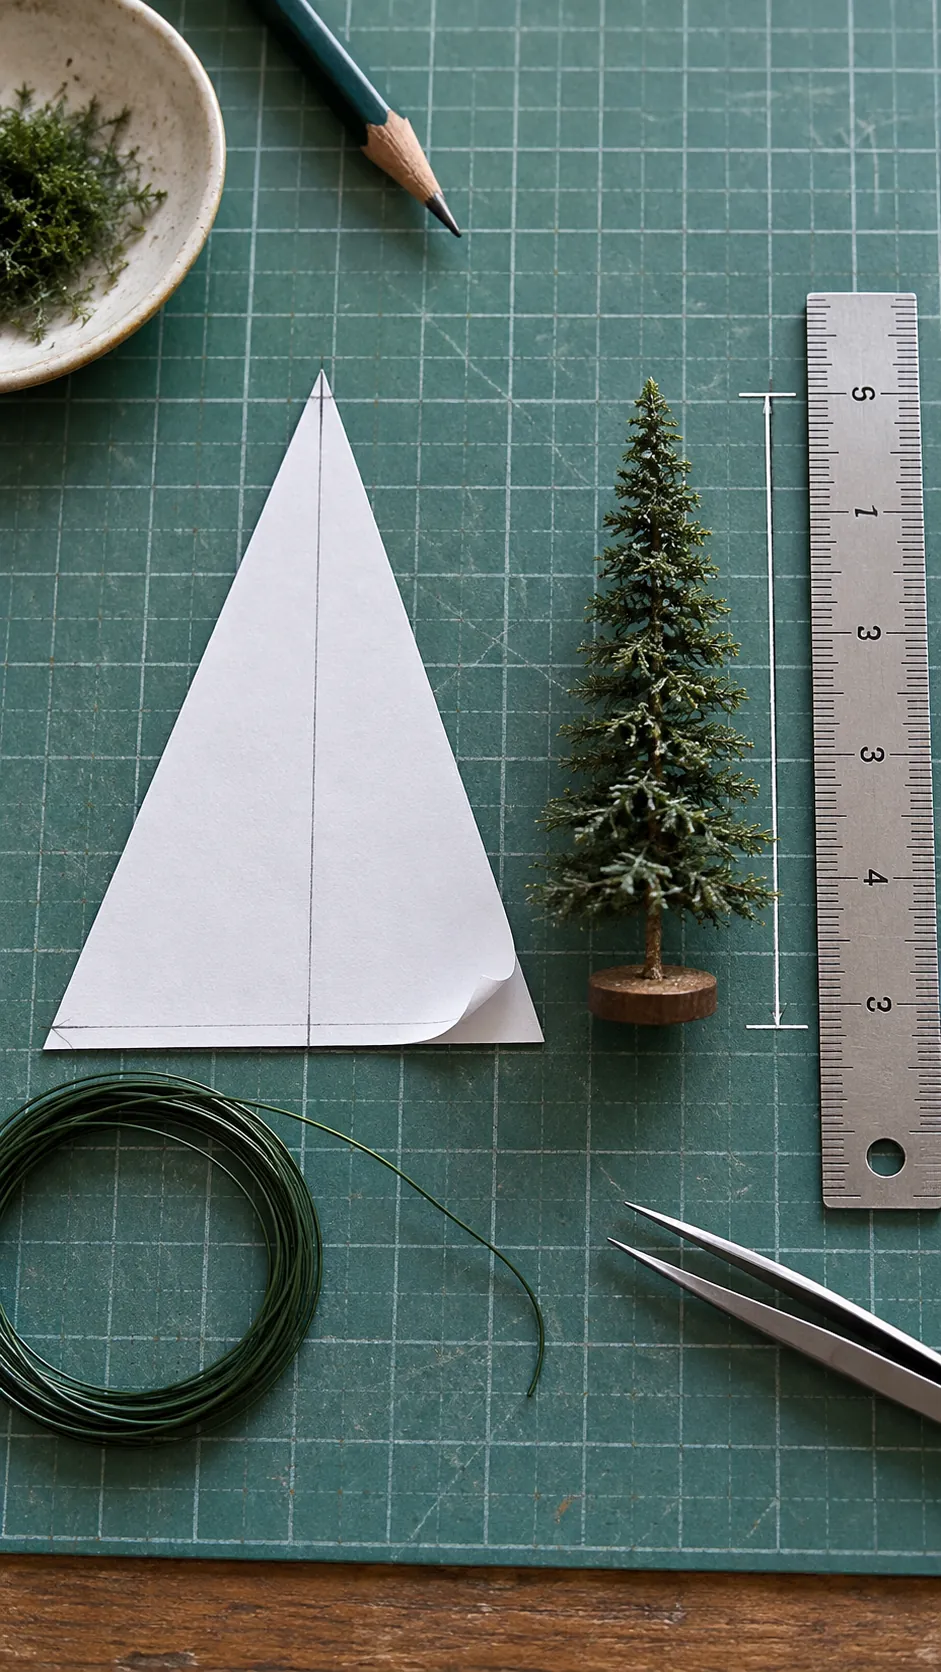
In 1:12 scale, one inch represents one foot, so a six inch tree reads as a six foot tree. Measure the dollhouse ceiling and reserve space for the stand and topper before you cut wire. A tree that ends just below the ceiling usually looks more natural than one pressed against it.
Draw a simple triangle at the finished size and use it as a guide while you work. Decide whether you want a narrow artificial tree or a wider natural pine, since that choice controls branch length. Mark the trunk at several levels so the lower branches remain longer than the upper ones.
Build a Straight Wire Trunk
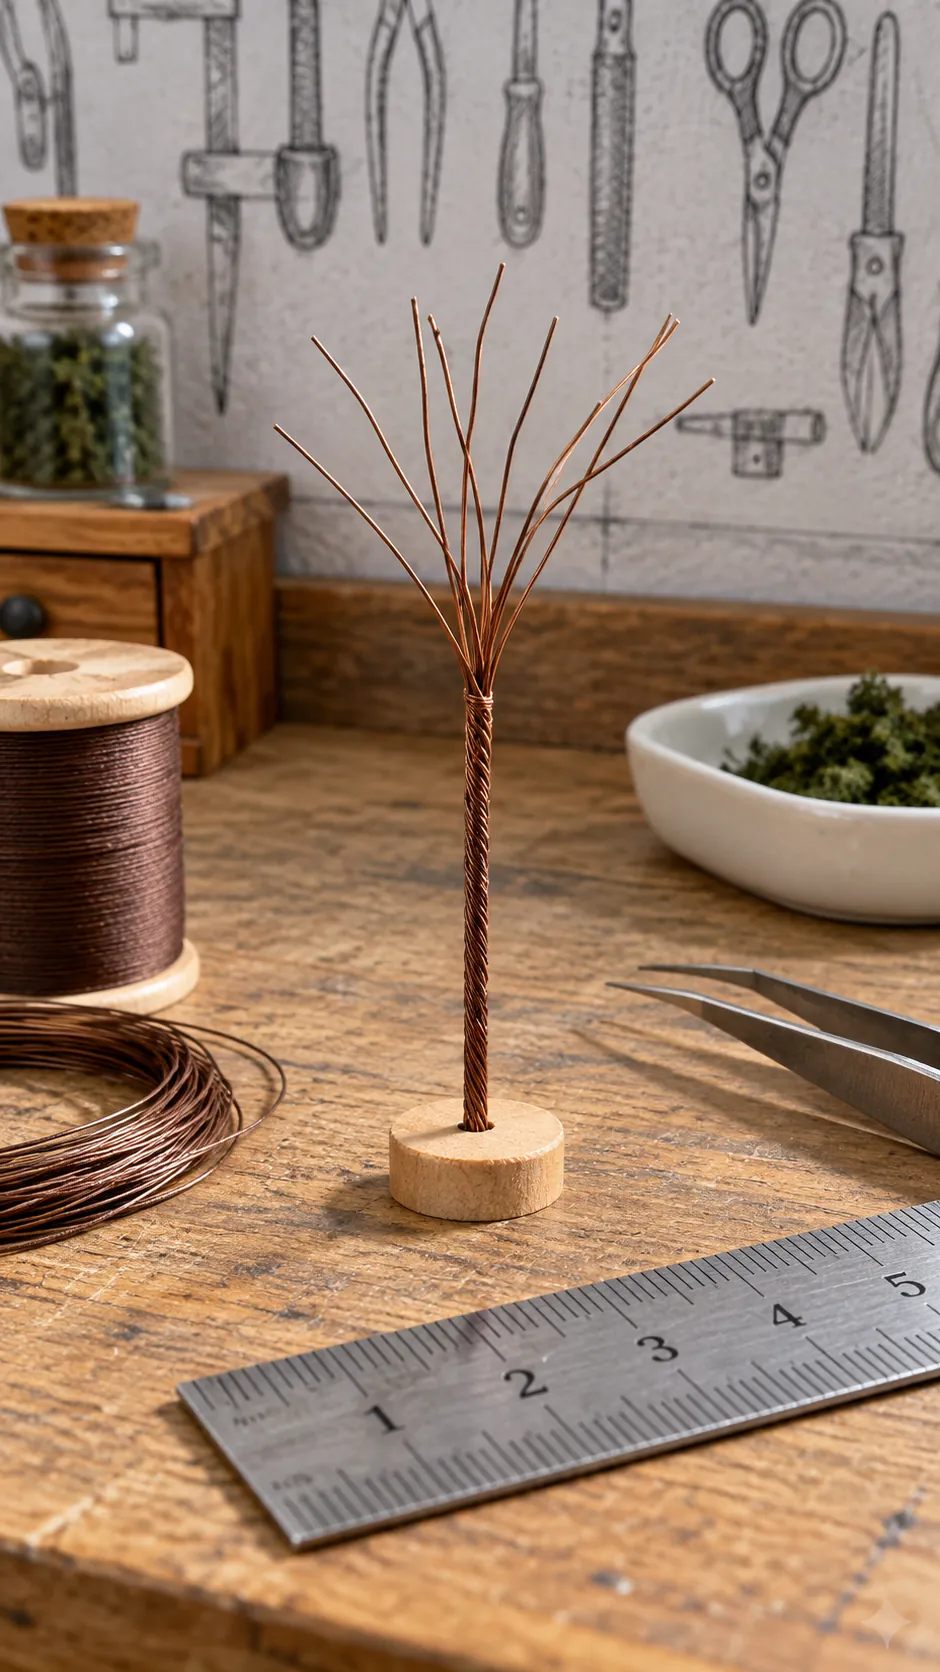
Cut several lengths of fine florist wire a little longer than the planned tree. Gather them evenly, twist the lower section into a firm trunk, and leave the top ends free for the crown. More fine wires create a fuller tree without the bulky look of one heavy wire.
Roll the trunk under a metal ruler to straighten it, then wrap it with brown florist tape or fine thread. Keep the wrap thin and consistent. Test the trunk against your drawing before adding branches, because a bend becomes harder to correct later.
Add Branches From Bottom to Top
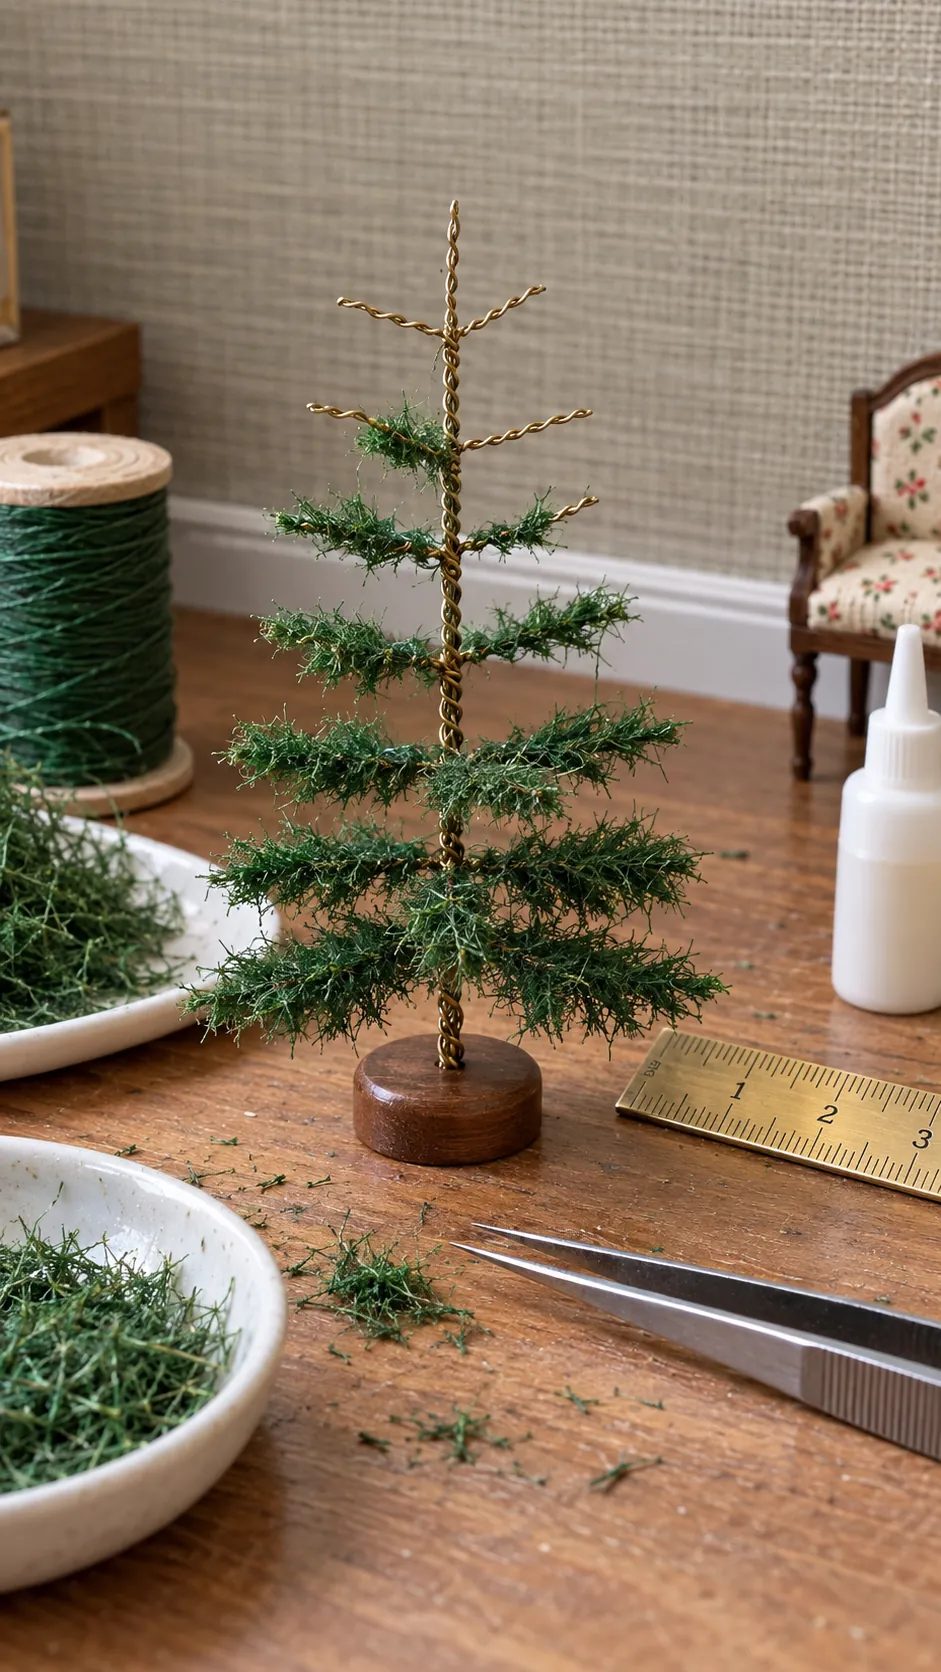
Attach the longest branch wires at the first marked level, spacing them around the trunk rather than laying them in one flat plane. Shorten each new level as you move upward. Stagger the branches so light can pass between them and the silhouette stays irregular like a real evergreen.
Wrap green embroidery thread, fine sisal, or clipped bottle brush fibers around each branch. Work in short sections and use a small amount of tacky glue. Pinch the fibers outward with tweezers before the glue sets, then let the branch dry without touching nearby branches.
Trim the Evergreen Silhouette
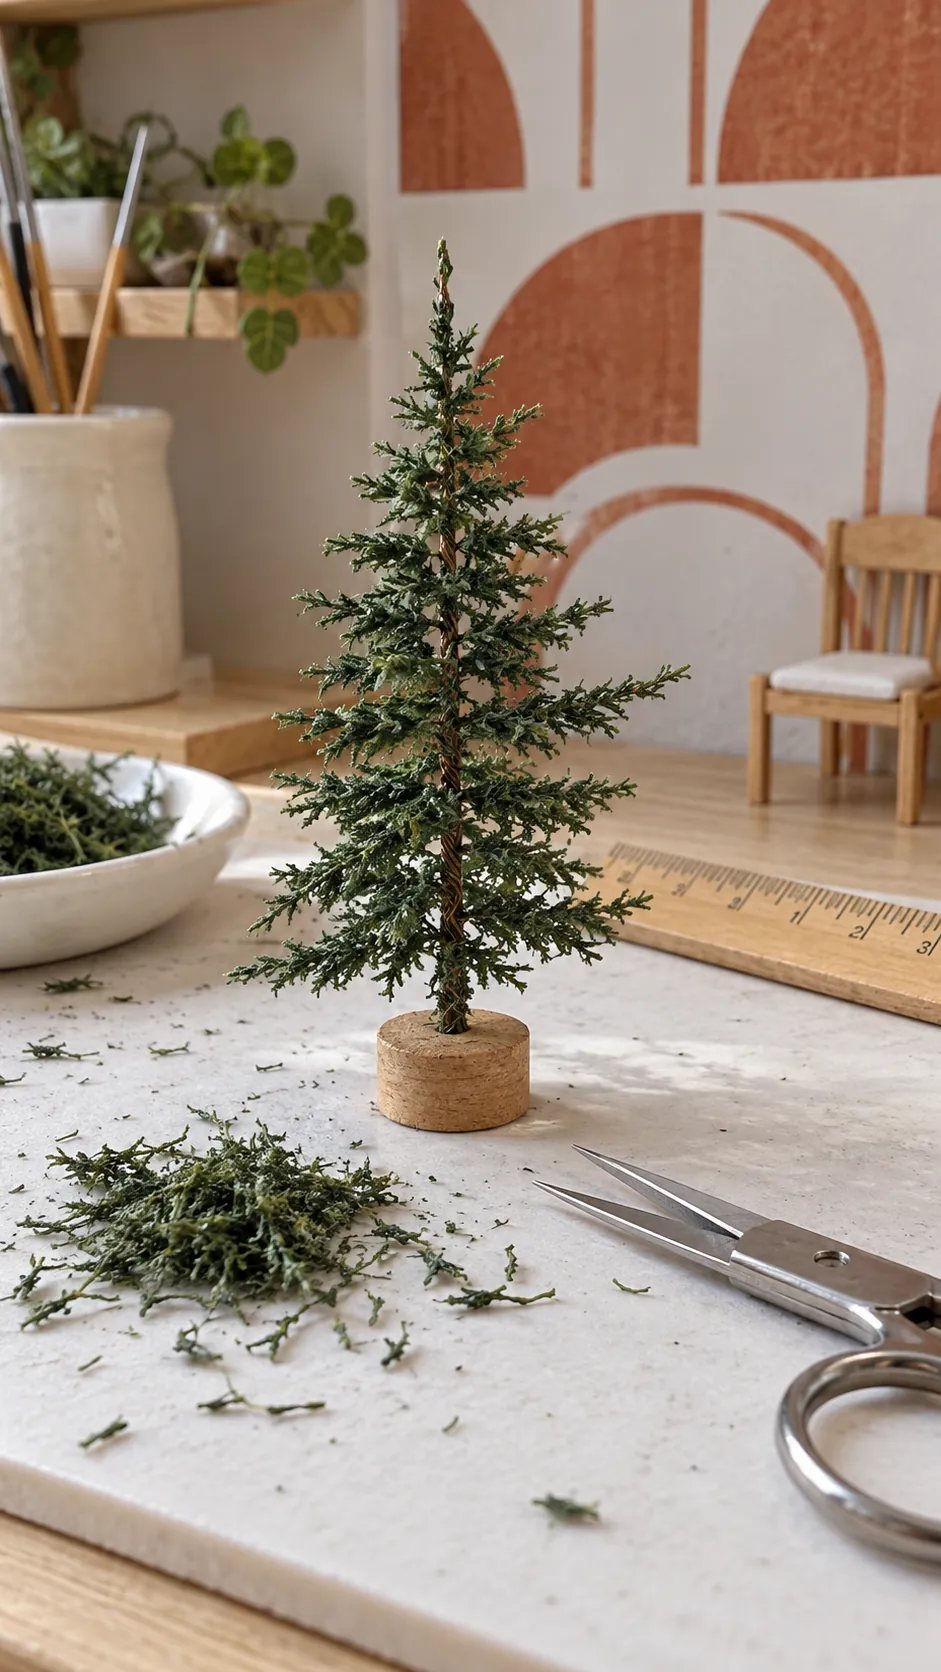
Set the dry tree upright and view it from every side. Trim a little at a time, beginning with loose fibers and obvious square edges. Leave a few branch tips longer than their neighbors so the result does not resemble a perfect cone.
Brush away clippings and comb compressed fibers with a clean toothbrush. If a gap looks too large, add one short branch instead of covering the whole area with more greenery. A visible trunk near the crown and small spaces between branches make scale Christmas greenery look lighter and more realistic.
Make a Stable Tiny Tree Stand
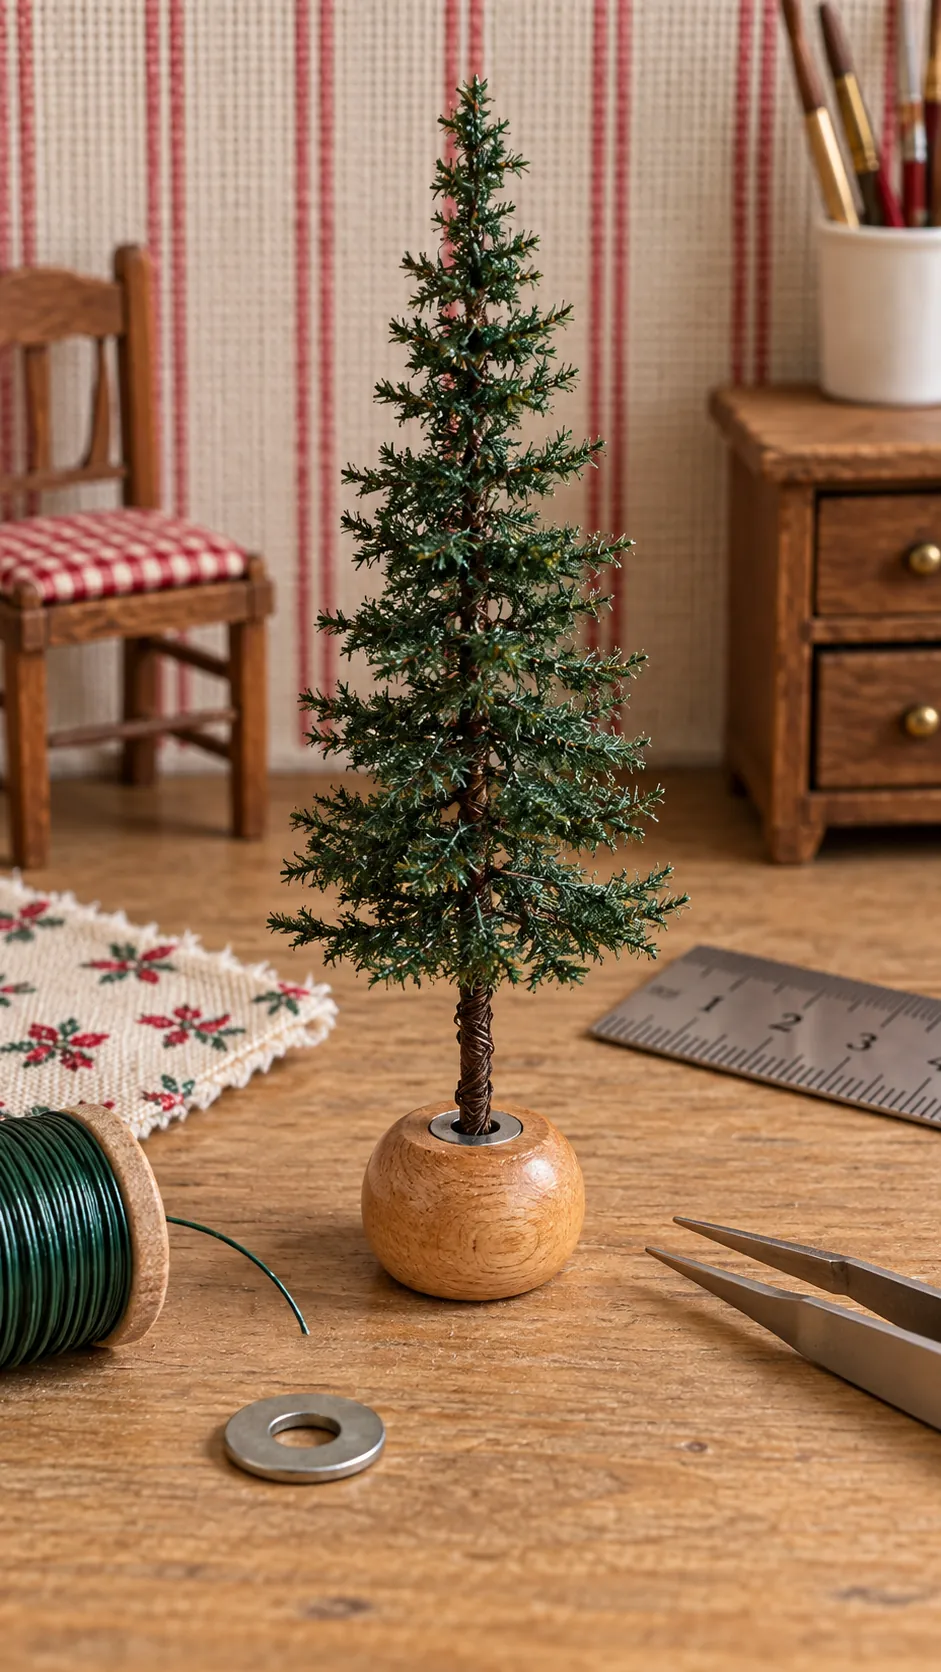
Drill or pierce a centered hole in a wooden bead, cork slice, or small block. The hole should grip the trunk without forcing the wires apart. Add a little glue inside, set the tree upright, and check it from two directions while the bond begins to hold.
Weight a light stand with a small metal washer hidden beneath it if the tree tips after decoration. Paint or wrap the base only after the tree is secure. A removable fabric skirt can hide the stand while still letting you repair the trunk in a future season.
Decorate Without Hiding the Tree
Use fine thread for garland, seed beads for mini Christmas ornaments, and one thin foil star for the top. Begin with fewer decorations than you think you need, then turn the tree and fill only clear gaps. Keep heavy beads close to the trunk so the branch tips do not sag.
Place the finished handmade mini tree in its dollhouse room before the final adjustment. Remove any ornament that dominates the furniture or blocks the tree shape. Store the tree upright in a small box, with tissue around the stand rather than pressed against the branches.