
Miniature Christmas lights can make a dollhouse feel alive, but exposed wire and a buried battery pack can ruin the effect. A reliable installation begins with the correct low voltage light string, a planned route, and removable attachment points. The goal is a festive glow that you can switch on, inspect, and remove without damaging the room.
Choose a Suitable Battery LED String
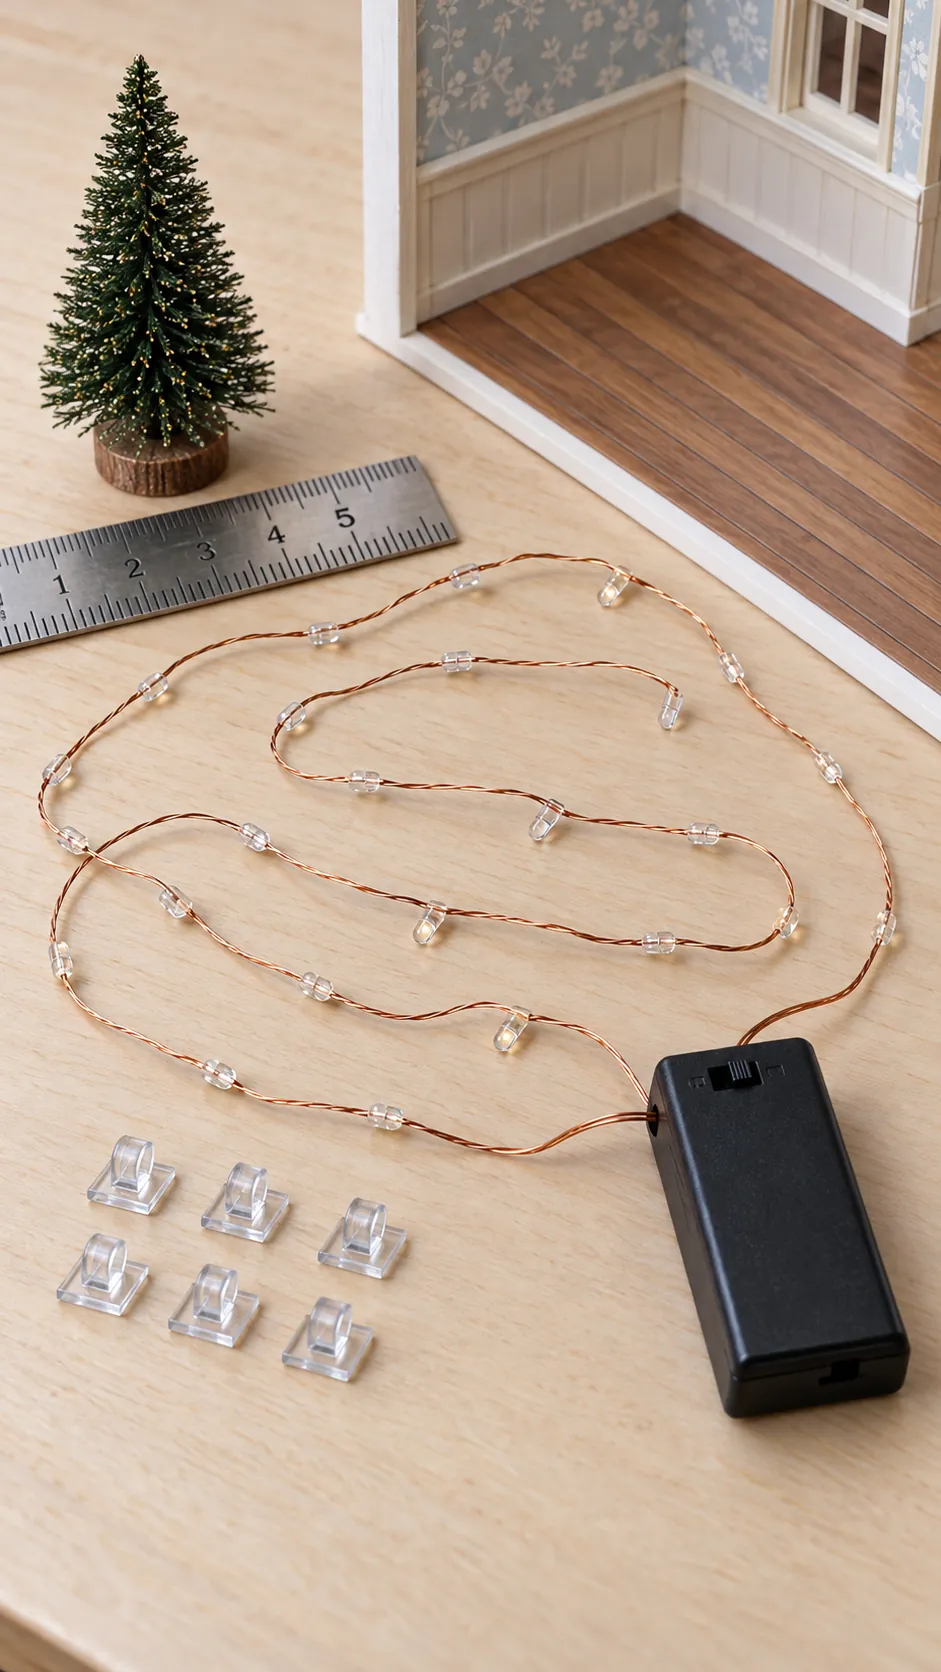
Select a fine wire LED string with a small battery pack and closely spaced bulbs. Warm white light usually suits traditional rooms, while a cool white string can support a snowy or modern scheme. Check that the light set is intended for the supplied battery pack and do not alter its voltage.
Count the bulbs needed before buying a longer strand. Excess wire is harder to conceal and can create bright tangles behind the dollhouse. Test the switch, timer, and every LED before installation so a faulty set never becomes part of the finished display.
Plan the Light Route Before Attaching It
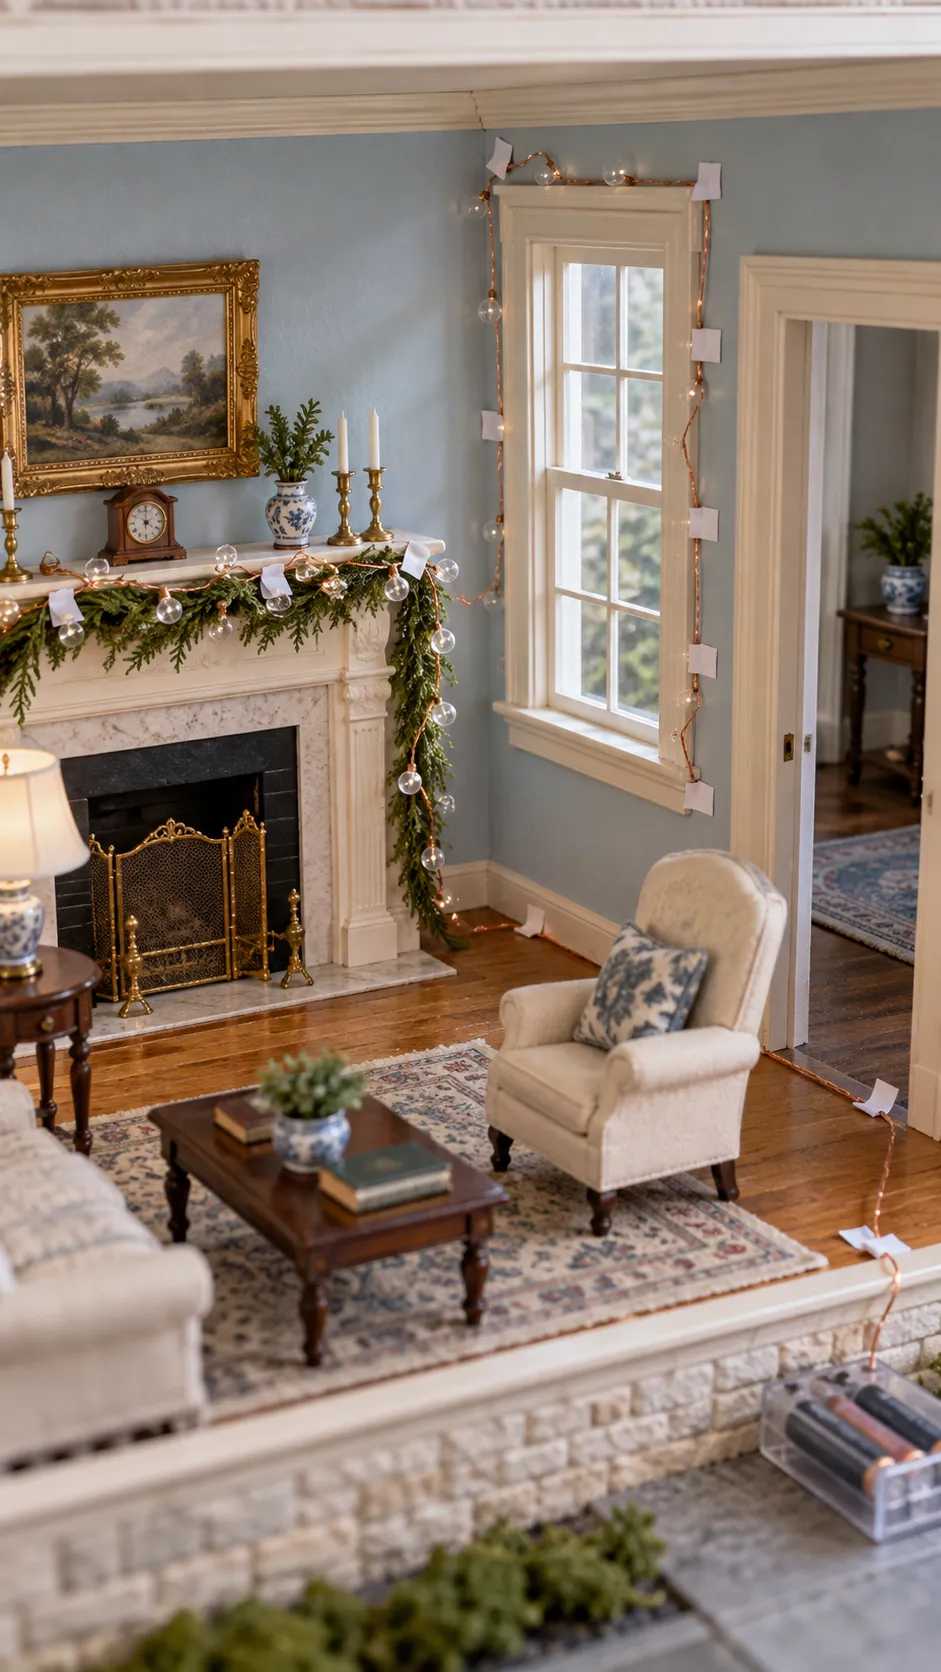
Decide whether the lights will frame a tree, follow a mantel garland, or run along an exterior roof edge. Lay the unpowered string loosely in place and mark each change of direction with a removable paper tab. Keep bulbs away from door hinges, sliding panels, and any place where furniture presses against the wire.
Start the route near the planned battery pack location rather than at the most decorative point. Leave a small service loop where the wire passes between rooms or around a corner. This extra length prevents tension when you remove the pack for new batteries.
Test the Arrangement in Low Room Light
Switch on the loose string and dim the surrounding room before fixing any wire. Look for bulbs that create glare through a window or shine directly at the open front. Move those points behind foliage, under a shelf edge, or farther from reflective surfaces.
Check color and brightness beside the dollhouse interior lights if both systems will run together. Christmas bulbs should add sparkle without washing out furniture and wallpaper. Photograph the temporary arrangement so you can restore the best spacing during attachment.

Attach the Wire with Removable Supports
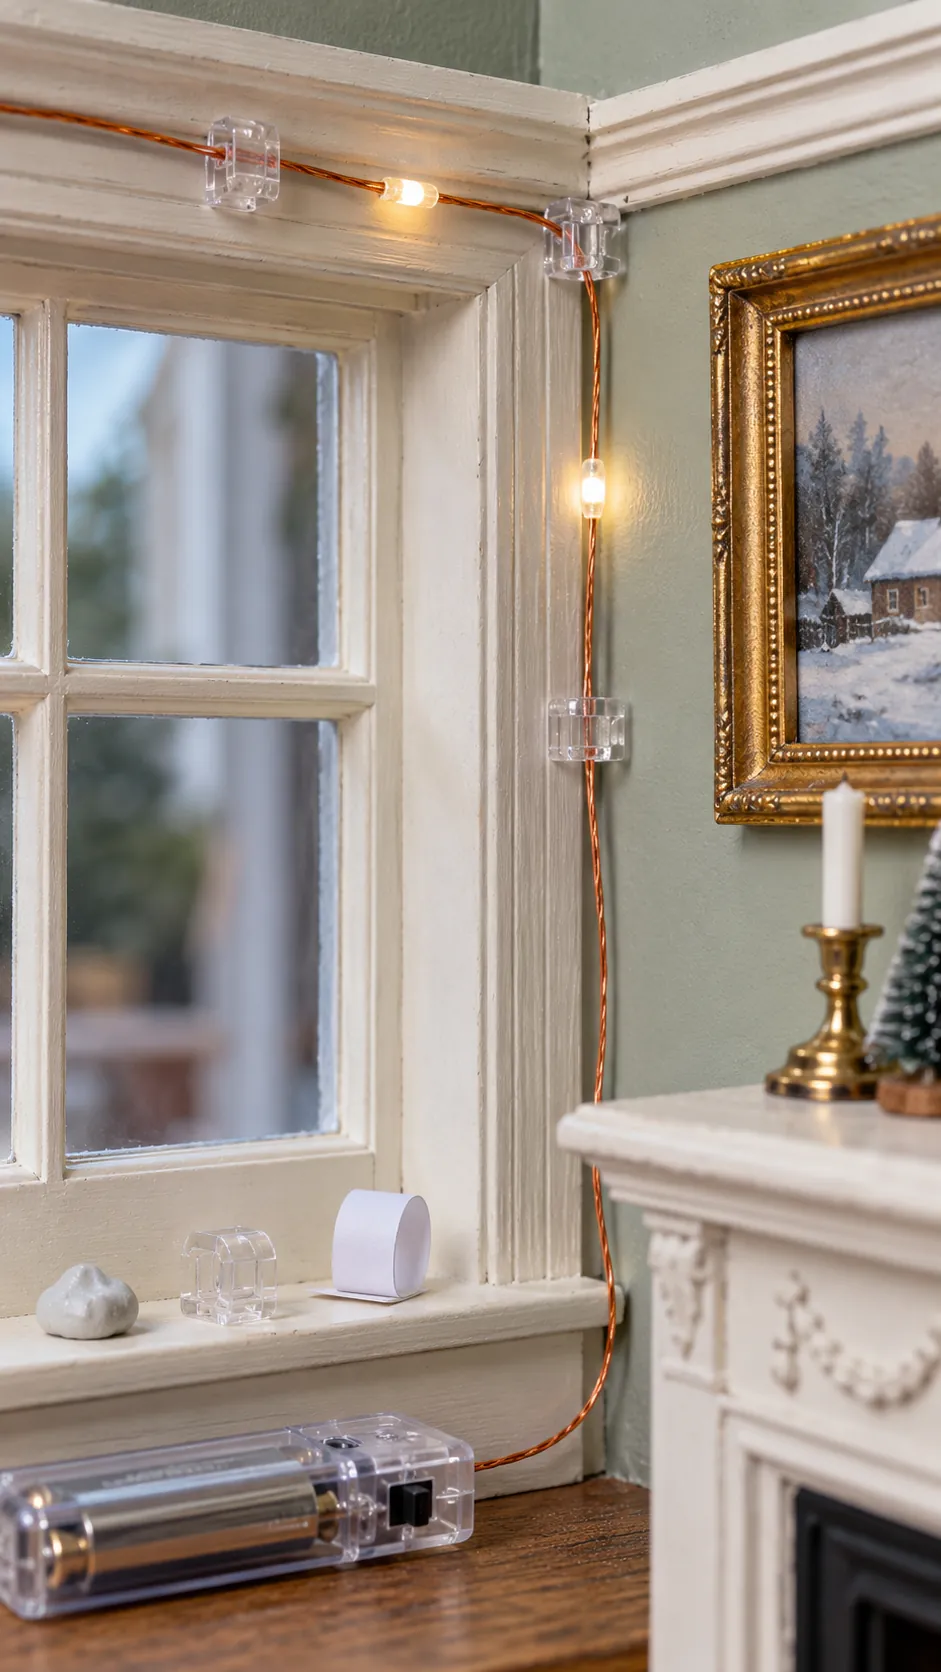
Use tiny clear clips, narrow paper loops, or small dots of removable museum putty to hold the wire. Place supports between bulbs so the light remains visible and the wire is not pinched. Add a support before and after every sharp turn rather than forcing the wire into a tight bend.
Work from the battery end toward the final bulb and check the strand after each section. Keep adhesive away from LEDs, switches, and battery contacts. If the surface is delicate, test the mounting material in a hidden area and remove it slowly after the holiday.
Hide the Wire and Keep the Battery Pack Accessible
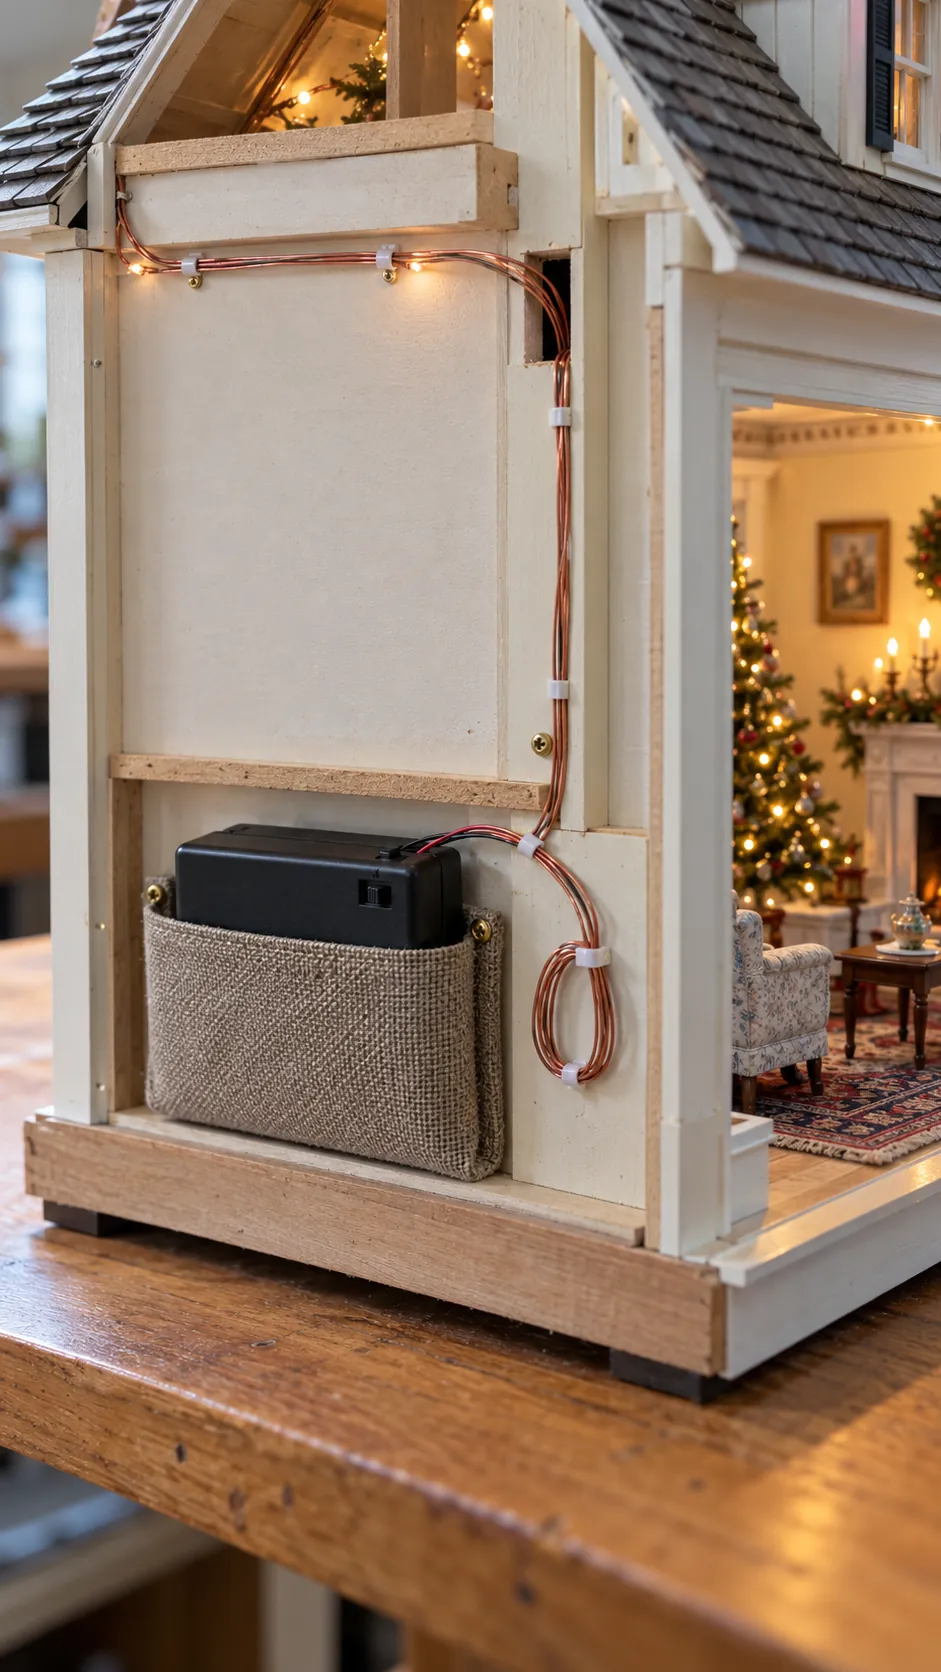
Run the fine wire behind garland, along trim shadows, or through an existing service opening. Match the wire route to a wall or floor edge instead of crossing an open surface. Never bury a connection under permanent glue or seal the battery pack inside the structure.
Fix a shallow removable pocket behind the dollhouse or beneath its base for the battery pack. Leave the switch and battery cover reachable without moving the whole building. Coil only the minimum spare wire in a loose loop and secure it away from visible bulbs.
Use and Store the Lights Safely
Turn the lights off when the dollhouse is unattended and remove batteries before long storage. Stop using the strand if the pack becomes hot, a wire is damaged, or the lights flicker when the wire is still. Keep coin cells and other small batteries away from children and pets.
Inspect clips, hidden corners, and wire bends each time you reinstall the display. Replace the complete light set when insulation or battery contacts show damage. A removable route takes a little more planning, but it protects the dollhouse and makes future holiday decorating much easier.