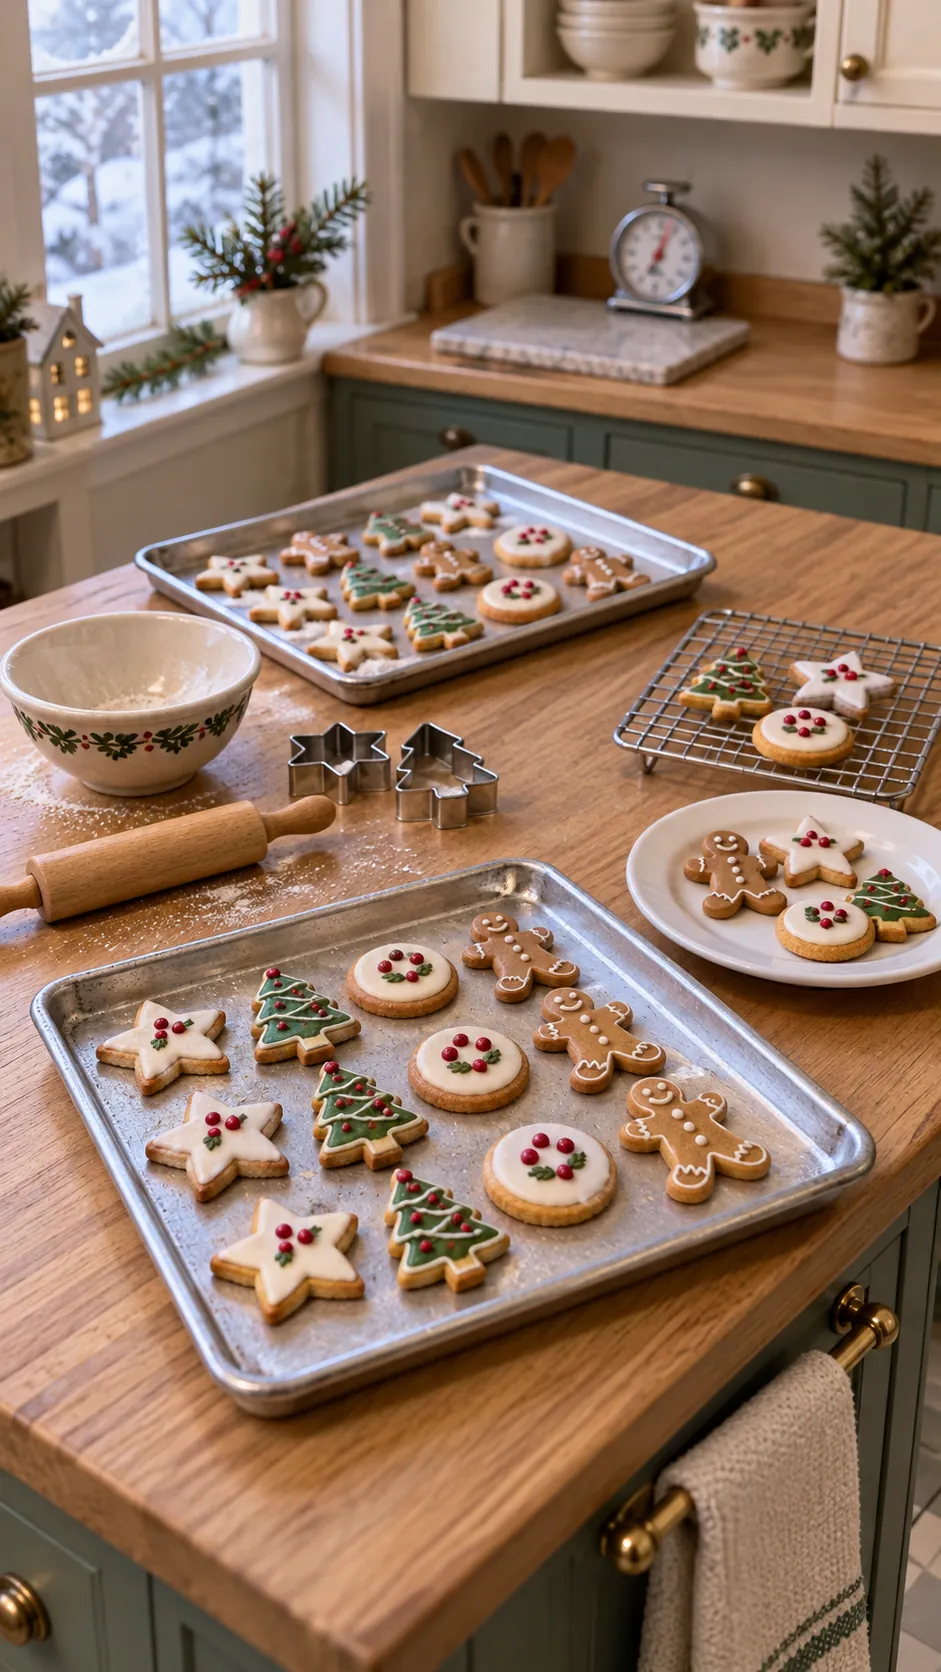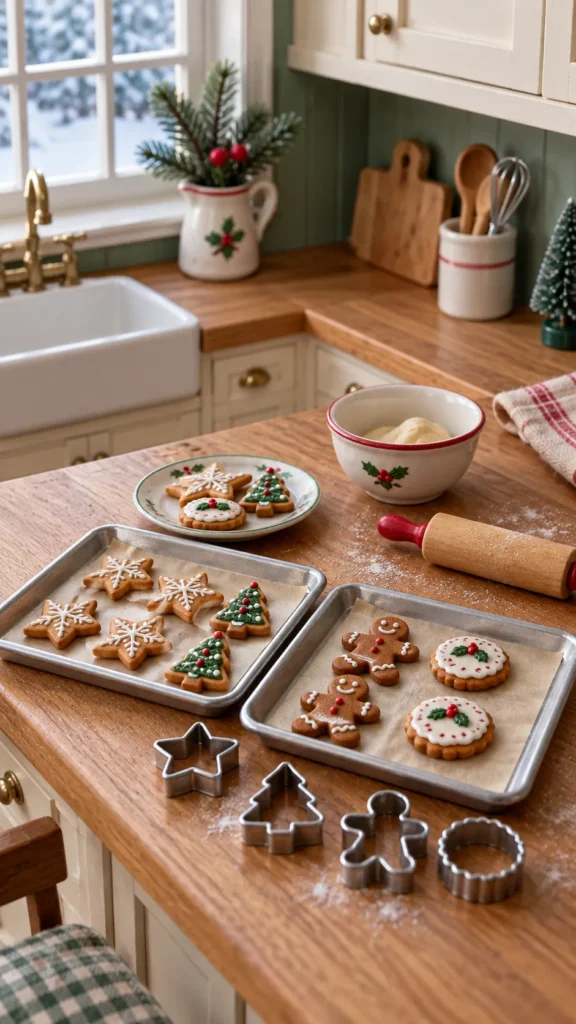
Miniature cookies look convincing when their thickness, edge color, surface texture, and tray size agree. The smallest details matter, but the process becomes easier when you prepare one clay color at a time and move each shape onto its curing surface before adding delicate decoration.
Set the Scale and Prepare Dedicated Tools
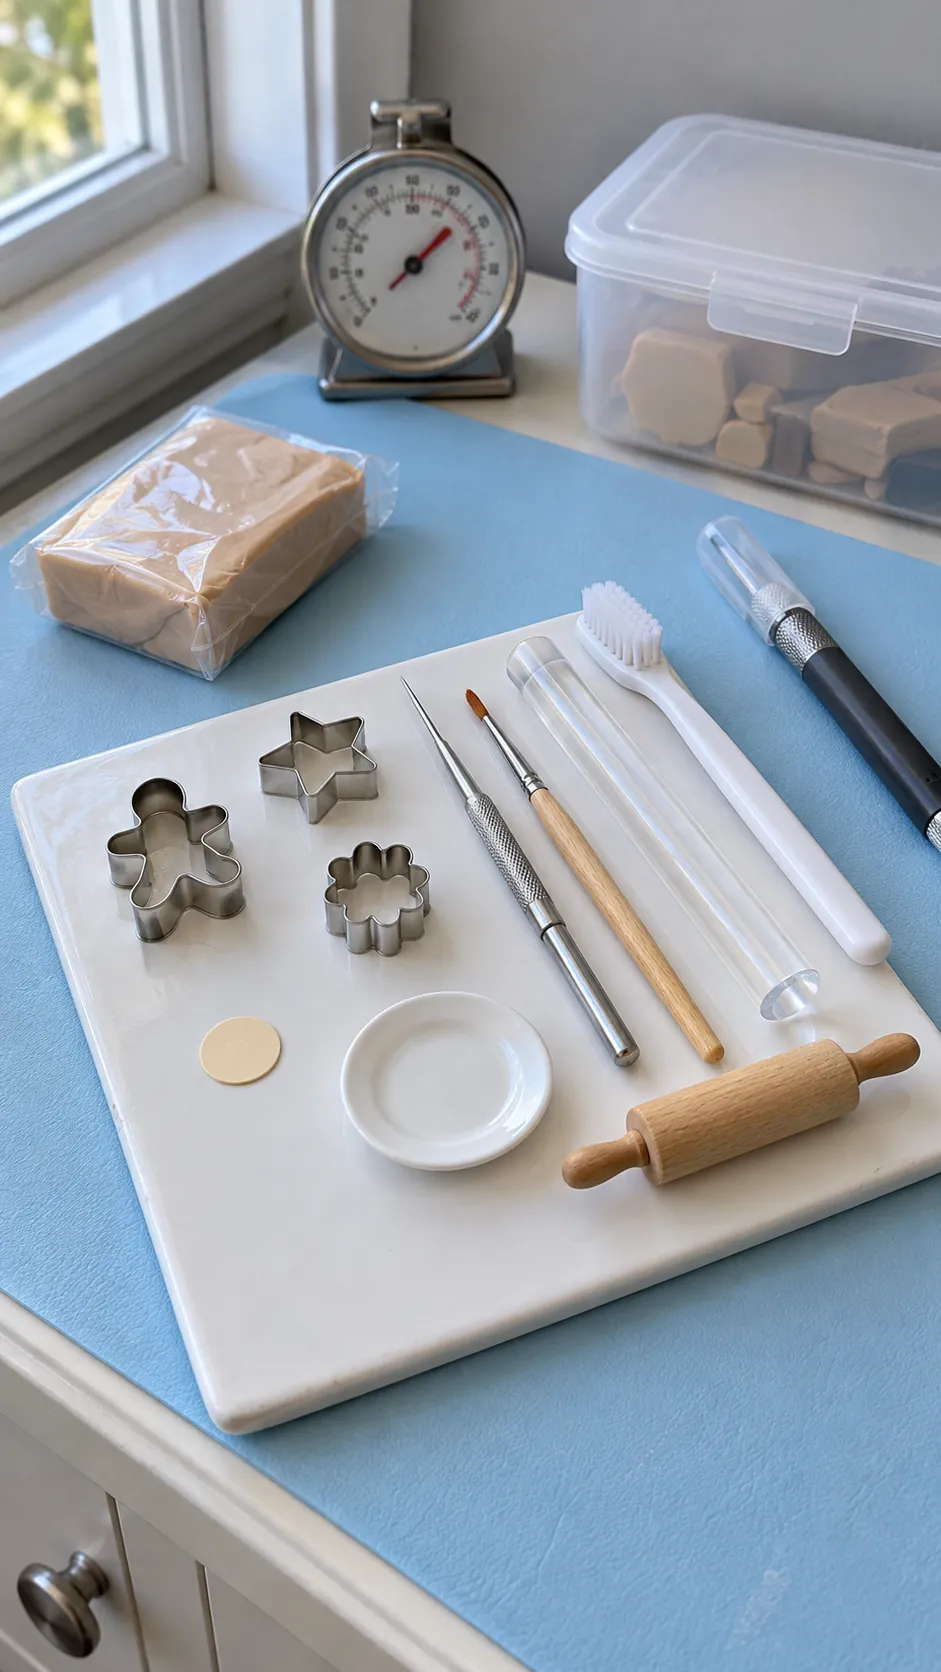
A typical real cookie becomes roughly one quarter of an inch wide in 1:12 scale. Make a paper circle at that size and keep it beside the project as a reference. Slight variation looks natural, but a cookie twice that diameter will read as a cake beside miniature plates.
Use clay tools, blades, tiles, and curing surfaces that are reserved for crafts. Follow the clay maker’s curing directions and check the oven with a separate thermometer. Good temperature control matters more than guessing from the oven dial.
Mix a Believable Baked Dough Color
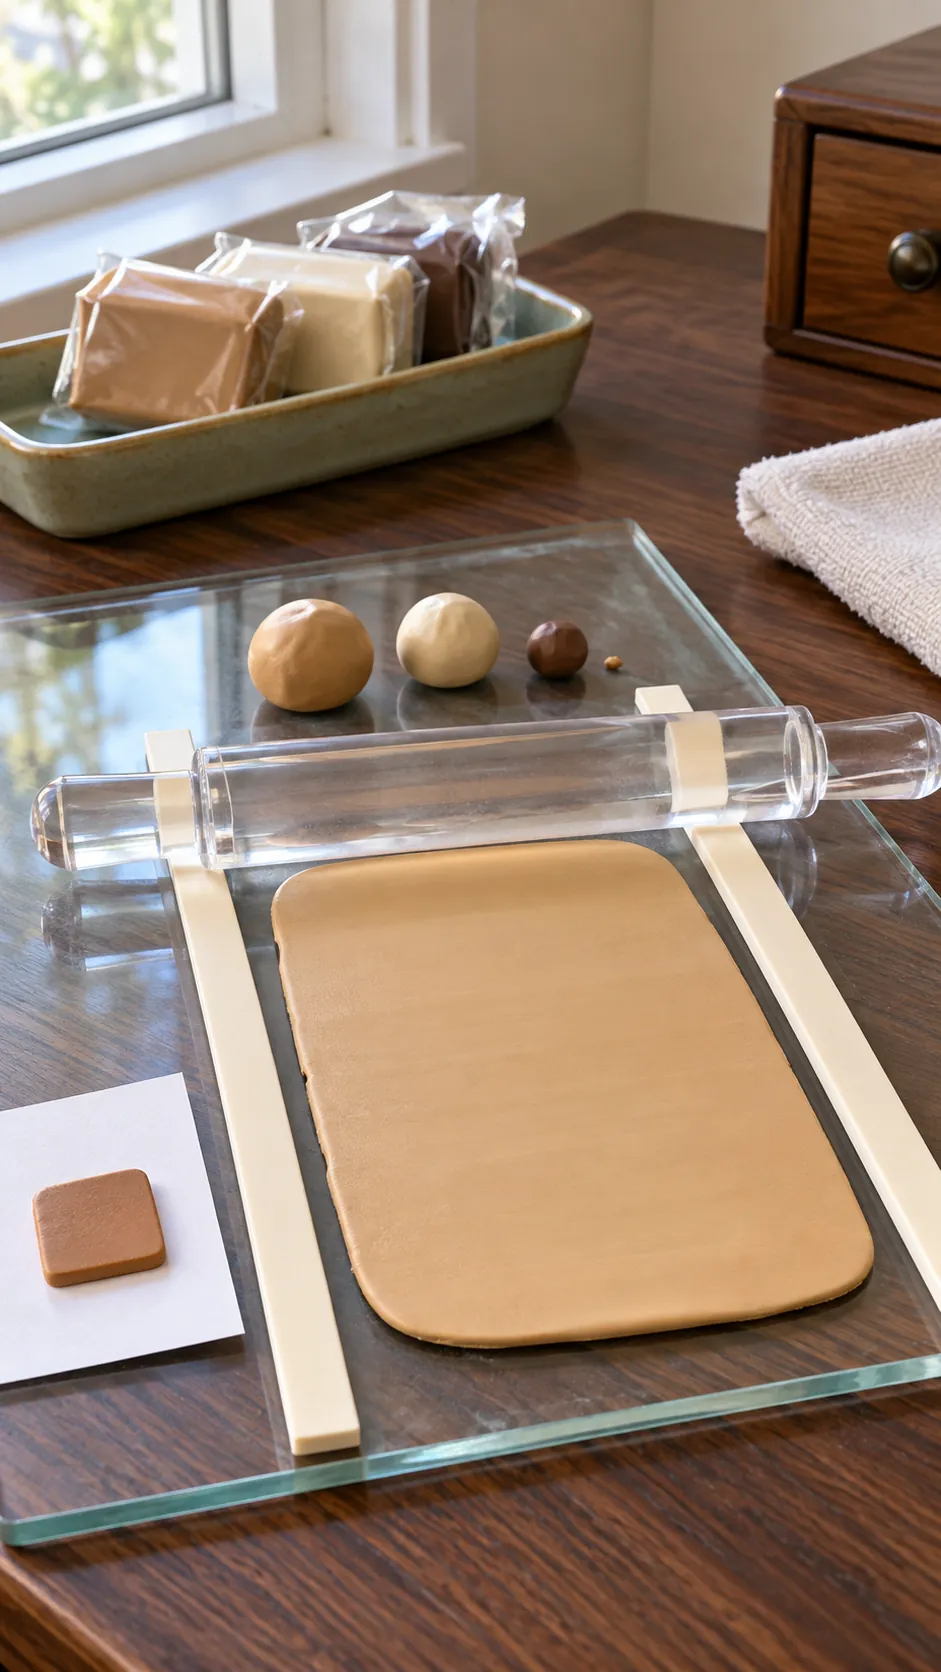
Condition a small amount of polymer clay until it bends without cracking. Blend warm tan with a tiny amount of brown, then keep a little darker clay for baked edges. Test a sample before making the full batch because some colors shift during curing.
Roll the clay between two thin guides so every cookie has the same depth. A very thick piece looks puffy at miniature scale, while an extremely thin shape can become fragile. Keep unused clay covered so dust and fibers do not settle into the surface.
Cut Clean Holiday Shapes
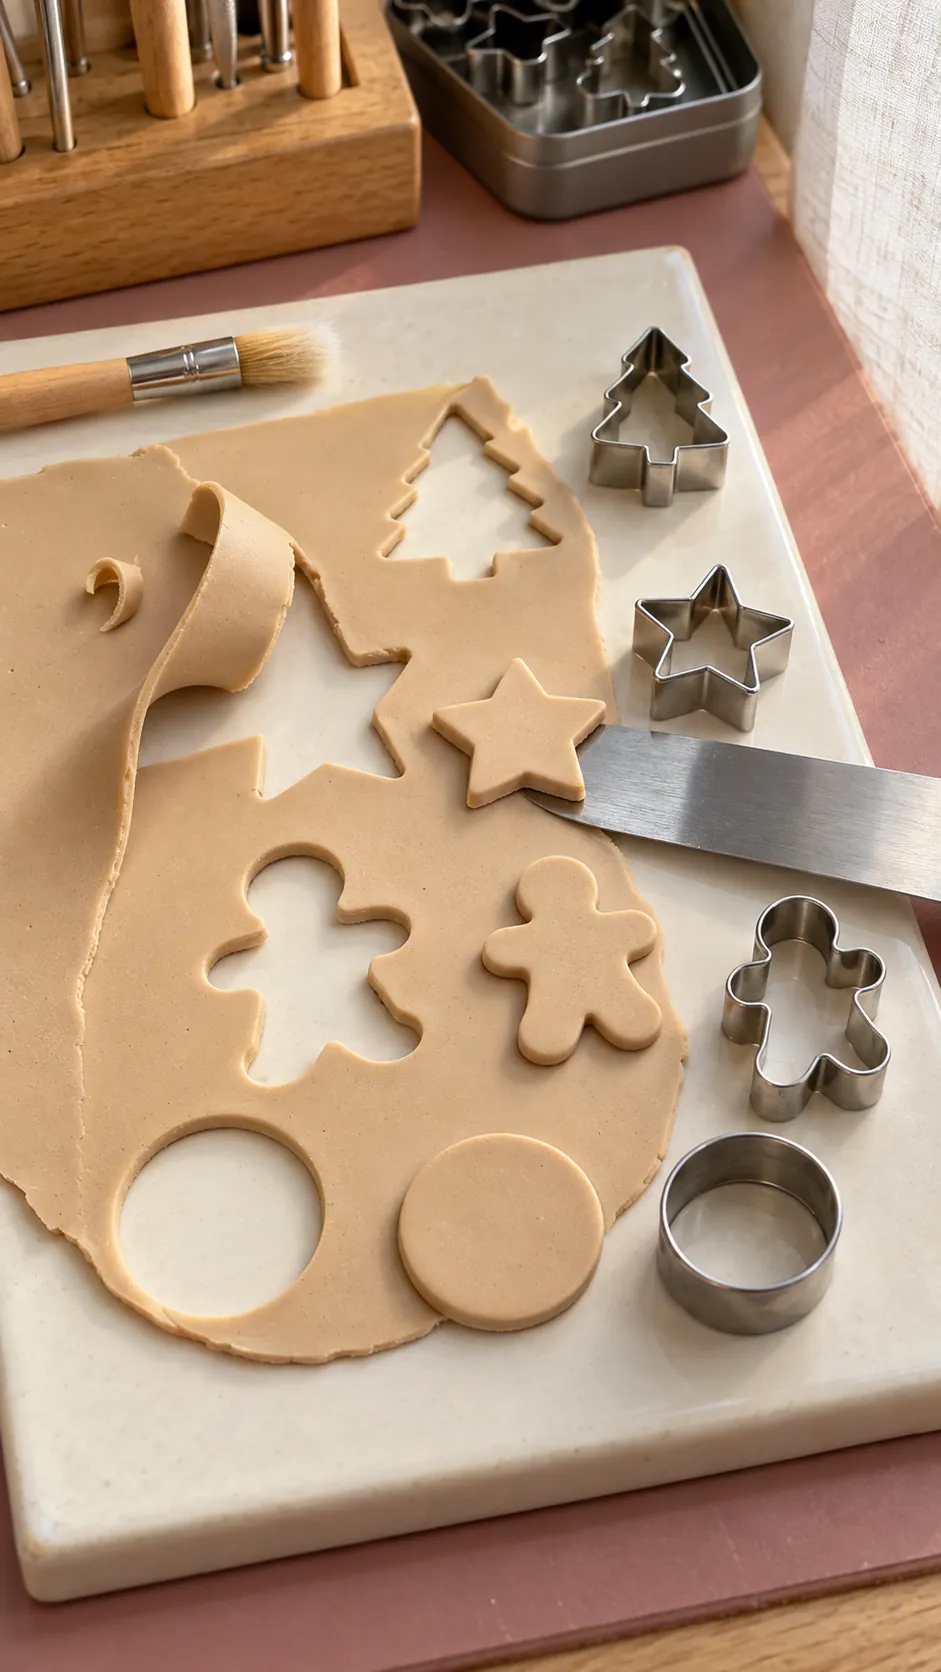
Tiny cookie cutters can come from narrow metal tubing or small commercial cutters made for clay. Dust the cutter lightly with cornstarch only when sticking is a problem, then tap away every loose particle. Cut stars, trees, circles, and gingerbread figures with firm vertical pressure.
Lift away the surrounding clay before moving each cookie. Slide a thin blade underneath so the shape does not stretch. Transfer it directly to a dedicated ceramic tile or the curing surface recommended for your clay.
Add Texture and Simple Icing
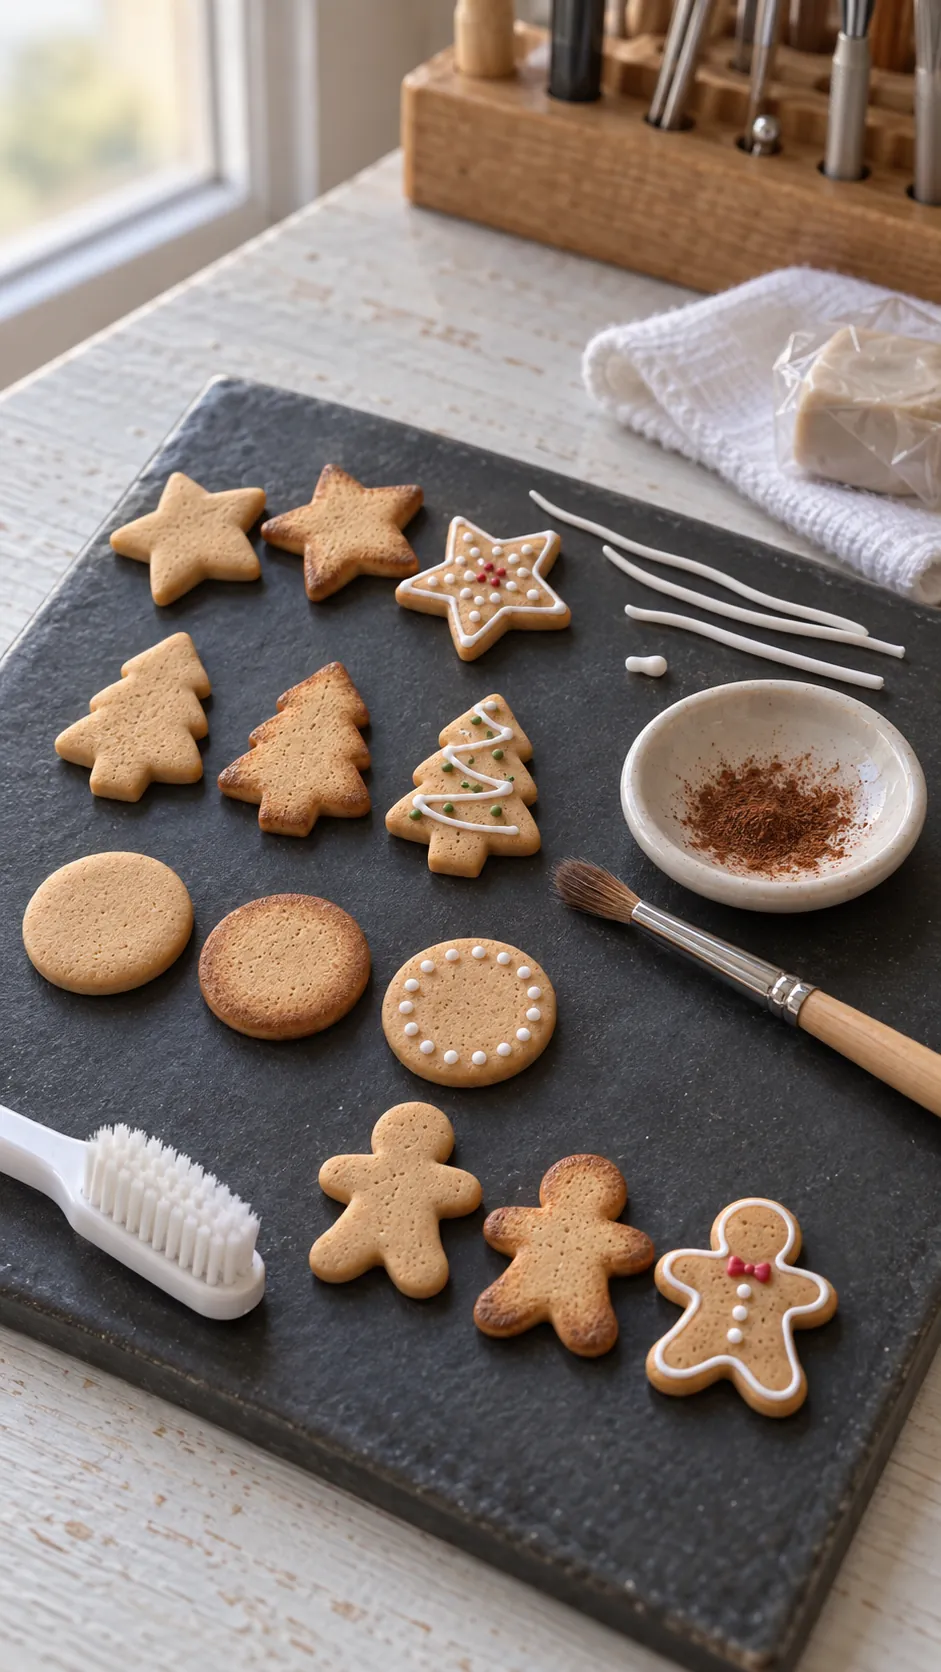
Press the surface gently with a clean toothbrush for fine crumb texture. Shade only the outer edge with a small amount of brown pastel applied by a dedicated brush. Keep the center lighter so each polymer clay holiday cookie looks baked rather than painted one flat color.
Use thin snakes of white clay for icing lines or tiny dots for sugar pearls. Simple decoration reads better than crowded detail at this scale. Finish all pieces in one shape family before changing colors so the batch stays consistent.
Make a Mini Baking Sheet
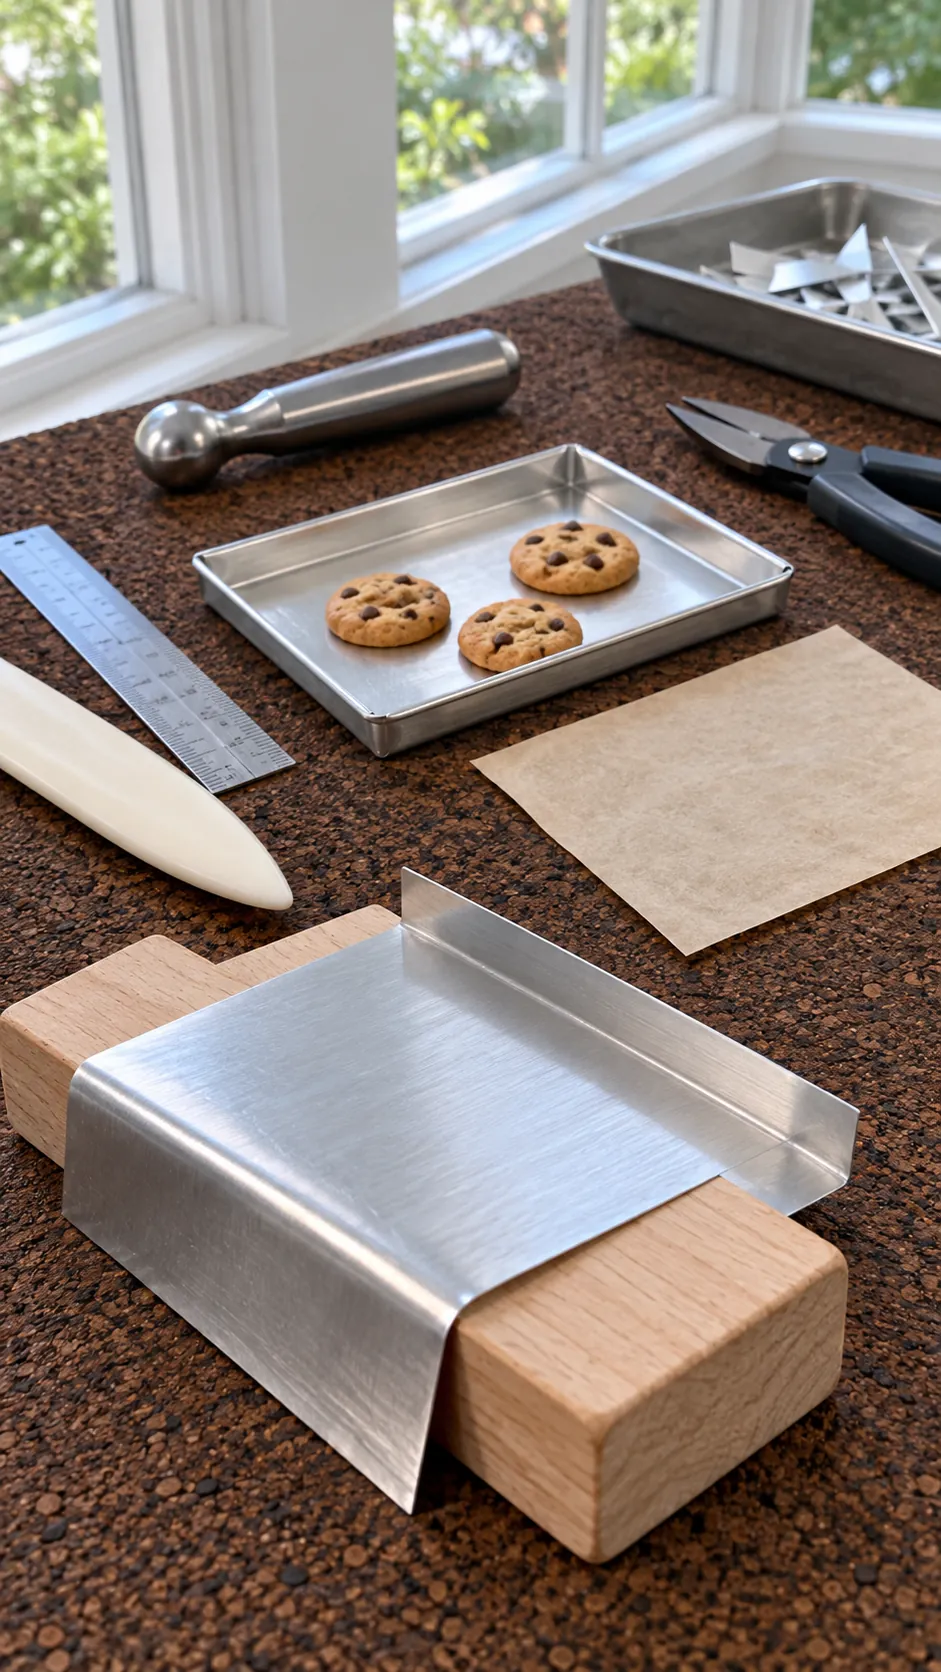
Cut a small rectangle from thin craft aluminum that is appropriate for miniature work. Fold each edge over a smooth block, then flatten and burnish the corners so no sharp point remains. The finished mini baking sheet should fit the dollhouse oven and leave a slim rim around the cookies.
Add a fitted rectangle of parchment colored paper after curing if you want a staged baking scene. Do not cure unknown paper or adhesive with the clay. A second clean tray can hold finished cookies while the working surface stays reserved for uncured material.
Cure Safely and Build the Baking Scene
Cure the cookies at the temperature and time stated by the clay maker. Use an oven thermometer and a dedicated tile or tray. Let every piece cool fully before testing strength, because warm thin clay can flex more than expected.
Arrange the cooled cookies on the mini baking sheet with a few shapes turned at slight angles. Add a rolling pin, a bowl, and two cutters to create a dollhouse Christmas baking scene, but keep enough empty counter visible to show scale. Attach finished pieces with removable wax when you want to change the display later.